2 3
ENGLIS H
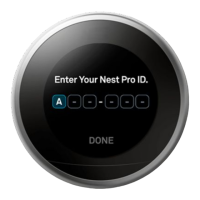
Setup process
1. Install your Nest thermostat
2. Update your thermostat
3. Turn o the power at the circuit breaker
4. Open the HVAC equipment cover
5. Find the HVAC control board
6. Label the thermostat wiring
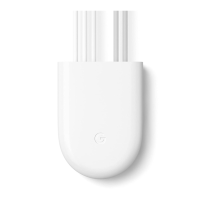
7. Install the power connector
a. Cooling and heating system
b. Heating-only system
c. Cooling-only system
d. No C-terminal
8. Close the HVAC cover and turn on the power
9. Conrm power connector installation
Compatibility
Nest Thermostat, Nest Thermostat E, Nest Learning
Thermostat 3rd gen. 24V VAC systems only.
Millivolt or high voltage systems are incompatible.
Basic safety
Read all installation instructions and the safety and
warranty guide before installation.
High voltages may be present! Be sure to turn
o the power at the breaker panel or unplug
your heater and/or air conditioning unit before
aempting installation or disconnecting
any wires.
Use caution when accessing your heater and/or
air conditioning unit. Call a pro if you are not
comfoable installing this product. Installation
will require access to wiring, and may require
the use of ladders or working in locations with
lile space. Use a helper if possible and avoid
installing the device when home alone.
Technical specications
Operating temperature: -22° to 140°F (-30° to 60°C)
Voltage rating: 20-30 VAC
Ingress protection: IP51
 Loading...