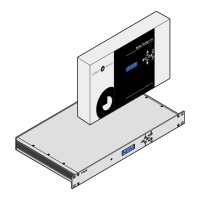
☛ Fix the clock on its bracket before connecting it to mains power.
► Connect the clock to mains.
► Start the clock running, by tipping the switch located on the back of the clock, to “ON”
(low position).
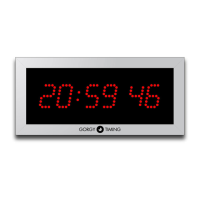
☛ Only the central display is shown on the following synoptic.
▼ Symbol means that the digit is ashing.
5.1. ADVANCED SETTINGS
Example: For France, you shall put:
► Sign of the offset: dt +
► Offset value: 100
► DST setting: EU (Europe)
5. CONFIGURATION VIA THE CLOCK (BUTTONS)
Offset sign
PROG 4 sec.
PROG
Offset value
PROG
Setting of DST
+ / -
+ / -
+ / -
OFF : No DST
EU : Europe
US :
North Amer ica
AU :
Australia
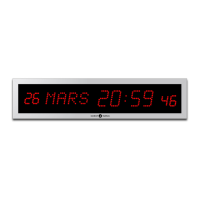
Date -
time display
Date -
time display
Synchronisation
setting
+ / -
PROG
PROG
Setting of time format
+ / -
12hh : 12 hour mode
24HH : 24 hour mode
ASCII : ON ↔ OFF
PROG
This setting has no effect
on this product
000 : Offset of 0 hours 0 minutes
030 : Offset of 30 minutes
100 : Offset of 1 hour
130 : Offset of 1 hour 30 minutes
...
4. CONNECTIONS