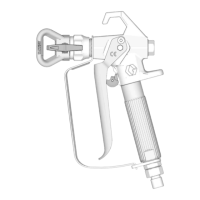
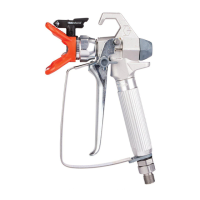
Repair/Replacement
311861R 13
Repair/Replacement
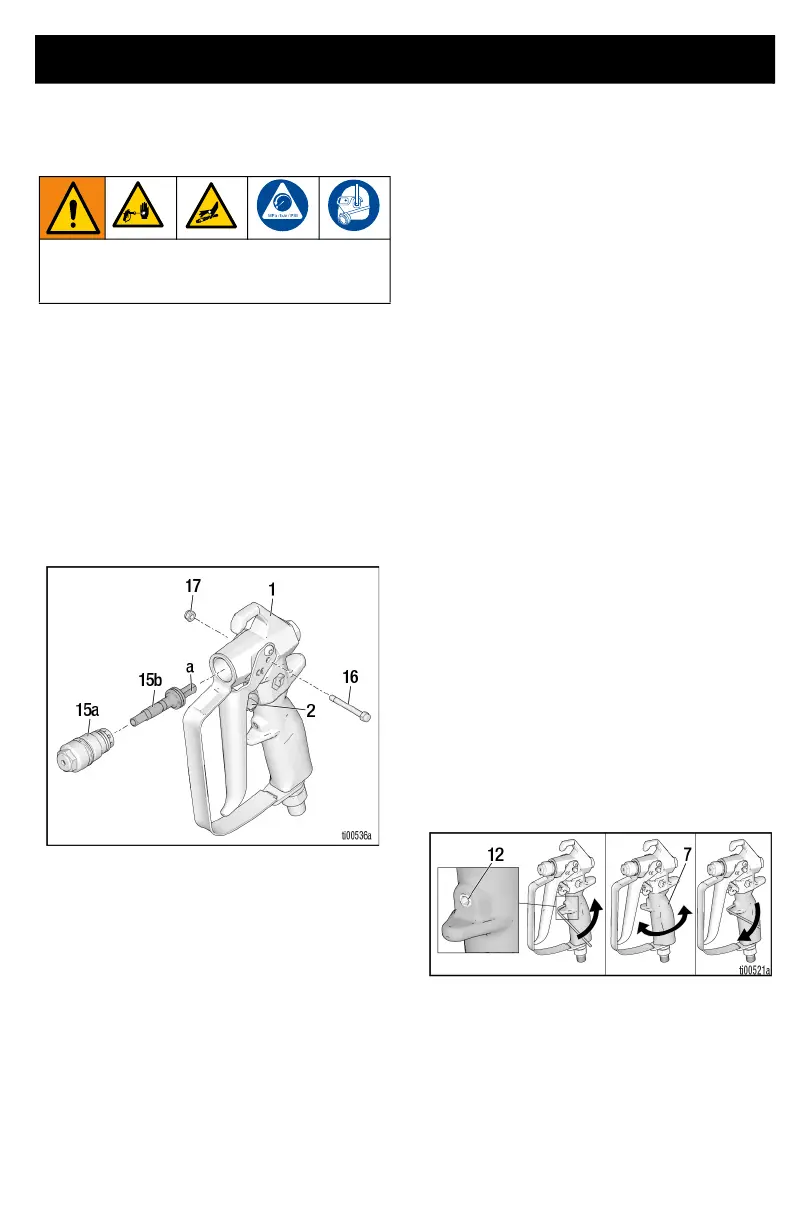
Replacing Needle
1. Relieve pressure. Follow the
Pressure Relief Procedure, page
7.
2. Engage trigger lock (2).
3. Remove tip (26) and guard (25)
from gun (1).
4. Remove nut (17) and trigger pin
(16).
5. Unscrew diffuser (15a) from front of
gun (1).
6. Remove needle assembly (15b)
through front of gun (1).
7. Use a soft brush to clean out inter-
nal passages of gun.
8. Grease o-rings of new needle using
a non-silicon grease.
9. Guide new needle (15b) through
front of gun (1) making sure the flat
sides (a) of the needle assembly
face the sides of gun housing.
10. Install diffuser (15a). Torque dif-
fuser to 26-30 ft-lbs
(35.25 - 43.38 N•m).
11. Replace pin (16) and nut (17).
Aligning Handle
If when tightened securely, handle no
longer matches up with housing,
realign handle.
1. Relieve pressure. Follow the
Pressure Relief Procedure, page
7.
2. Engage trigger lock (2).
3. Tighten handle (7) securely.
4. Loosen set screw (12) using a 1/8”
allen wrench.
5. Rotate handle (7) so it is aligned
with housing (1).
6. Tighten set screw (12) securely.
To avoid serious injury from skin injection,
follow the Pressure Relief Proceedure
before repairing the gun.