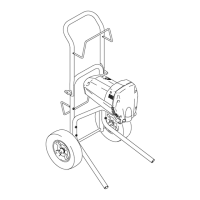
309043 9
Pail Flushing
Step 6 is for getting the paint in the hose back into the
paint container. A 50-foot (15 m) section of hose holds
approximately 1 quart (1 liter) of paint.
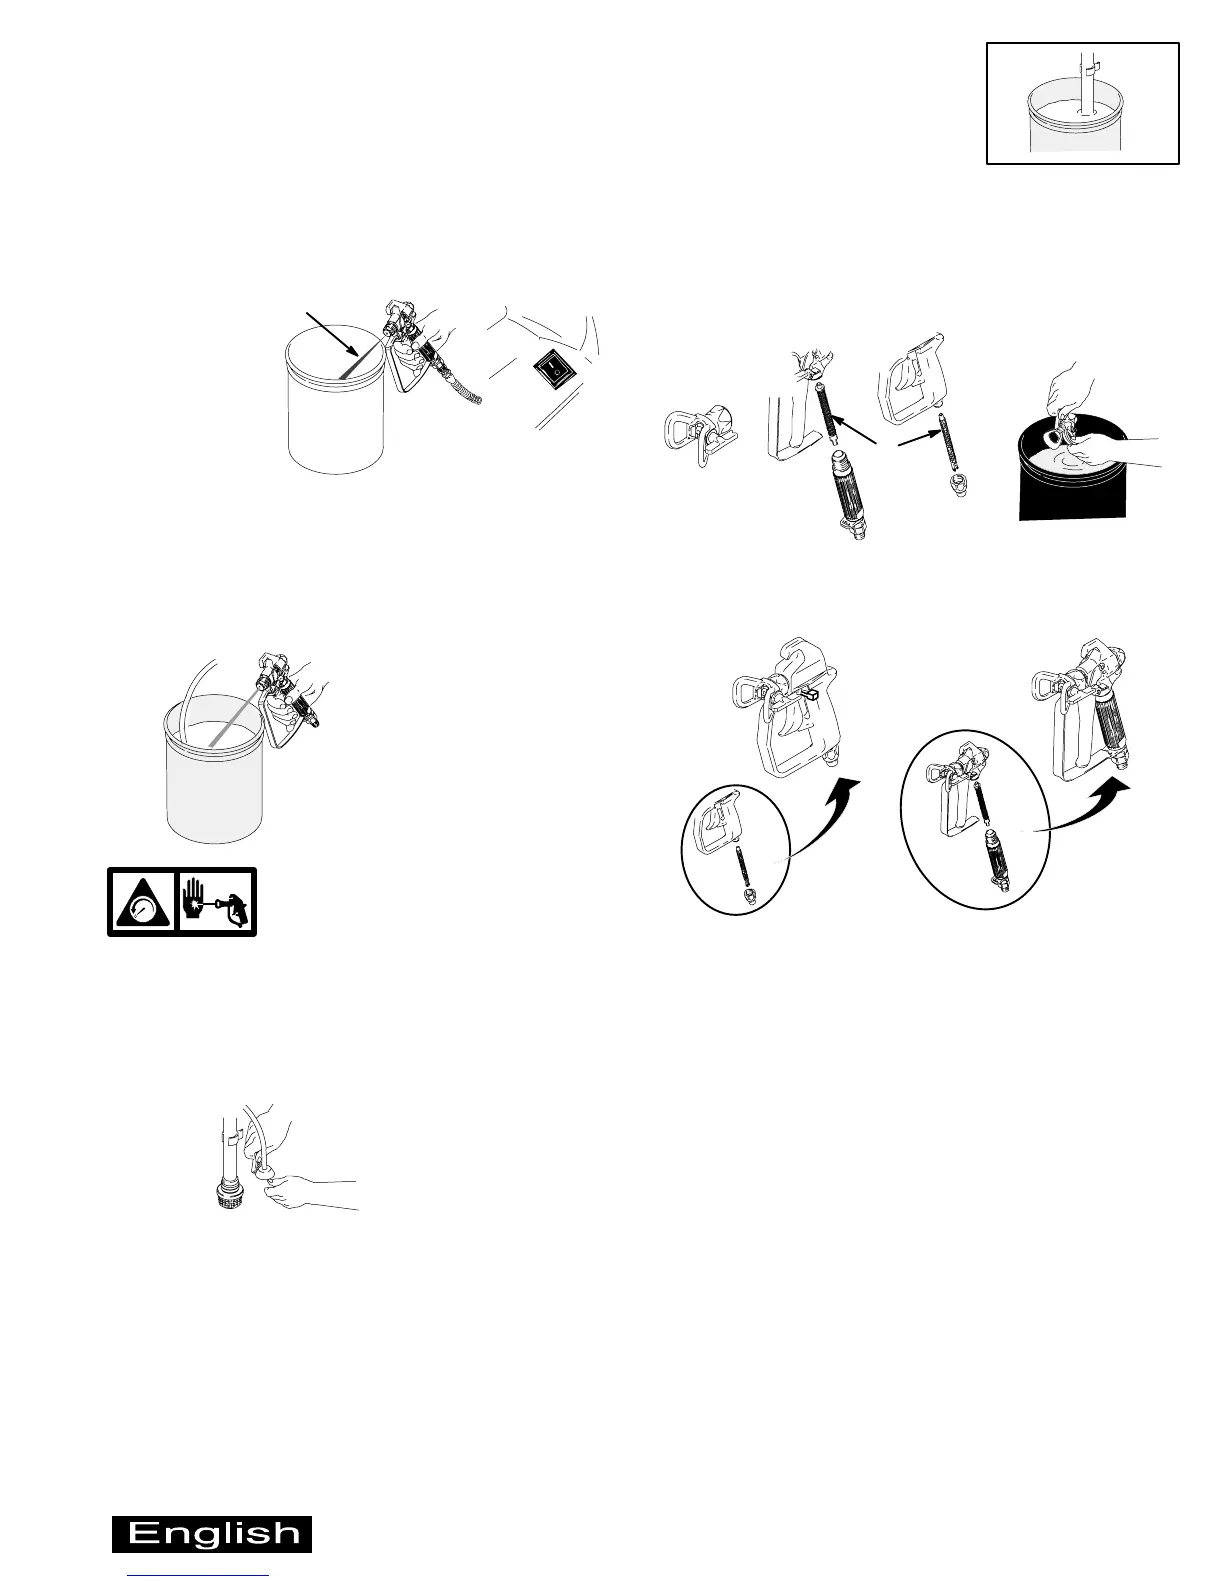
6. Trigger gun into paint pail, and turn Power switch
ON. When flushing fluid comes out of gun, release
trigger.
PAINT
watch for flushing fluid
ON
7. Move gun to waste pail, and trigger it to flush pump,
hose, and gun into waste pail. Continue until
remaining flushing fluid is gone from flushing fluid
pail.
NOTE: To minimize splashing, aim gun at inside wall of
pail.
WASTE
9567A
See Pressure Relief
Procedure
on page 2.
8. Relieve the pressure.
9. Remove suction tube and prime tube from pails, and
wipe residue from suction tube, prime tube, and inlet
screen.
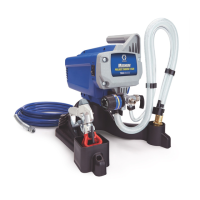
10. Clean tip & guard assembly and gun filter with water
and a brush. Check InstaClean filter for debris. If
needed, clean with water and a brush.
NOTE: See InstaClean Fluid Filter on page 12.
SG1
SG2 / SG3
9566A
filter
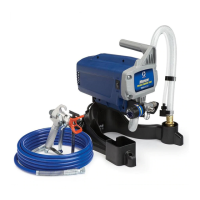
11. Reassemble tip & guard assembly and filter.
SG1
SG2 / SG3
9561A
9562A
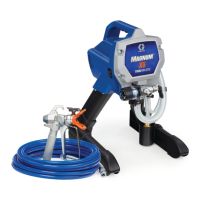
The sprayer is ready to spray a new coating or color
compatible with the fluid you just flushed with. If the next
coating is not compatible, flush with a compatible fluid
before you spray again.
NOTE: If you are storing the sprayer, see Preparing for
Storage
in the enclosed Operator’s Quick Guide.
FLUSH
 Loading...