psi
bar
MPa
16 309255
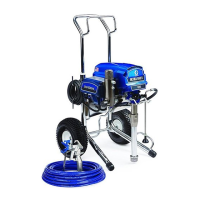
Pressure Control Repair
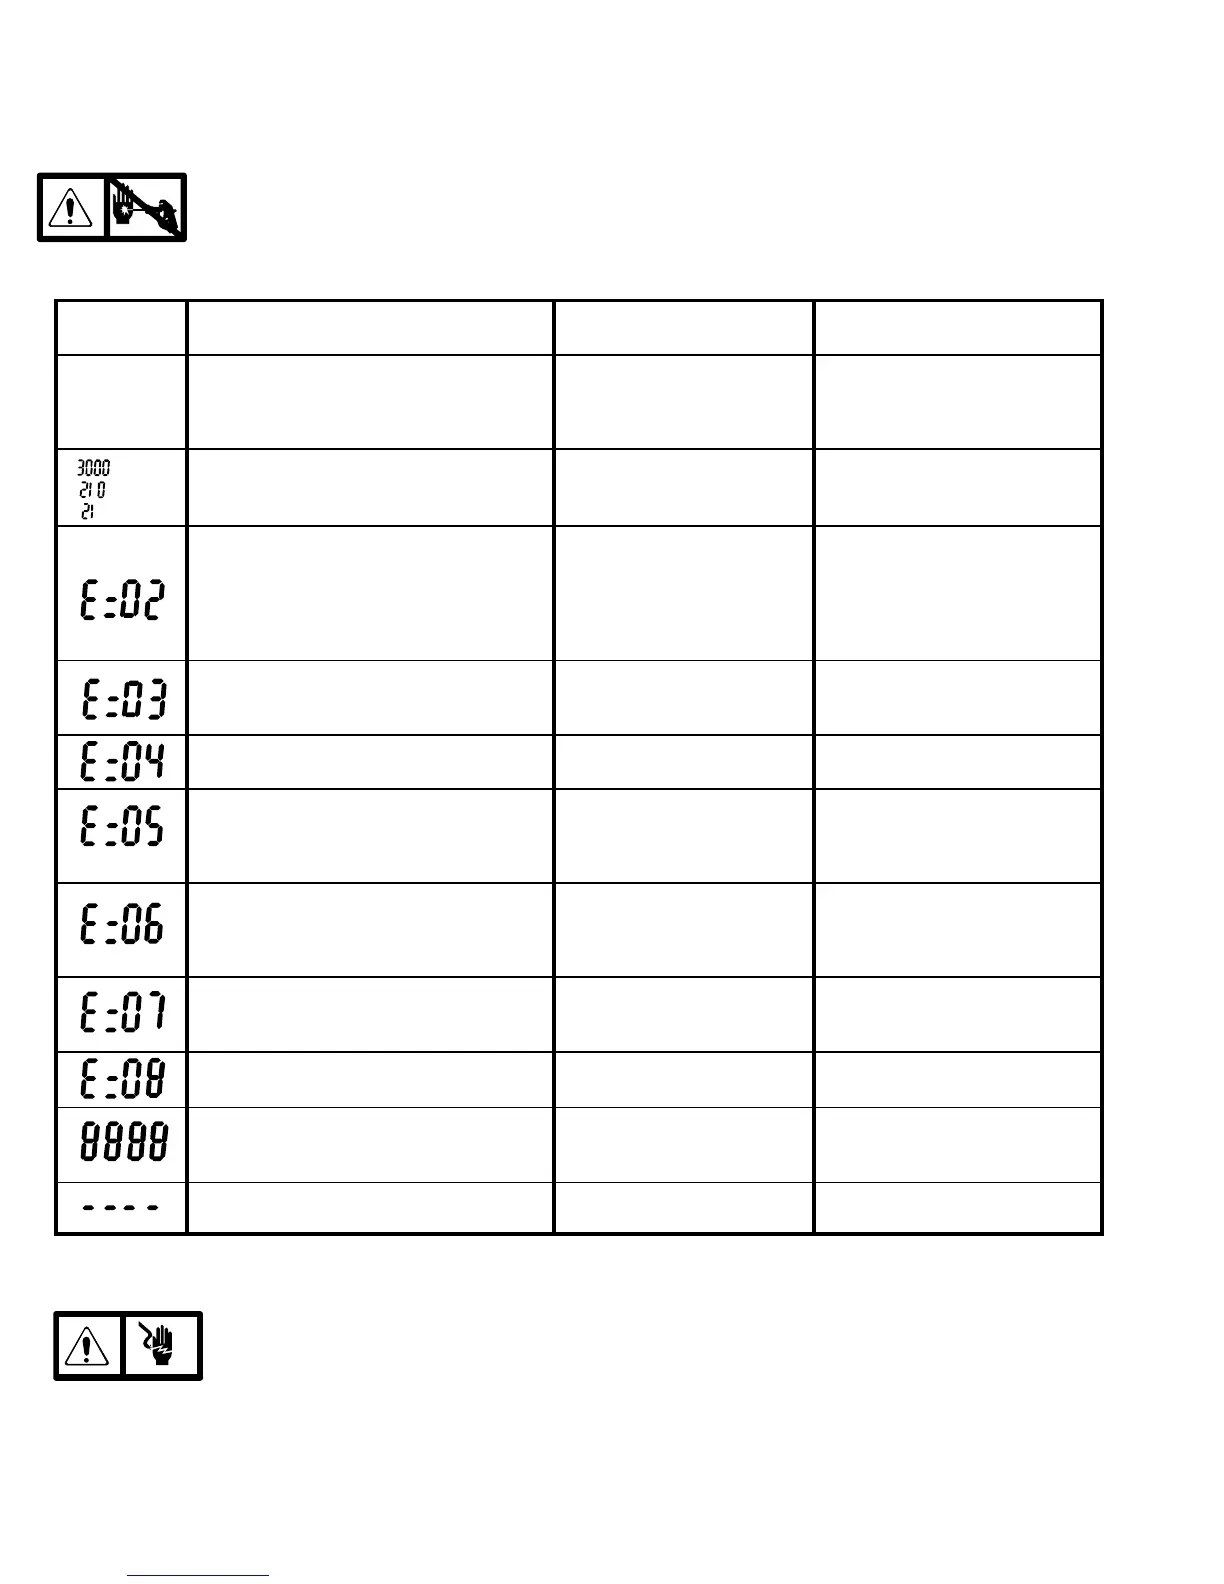
Digital Display Messages (Not available on all sprayers)
No display does not mean that sprayer is not pressurized. Relieve pressure before repair; page 4.
DISPLAY* SPRAYER
OPERATION
INDICATION ACTION
No Display Sprayer may be pressurized. Loss of power or display not
connected
Check power source. Relieve
pressure before repair or disas-
sembly. Verify display is con-
nected.
Sprayer is pressurized. Power is applied.
(Pressure varies with tip size and pressure
control setting.)
Normal operation Spray
1. Sprayer stops. Power is applied.
2. Sprayer stops. Power is applied.
3. Sprayer continues to run
1. Exceeded pressure limit of
4500 psi. Sprayer is pres-
surized.
2. Sprayer is not pressurized
3. Pressure rise nears 4500 psi
1. Remove any filter clogs or flow
obstructions. Lock gun trigger
open if using AutoClean valve.
2. Replace transducer
3. Replace control board
Sprayer stops. Power is applied. Pressure transducer faulty,
bad connection or broken
wire.
Check transducer connections
and wire. Replace transducer or
control board, if necessary.
Sprayer stops. Power is applied. Line voltage too high Check for voltage supply problem
Sprayer stops. Power is applied. Too much motor current Check for locked rotor, pump ob-
struction, damaged drive train,
shorted wiring or motor. Repair or
replace failed parts.
Sprayer stops. Power is applied. No operation, motor over
heated or unplugged
Allow sprayer to cool. Correct
cause of overheating. Verify mo-
tor is plugged into motor control
board
Sprayer stops. Power is applied. Pressure greater than
2000 psi (138 bar, 14 MPa)
while in Flush Timer Mode
Make sure spray gun is triggered
and prime valve is open when us-
ing AutoClean
Sprayer stops. Power is applied. Low line voltage Check for voltage supply problem
Power is applied. Digital display switches are
not set
Set switches on back of digital
display to appropriate settings.
Fig. 12, page 15.
Sprayer may be pressurized. Pressure less than
200 psi (14 bar, 1.4 MPa)
Increase pressure as needed
*Error codes also appear on control board as a blink-
ing red LED. LED is an alternate to display.
Electric shock hazard; page 4.
1. Remove four screws (60) and cover (49).
2. Turn sprayer ON. Count LED blinks. Blink count is
the same as error code (E=0X) in preceding
Digital Display Messages table.
3. Follow instructions in table.
After a fault, do following steps to restart sprayer:
1. Correct fault condition
2. Turn sprayer OFF
3. Turn sprayer ON