GXE 502X Quick Start Guide October 2009
Page 2
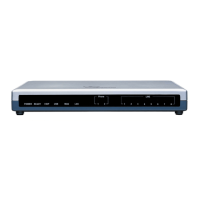
Grandstream GXE502x IPPBX Quick Start Guide
This Quick Start Guide will quickly take you through the necessary steps to set up
your Grandstream GXE502x. For advanced configuration instructions please consult
the GXE user manual after
completing the steps in this guide.
Check your GXE502x packaging:
• GXE502x unit
• Ethernet cable
• 12V DC power adapter
Note: Before configuring your GXE please go to
http://www.grandstream.com/BETATEST for the newest
firmware releases, voice prompts and updated GXE
documentation.
System Set-up Prerequisites:
• Compatible PC (to access web GUI)
• Ready access to power and UPS or surge protector
• DHCP must be configured with DHCP Option 66 enabled for Grandstream
phones to be auto-provisioned (Grandstream default configuration. Non-
Grandstream IP phones will need to be configured manually).
Switch/Hub: network device used to share network
connections
PSTN Line: traditional analog POTS line
DHCP: dynamic host configuration protocol – automatically
assigns IP addresses
Extension Length: number of characters in an extension. For
example: ext 800 has an extension length of 3.
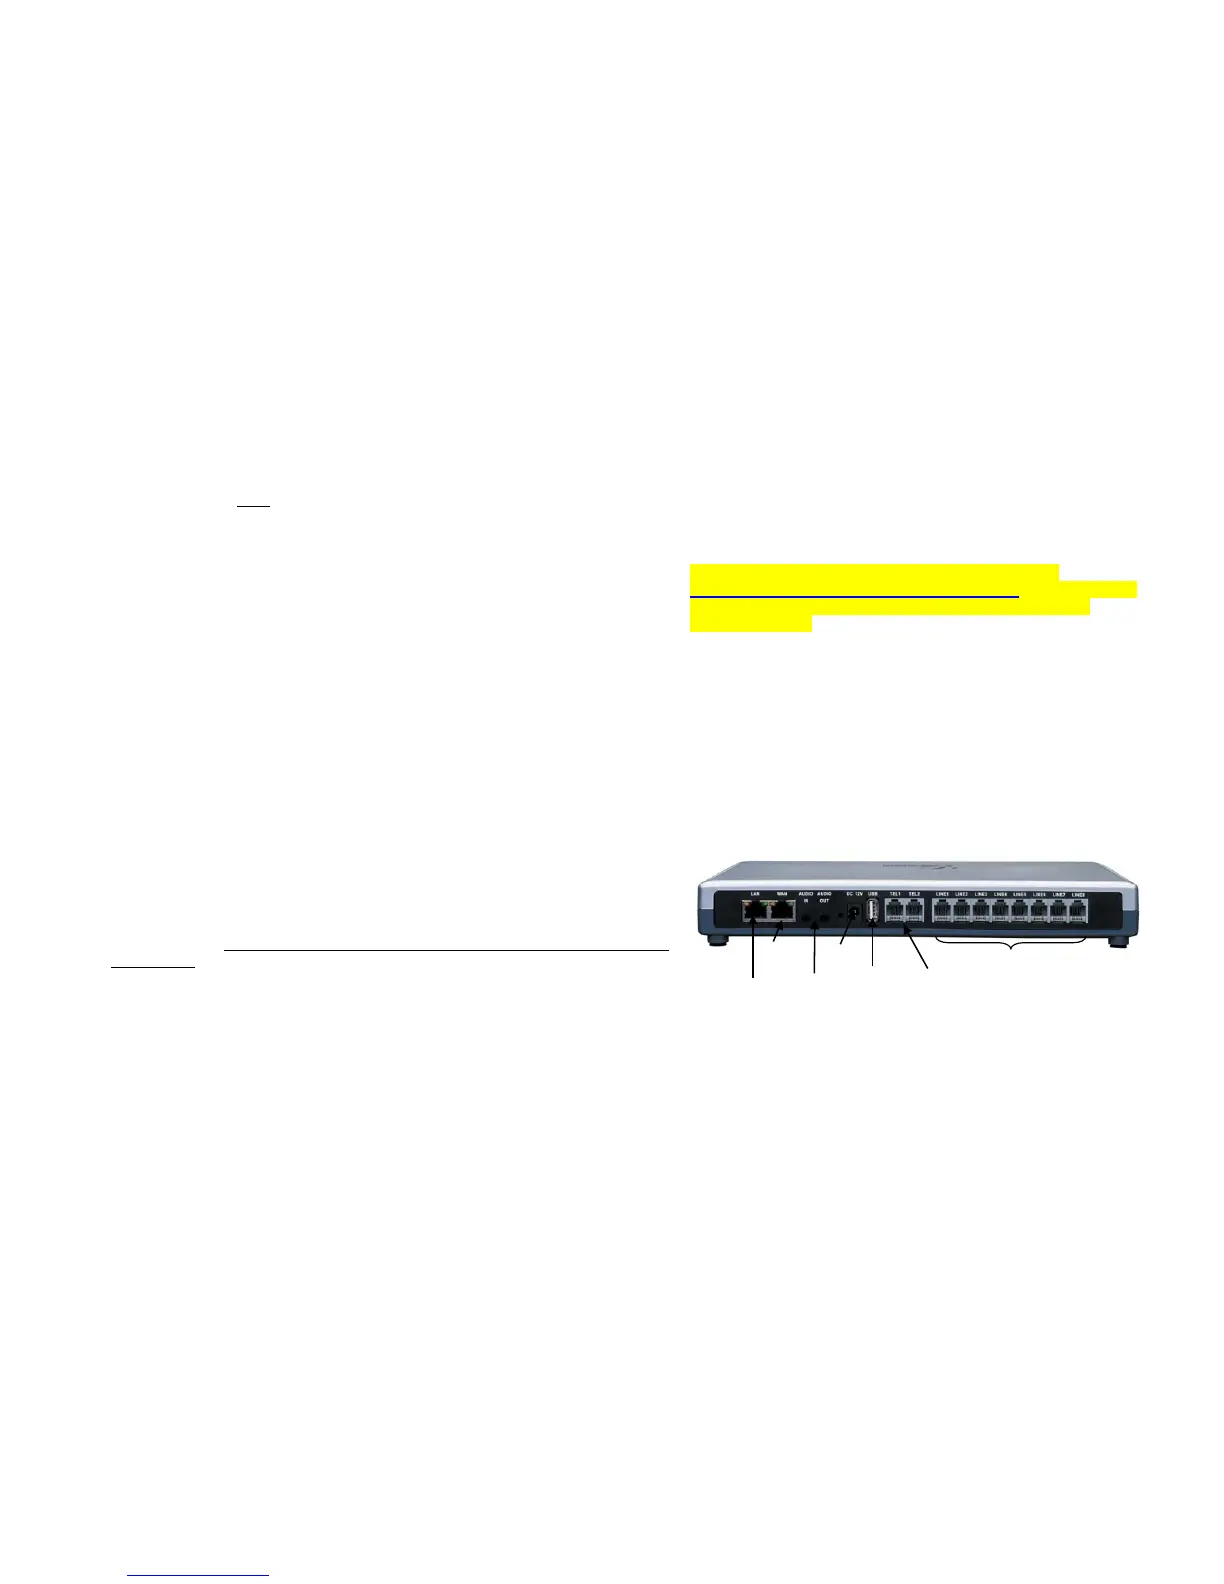
1. Connect one end of an RJ-45 Ethernet cable into the LAN port of the GXE.
2. Connect the other end of the Ethernet cable into the uplink port of an
Ethernet switch/hub.
The GXE will be the router for this network, and will serve as a DHCP server as
well. However, do not connect phones and other SIP devices to the switch/hub
at this point; they will need to be connected later to be auto-provisioned.
3. Connect the 12V DC power adapter into the 12V DC power jack on the back
of the GXE. Insert the main plug of the power adapter into a surge-
protected power outlet.
4. Let the GXE boot up for the first time. You will know it is finished with the
boot process when the “READY” LED is solid green.
Connect PSTN lines from the wall jack to the FXO ports, and analog lines (phone
and fax) to the FXS ports. IP phones will be connected in a later step.
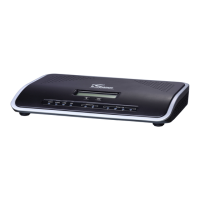
FXO ports (connect PSTN
lines here)
analog lines here)
12V DC
Power Jack
In/Out
USB Port
LAN Port (connect
RJ45 cable here)
WAN Port (connect to
the internet here)
 Loading...