2. Assembly, putting into operation, connection
3
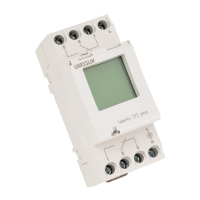
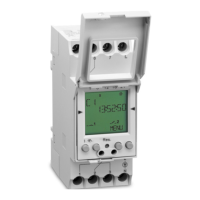
2.1 Assembly
Fit the time switch
• on a DIN rail
• optional wall surface-mounting
Surface-mounting set for 2 and
3 module spacings
Article No. 03.53.0083.2
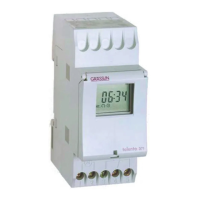
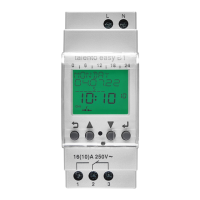
2.2 Putting into operation
The time and date are set at the factory.
The time switch is in Energy-saving mode.
Only the colon flashes.
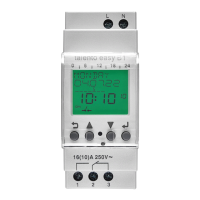
Press any key:
• The time switch is actived
•
It displays the time (day of the week)
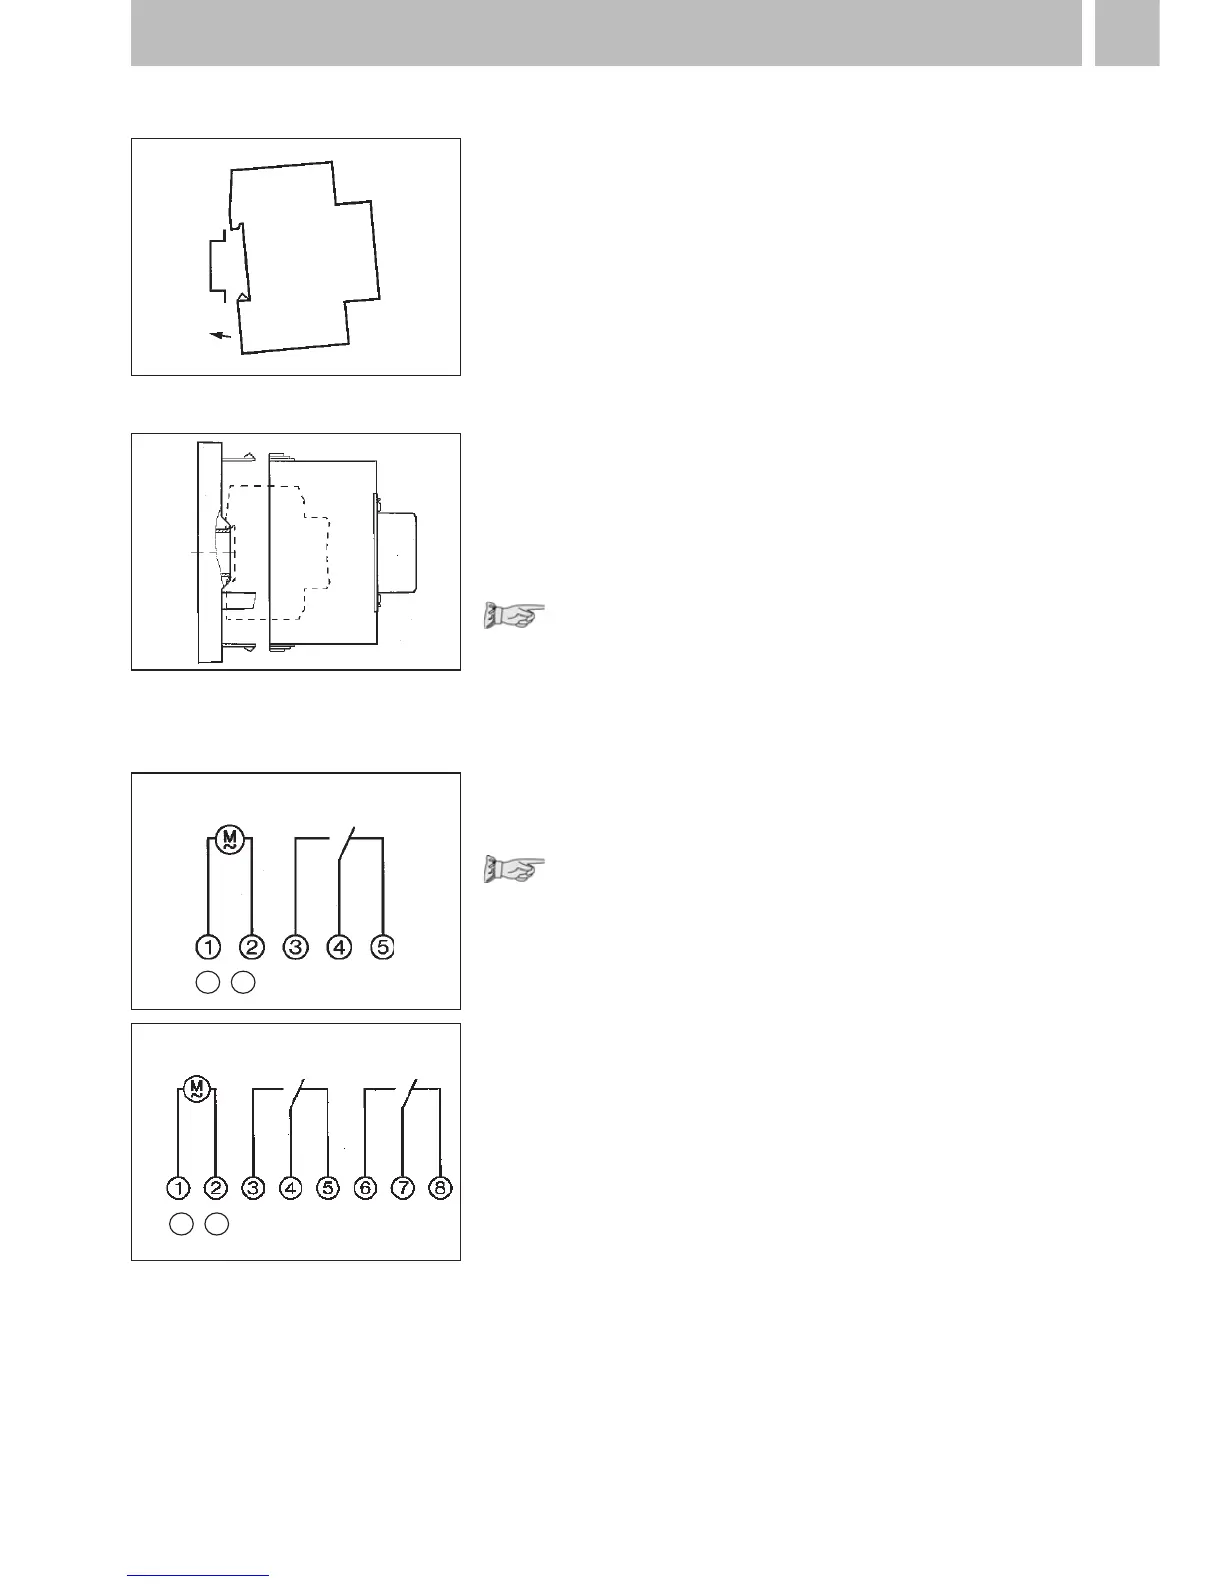
2.3 Connection
See information on the unit!
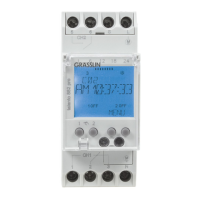
Press any key to activate the time switch
• the time and date is displayed
Note:
If no key is pressed the time switch is
automatically activated after approx
1 - 2 minutes.
Safety instruction:
•
When operating the clock safety low
voltage, only safety low voltage may
be connected.
•
When operating the clock with function
low voltage, mains voltage (230 ~) or
function low voltage may be connected.
The connection of safety low voltage is
not admissible in this case.
AC
DC
+
–
AC
DC
+
–