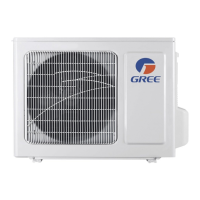
80DWFK6HULHV'&
,QYHUWHU6HUYLFH0DQXDO
138
10. Loosen the motor
Loosen the bolts on the
motor with a wrench.
11. Remove the motor
Ɣ8VHVSDQQHUDQG
screwdriver to remove
WKHEROWV¿[LQJWKHPRWRU
Ɣ5HPRYHWKHPRWRUIURP
motor support.
12. Install a new motor
to motor support
Ɣ3XWWKHQHZPRWRUWR
correct position.
Ɣ8VHVSDQQHUDQG
VFUHZGULYHUWR¿[WKHPRWRU
to motor support with bolts.
13. Assemble the fan
Ɣ$VVHPEOHWKHD[LDOIORZ
fan to correct position and
fix it to the motor shaft in
reverse to the disassembly
procedures.
Ɣ3XWWKHHOHFWULFER[FRYHU
to correct position and
fix it onto the electric box
according to disassembly
procedures.
14. Connect the motor
power cable
Ɣ&RQQHFWWKHLQVHUWRI
motor power cable to the
mainboard terminal in
reverse to the disassembly
procedures.
 Loading...