80DWFK6HULHV'&
,QYHUWHU6HUYLFH0DQXDO
161
2. Remove fans
Ɣ5HPRYHWKHIL[LQJ
screws of fan wheel
with inner hexagonal
and remove the wheel.
The inner hexagonal
and its direction of
effect are shown by the
arrow in the graph.
3. Remove bearing
¿[LQJSODWHV
Ɣ5HPRYHVFUHZVRQ
the bearing fixing plates
with screwdriver. (As
shown in the box in the
graph)
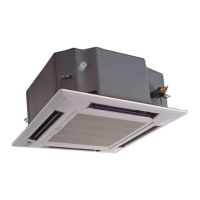
Model:GTH48K3CI/GTH60K3CI
Disassembly of panel grating module
Remark: Make sure that the power supply is cut off before disassembling and protect all the parts during disassembly.
'RQRWSXW¿OWHUVFUHHQQHDUWKHKLJKWHPSHUDWXUHKHDWVRXUFH
Step Illustration Handling Instruction
Disassembly of
sub-assy of front
grill
Ɣ8QVFUHZWKHFODVSVRIWKH
upper grill and the 2 screws
of the clasps.
Ɣ2SHQWKHJULOOGLVDVVHPEOH
the 2 down clasps to remove
the grill
'LVDVVHPEO\RIULJKWDQGOHIW¿QLVKLQJSODWHV
Remark: Make sure the power supply is cut off before disassembling and protect all the parts during disassembly. Do
not scratch the outer parts.
Step Illustration Handling Instruction
Disassembly
of right and left
¿QLVKLQJSODWHV
Ɣ'LVDVVHPEOHWKHVFUHZV
as shown in the graph with
screwdriver and then push
upward to remove the right
and left finishing plates.(As
is shown in the graph, arrow
represents the position of
screws.)
Disassembly of panel parts
Remark: Make sure the power supply is cut off before disassembling and protect all the parts during disassembly. Do
not scratch the outer parts.

 Loading...