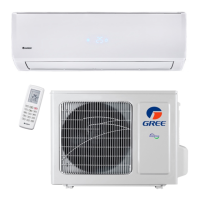
7
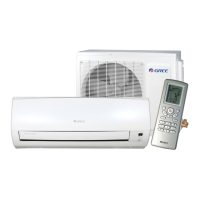
3 4
5
2
La figure 15 illustre les différentes étapes de l’installation du panneau
de commande mural, mais il faut aussi tenir compte des points suivants.
(1) Avant d’installer le panneau de commande mural, coupez le courant jusqu’à
ce que vous ayez terminé.
(2) Tirez le câble toronné à quatre conducteurs du mur et insérez-le dans le trou
rectangulaire qui se trouve derrière la semelle du panneau de commande
m
ural .
(3) Fixez la semelle du panneau de commande mural sur le trou à l’aide des vis
M4X25.
(4) Insérez le câble toronné à quatre conducteurs dans la fente du panneau de
commande mural et fixez le panneau avant et la semelle ensemble.
(5) Ensuite, fixez le panneau avant et la semelle au panneau de commande à
l’aide des vis ST2.9X6
Fig. 15
1
Fig.15 shows the installation steps for the wired remote control, but the following
elements must also be taken into account.
(1) Prior to installation, first turn off the power supply, that is, do not use electri-
city during the entire installation.
(2) Pull out the twisted four-core pair line from the installation holes and then
pass it through the rectangular hole behind the soleplate on the wired remote
c
ontrol.
(3) Attach the wired remote control soleplate to the wall over the installation hole
and then affix it with M 4X25 screws.
(4) Insert the twisted four-core pair line into the slot on the wired remote control
and then buckle the front panel and the soleplate together.
(5. Finally, attach the front panel and the soleplate of the wired remote control
tightly with ST 2.9X6 screws.
Fig. 15
00708_Owner's manual Lomo_Mise en page 1 15-03-03 14:52 Page55
 Loading...