Now for the fun of gear adjustment. Your trike has also been
supplied with the component manufacturers instructions for
your reference. Set your trike so the rear wheel is off the ground
and can spin freely, and is stable enough that you can turn the
cranks.
The rear derailleur is similar
in that if it won’t go into the
larger sprockets, there is not
enough cable tension, or into
the smaller sprockets if there
is not enough cable slack.
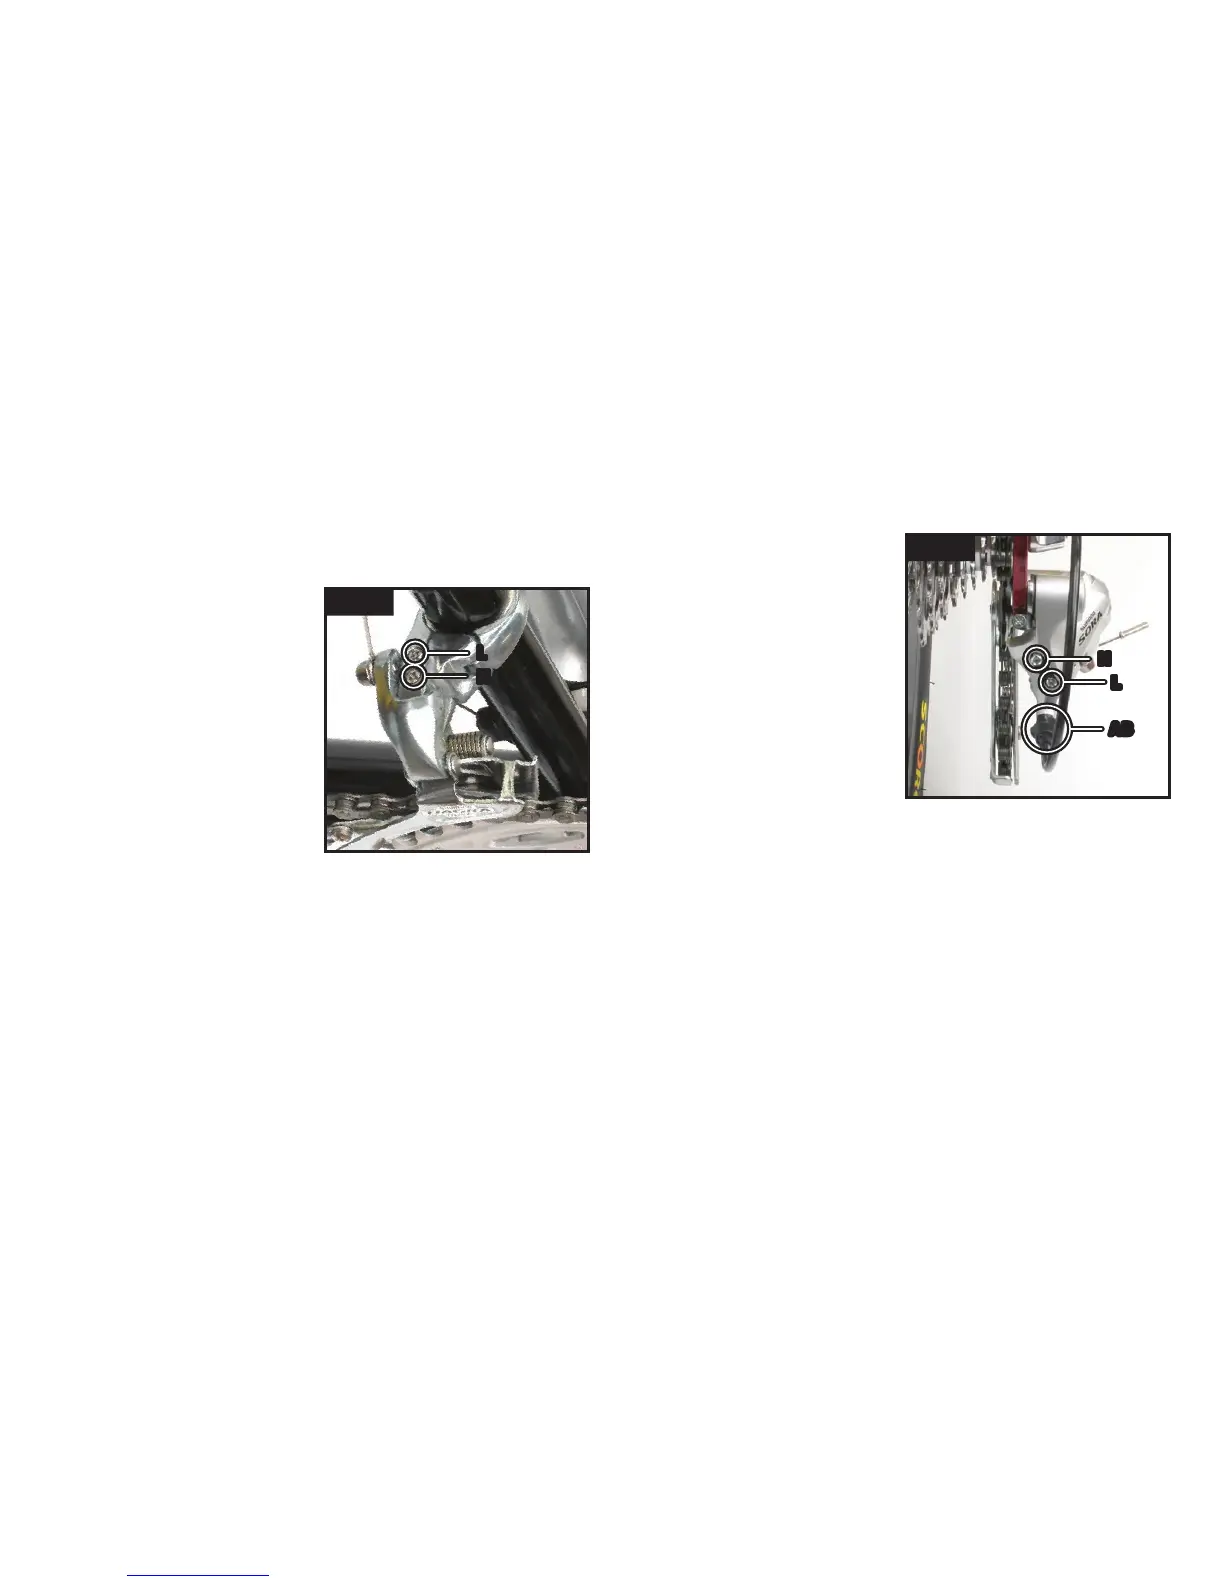
Turn the barrel screw (fig 19
AB) in for slack and out for
tension. As with the front
derailleur, use the limit screws
only as a last resort, as these
don’t effect the indexing of
your gears.
Loosen the ‘H’ screw (fig 19 H) if it won’t go into the smallest
sprocket or tighten if it goes between the smallest sprocket and
the dropout. Loosen the ‘L’ screw (fig 19 L) if it won’t go into the
largest sprocket or tighten it so that the derailleur doesn’t go into
the spokes (not too good if this happens).
If you run out of adjustment with the barrel screw you will need
to wind it all the way back in, put the shifter all the way forward
and loosen the pinch bolt and pull through the excess cable and
tighten the pinch bolt again.
Also check the cable to see if it is still running smoothly by
undoing the pinch bolt, holding the cable in one hand and
shifting with the other hand. Lubricate or replace the cable if it is
hard or rough to pull through.
If neither of these things work, your derailleur could be worn or
your derailleur hanger misaligned (bent through an accident).
Contact you dealer for further assistance.
fig 19
adjusting your gears
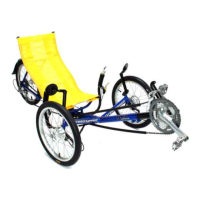
~ front derailleur
Check this by returning the chain to the smallest chainring (shift-
er all the way forward) and feeling the cable between the cable
stop and the derailleur, is it excessively slack? If so undo the
cable pinch bolt and pull through the excess cable and tighten
the pinch bolt. Try shifting to the large chainring again. If it still
doesn’t work turn the ‘H’ limit screw (small screws on top of the
derailleur shown in fig 18 H) out by a quarter of a turn each time
and retry the shift. If you unscrew it too far, the chain will fall off
the outer side.
B: Loosen off the ‘L’ limit screw (fig 18 L) slowly and it should
drop down, if not the cable may be too tight. To check this,
undo the cable pinch bolt, loosen the limit screw again until it
drops down and reattach the cable. Double check that it still
goes into the large chainring. Also check the cable to see if it is
still running smooth by undoing the pinch bolt, holding the cable
We will start with the front
derailleur, as it is easier to
adjust, and gives you a good
start for the rear. Firstly
determine the problem you are
having, is it A) will not go into
the large chainring or B) will not
go into the smallest chainring?
A: The cable needs more ten-
sion, or if you’ve been riding for
a while, may have stretched.
fig 18
~ rear derailleur
in one hand and shifting with the other hand. Lubricate or re-
place the cable if it is hard or rough to pull through. If neither of
these things work, your derailleur could be worn or misaligned.
See your dealer for further assistance.
13
 Loading...