9
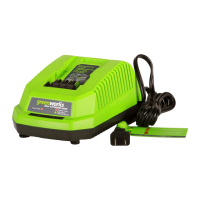
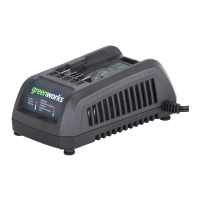
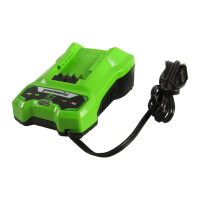
CHARGER MOUNTING
1. This charger can be installed hanging on a wall using (2) #8 screws (not included).
2. Locate the placement for the charger to be wall mounted.
3. If fastening to wood studs use two wood screws (not included).
4. Drill two holes 2 3/8” (6 cm) on center ensuring they are level.
5. If fastening to drywall use wall anchors (not included) and screws to secure the charger to the wall.
6. This unit is intended to be correctly orientated in a vertical or oor mount position.
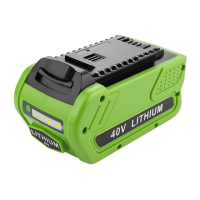
NOTE: If the battery and the charger won’t be used for a long time, remove the battery from the
charger and pull out the AC power plug.
OPERATION
1
2
3
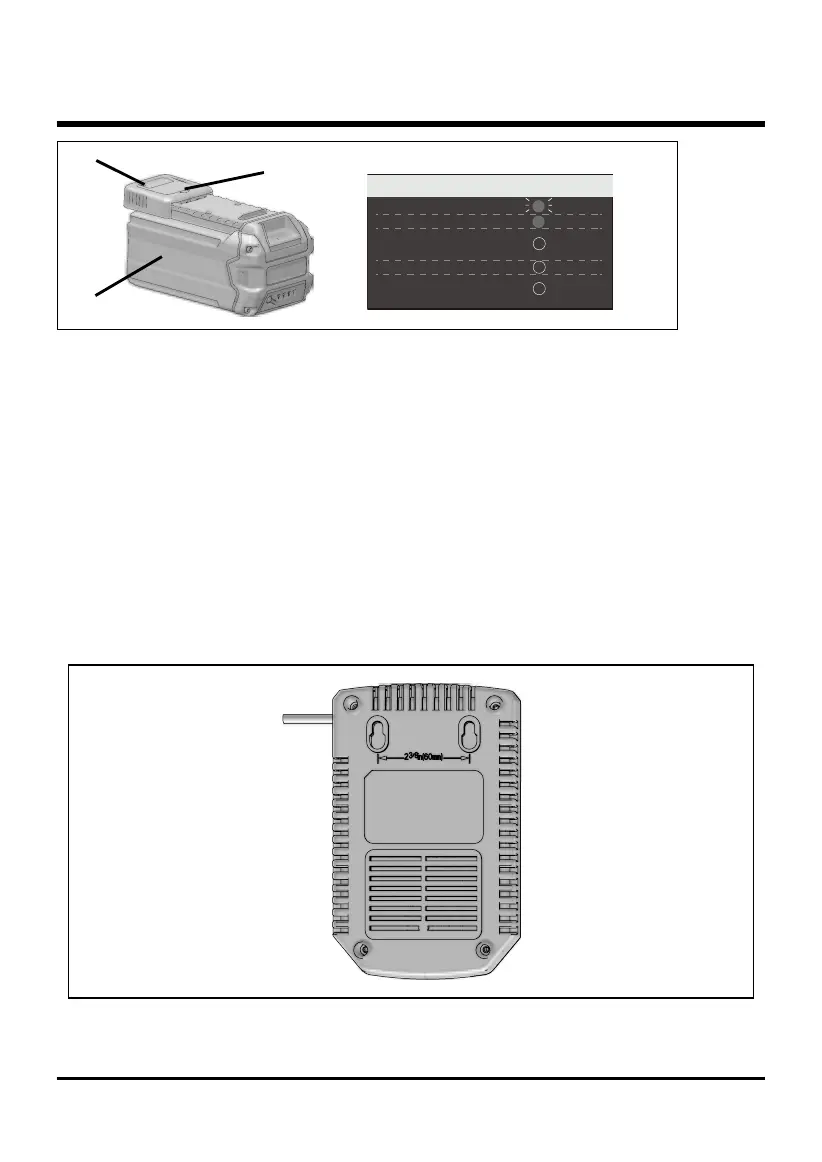
CHARGING PROCEDURE (LED INDICATOR)
BATTERY IS CHARGING:
FULLY CHARGED:
(REMOVE FOR APPROX. 30
MINUTES TO ALLOW TO COOL)
DEFECTIVE BATTERY:
(REMOVE AND REPLACE WITH
NEW BATTERY IF THIS OCCURS)
NO BATTERY PRESENT:
GREEN
GREEN
OFF
OFF
OFF
BLINKING
BATTERY IS TOO WARM OR TOO COLD:
False Defect Note:
When the red indictor ickers, pull out the battery from the charger and insert again within 2 hours. If
the indictor shows charging, that means the battery is good. After 2 hours, please pull out the battery
and also pull out the AC power plug of the charger for 1 miniute, and then insert the AC power plug
and the battery again. If the indictor shows charging, that means the battery is good. If not, the
battery needs to be changed.