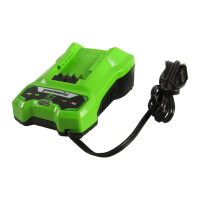
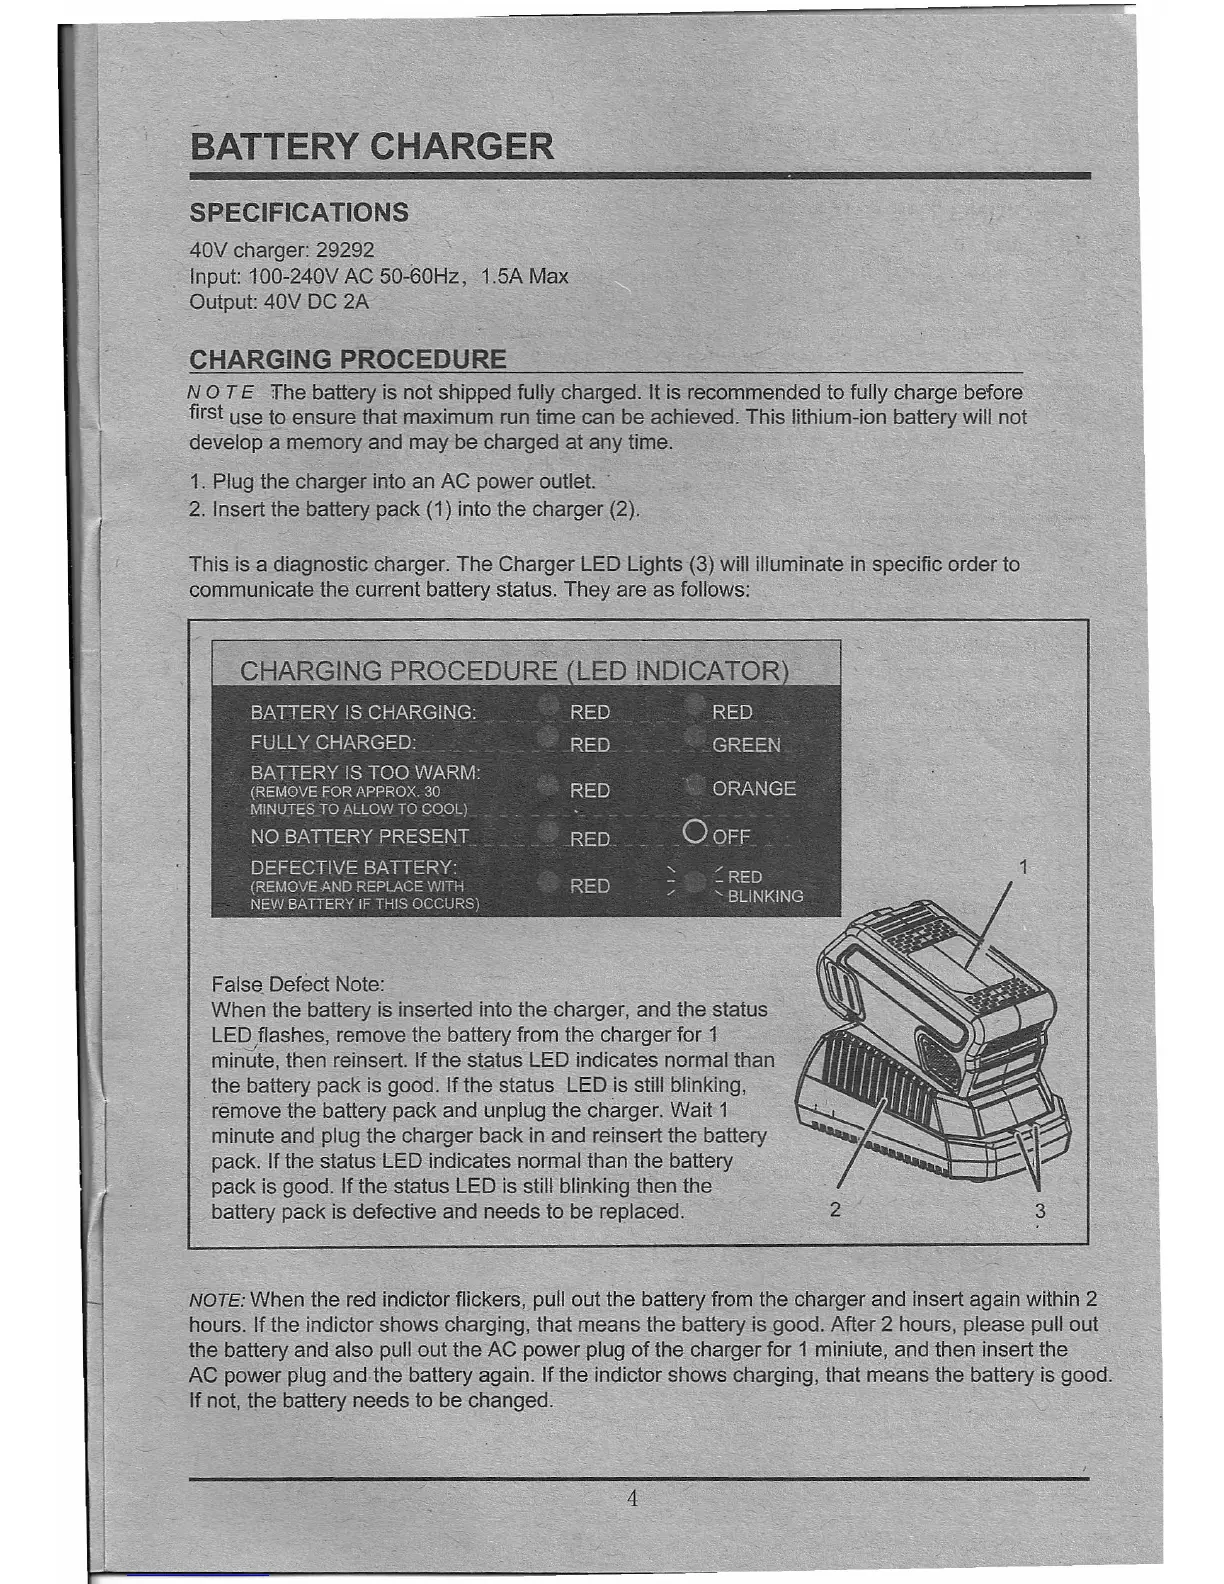
BATTERY CHARGER
SPECIFICATIONS
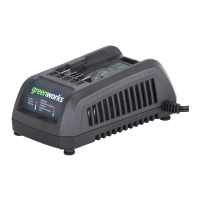
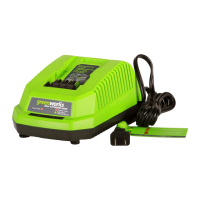
40V charger: 29292
Input: 100-240V AC 50-60Hz, 1.5A Max
Output: 40V DC 2A
CHARGING PROCEDURE
NOT E The battery is not shipped fully charged. It is recommended to fully charge before
first use to ensure that maximum run time can be achieved. This lithium-ion battery will not
develop a memory and may be charged at any time.
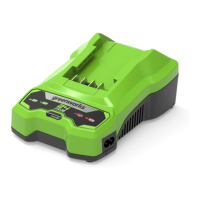
1. Plug the charger into an AC power outlet. .
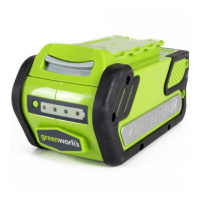
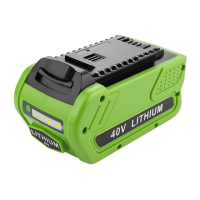
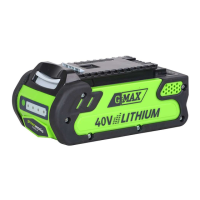
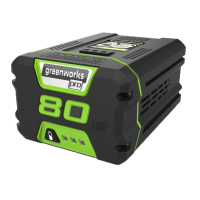
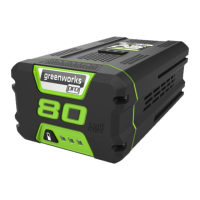
2. Insert the battery pack (1) into the charger (2).
This is a diagnostic charger. The Charger LED Lights (3) will illuminate in specific order to
communicate the current battery status. They are as follows:
False Defect Note:
When the battery is inserted into the charger, and the status
LE~flashes, remove the battery from the charger for 1
minute, then reinsert.
If
the status LED indicates normal than
the battery pack is good.
If
the status LED is still blinking,
remove the battery pack and unplug the charger. Wait 1
minute and plug the charger back in and relnsert the battery
pack.
If
the status LED indicates normal than the battery
pack is good.
If
the status LED is still blinking then the
battery pack is defective and needs to be replaced.
2
3
NOTE: When the red indictor flickers, pull out the battery from the charger and insert again within 2
hours.
If
the indictor shows charging, that means the battery is good. After 2 hours, please pull out
the battery and also pull out the AC power plug of the charger for 1 miniute, and then insert the
AC pow.er plug and the battery again.
If
the indictor shows charging, that means the battery is good.
If
not, the battery needs to be changed.
4