7
7
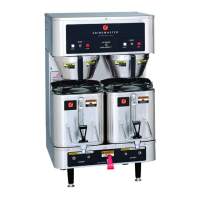
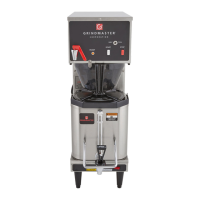
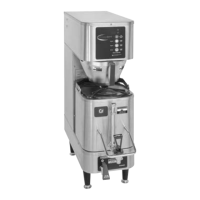
Pour Over version Auto-Fill version
1. Ensure that the water inlet valve cap supplied with the
machine is installed on the water inlet valve to prevent
leaking.
1. Plumb water to the fill valve located on the back of
the brewer. A ¼” female flare x ¼” tube adapter as
well as a ¼” flare x hose adapter provided with the
brewer. Do not use reverse osmosis water.
2. Open reservoir lid. 2. Open water service valve.
3. Fill reservoir with tap or bottled water to the level indi-
cated on reservoir. Do not use distilled water.
3. Plug unit into a 120V/15 amp receptacle. Turn
main power switch to ON.
4. Plug unit into a 120V/15 amps receptacle. Turn main
power switch to ON.
4. Reservoir will automatically fill.
5. Place a cup in the drip tray of the unit to collect the wa-
ter from the priming operation.
5. Place a cup in the drip tray of the unit to collect the
water from the purging operation.
6. The screen will display "Prime Brewer". Press BREW
button until water flows into cup.
6. The screen will display "Prime Brewer". Press
BREW button until water flows into cup.
7. Refill the reservoir to the appropriate level. 7. Allow brewer to reach brewing temperature.
8. Allow brewer to reach brewing temperature.
Note: Auto-Fill ONLY:
The water is supplied directly to the unit and
the water fill level marking is not used.
Operation is not affected by the water being
below the fill line.
Fill Level
Operating Instructions
WARNING Brew probes are sharp. To prevent injury, do not place fingers inside the brew chamber. To prevent
accidental overflow, press “BREW” to stop.
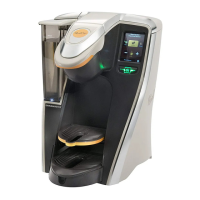
Step 1 – Lift brew chamber lid Step 2 – Insert RealCup™ capsule Step 3 – Close brew chamber
ENGLISH