60
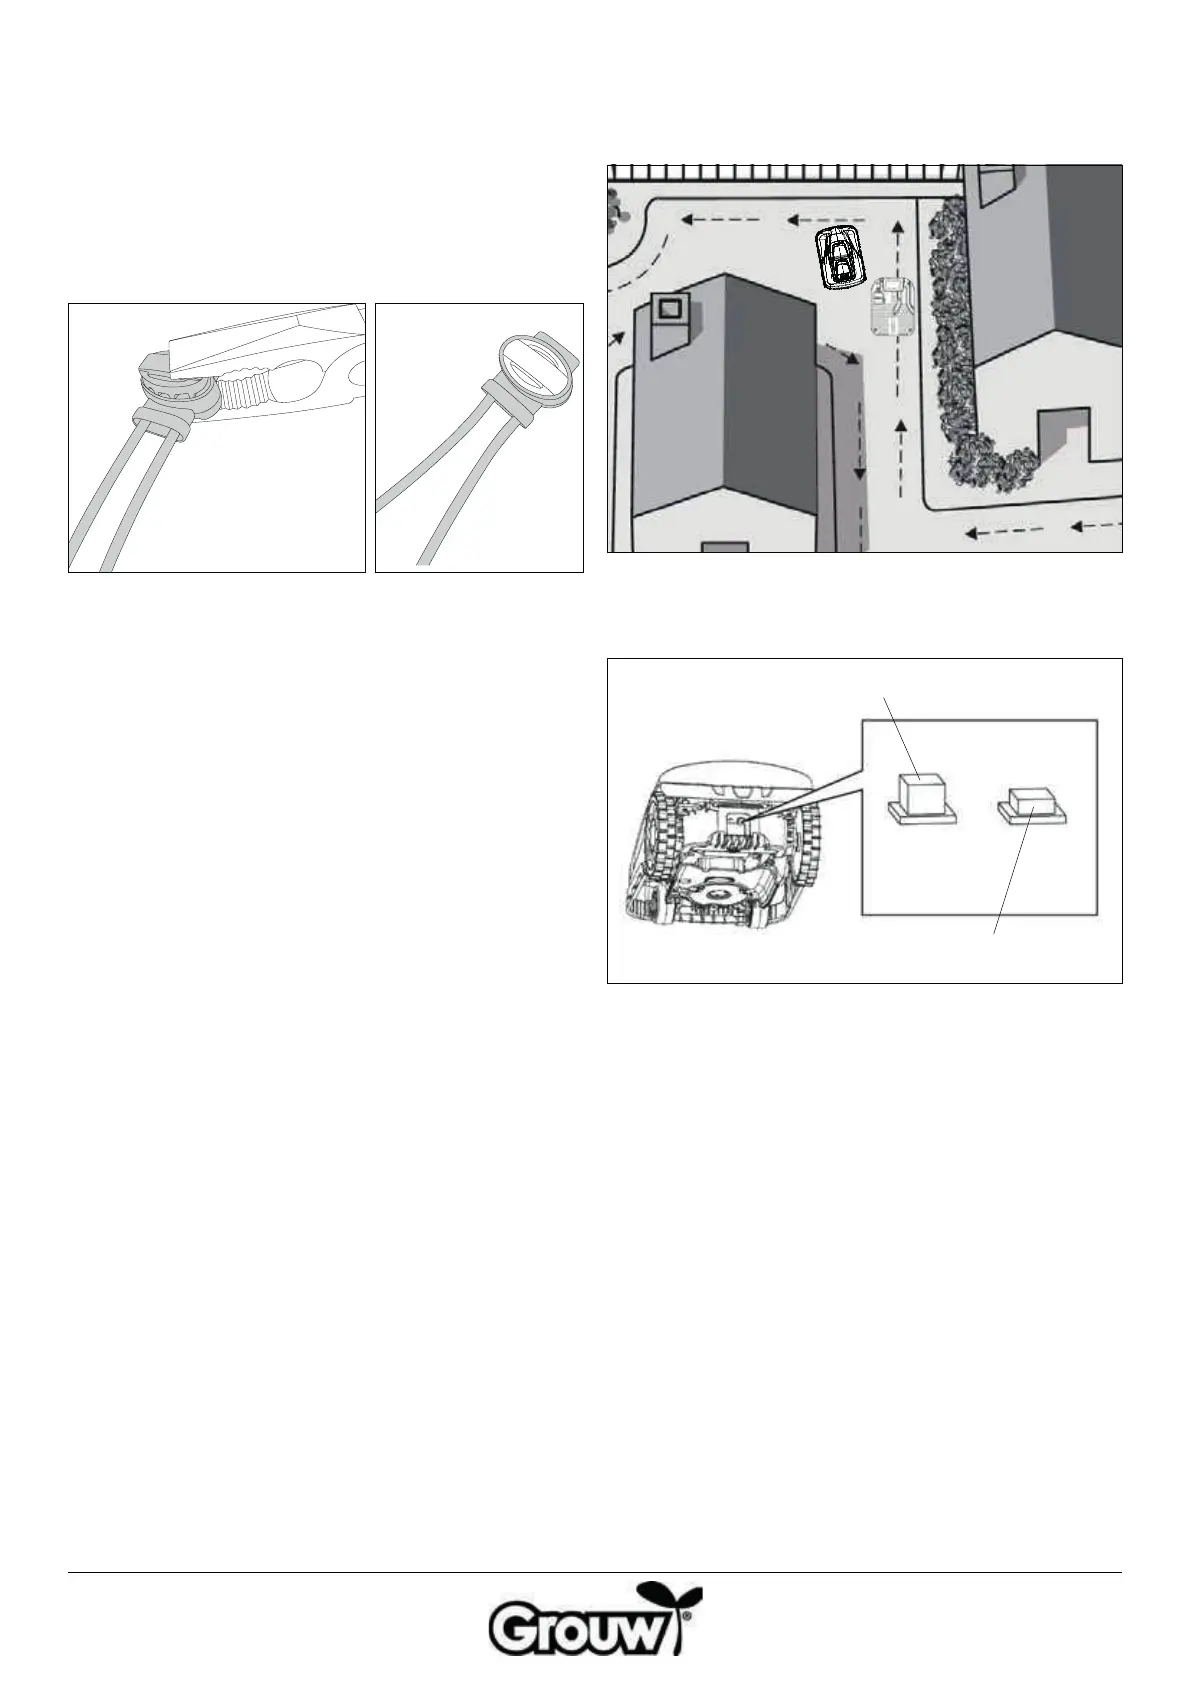
If the indicator light ashes green and there is a break
in the boundary cable, you must join the two broken
ends of the boundary cable using a connector. Cut the
ends of the boundary cable cleanly using side-cutting
pliers and insert the ends into the connector WITHOUT
stripping them rst. Press the connector fully together
using at-nose pliers so that the internal metal plate
goes through the boundary cable’s insulation and
recreates the connection.
Once the indicator light turns green, the boundary cable
has probably been installed and connected properly,
unless the robot lawnmower displays a boundary cable
signal error. Check that all the plastic pegs are knocked
fully into the ground and that the boundary cable is taut
and at against the ground right the way round.
Step 4: Testing and completion
Place the robot lawnmower within the work area close
to the rear of the charging station as shown.
Switch it on by pressing the main switch on the rear of
the lawnmower to the ON position.
OFF
ON
 Loading...