5.4 Wall Mount Bracket Installation
Before install the inverter you need install the wall mount bracket so that the inverter can
be firmly installed on the wall.
Wall mount plan:
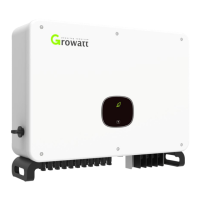
Fig 5.7
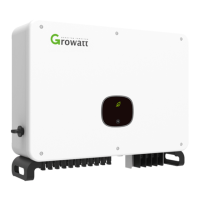
Fig 5.8
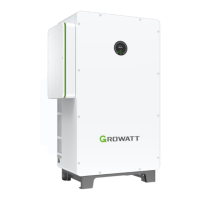
Fig 5.9
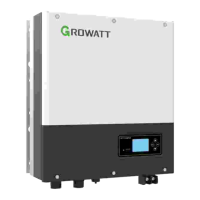
Fig 5.10
1>Use the wall mount plate as a template drill holes on the wall and put in expansion
bolts.
2>Follow the following drawing put the bolt to install the wall mount plate on the wall.
Fig 5.11
Notice: Do not install inverter unless you have confirmed the wall mount plate has been
firmly installed on the wall.
Notice:Expansion bolt should be installed on solid walls with at least 100mm thickness.
5.5 Installing The Inverter
After the wall mount bracket has been firmly installed on the wall , put the inverter on
that plate.
1>Use the rope(must meet the weight requirement of the inverter) through two rings
and lift the inverter up, just as following Figure.
2>Before hanging the inverter on the wall mount bracket use screws to fix the inverter
and please keep the inverter balance.
3>Check the inverter if it is firm enough and lock all the screws.
1413
Plan 2(Optional):
1>As shown in Fig5.8, 4-6 persons lift the inverter out of package, swap the ring to
moving handles.
2>When you are moving the inverter, please keep the balance.
Notice: There will be front and bottom mark on the package.
 Loading...


