32) (optional) Apply artwork to the CONTROL PANEL (B).
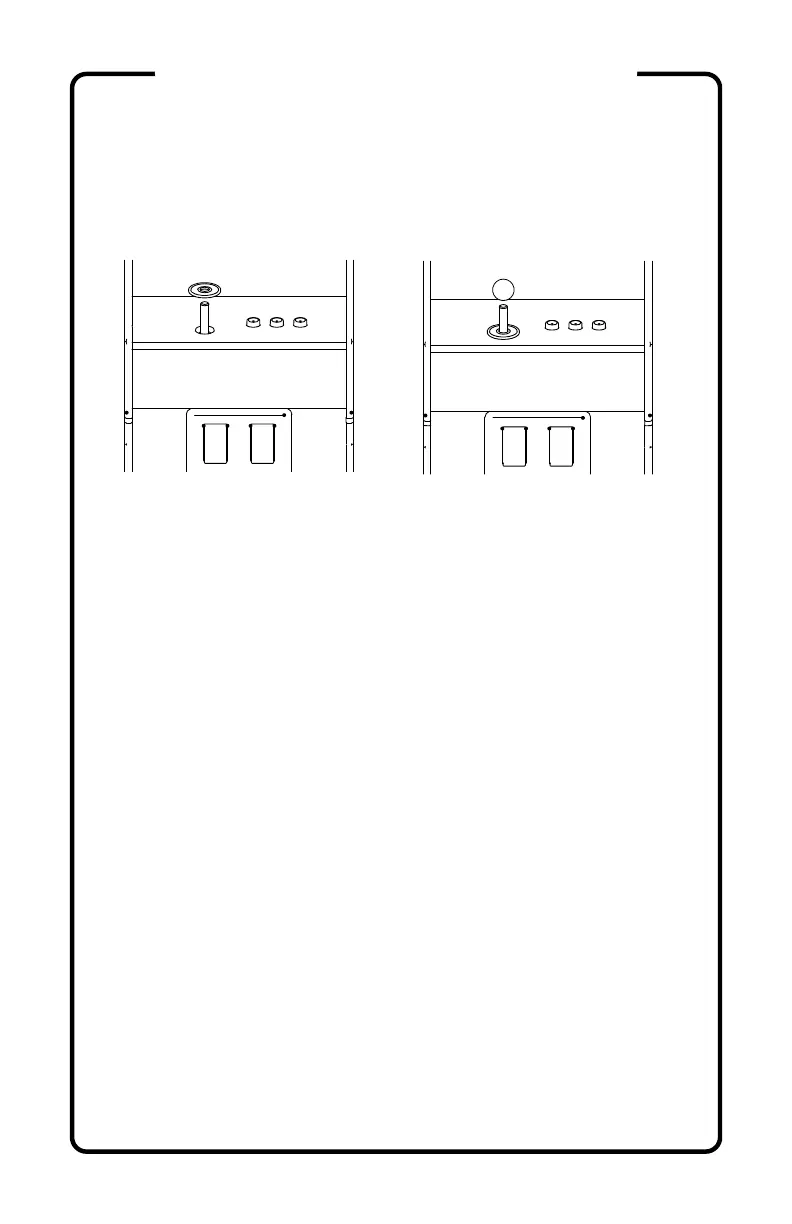
33) Install the joystick DUST COVER (B2) by sliding it
over the metal shaft, and the BALL TOP (B1) by pressing
it firmly onto the metal shaft.
34) With the power switch OFF, insert the Raspberry Pi™
power adapter (not included) into the USB-C port on the
rear of the BUILD-A-CADE cabinet and fully charge the
battery (see LED Status below). For best battery
performance, remove from power when fully charged.
You may use your BUILD-A-CADE while charging.
LED Status
Battery mode:
1. Power off (No led)
2. Power on (Green light)
Power charger connected:
1. Power off (Charging: red light, Fully charged: green light)
2. Power on (Charging: amber light, Fully charged: green light)
Note: If the battery is at a low charge, the system may not boot and
will restart repeatedly. Fully charge the battery and/or use with the
wall adapter (not included).
If the battery loses charge while the system is on, it will spontaneously
shut off. Fully charge the battery and/or use with the wall adapter.
(continued)
ASSEMBLY INSTRUCTIONS
 Loading...