16
11. Maintenance
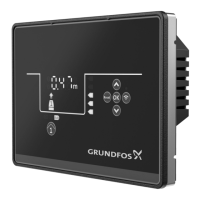
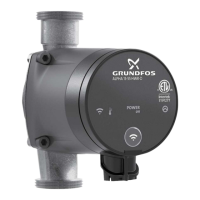
The CU 361 is maintenance-free during normal use
and operation. The CU 361 should be cleaned with
a wet cloth.
12. Service
The CU 361 cannot be serviced.
If the CU 361 is faulty, the unit must be replaced.
See section 13. Replacing the CU 361.
13. Replacing the CU 361
1. Switch off the power supply to the CU 361.
2. Switch off the power supply to components with
external supply.
3. Mark the individual conductors with the numbers
of the corresponding terminals.
4. Disconnect all conductors.
5. Remove the CU 361 from the panel/cabinet.
6. Fit the new unit as described in section
5. Mechanical installation.
7. Configure the new CU 361 by means of
a PC Tool.
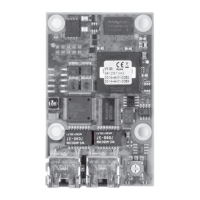
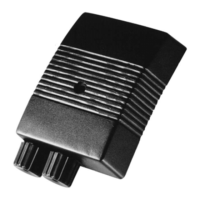
13.1 Replacing the CIM module
1. Switch off the power supply to the CU 361.
2. Switch off the power supply to components with
external supply.
3. Mark the individual conductors with the numbers
of the corresponding terminals.
4. Remove the screws holding the CIM module.
5. Remove the CIM module from the CU 361.
6. Fit the new CIM module.
7. Connect the CIM module as described in the
installation and operating instructions supplied
with the new CIM module.
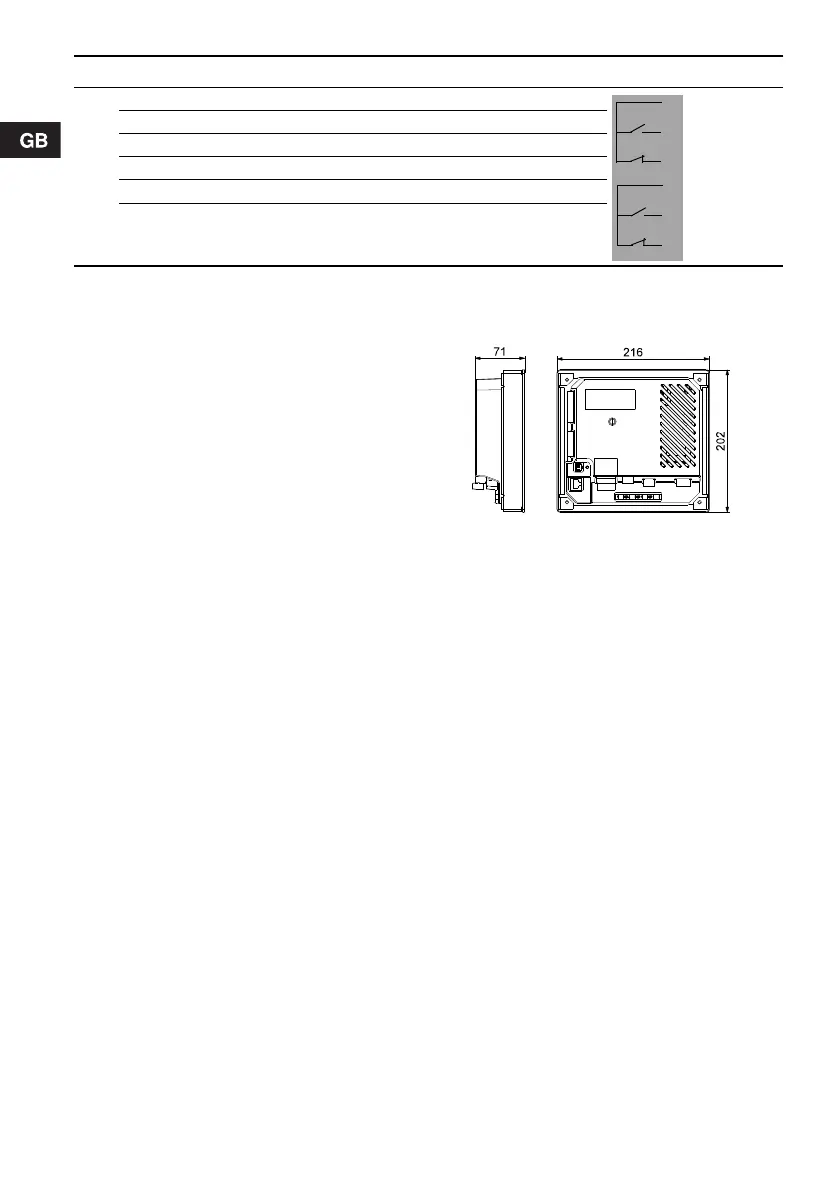
14. Dimensions
Fig. 17 Dimensional sketch
15. Disposal
This product or parts of it must be disposed of in
an environmentally sound way:
1. Use the public or private waste collection service.
2. If this is not possible, contact the nearest
Grundfos company or service workshop.
9
70 Relay 1 C
71 Relay 1 NO
72 Relay 1 NC
73 Relay 2 C
74 Relay 2 NO
75 Relay 2 NC
* GND is isolated from other ground connections.
Pos. Terminal Designation Data Diagram
TM04 2068 1908