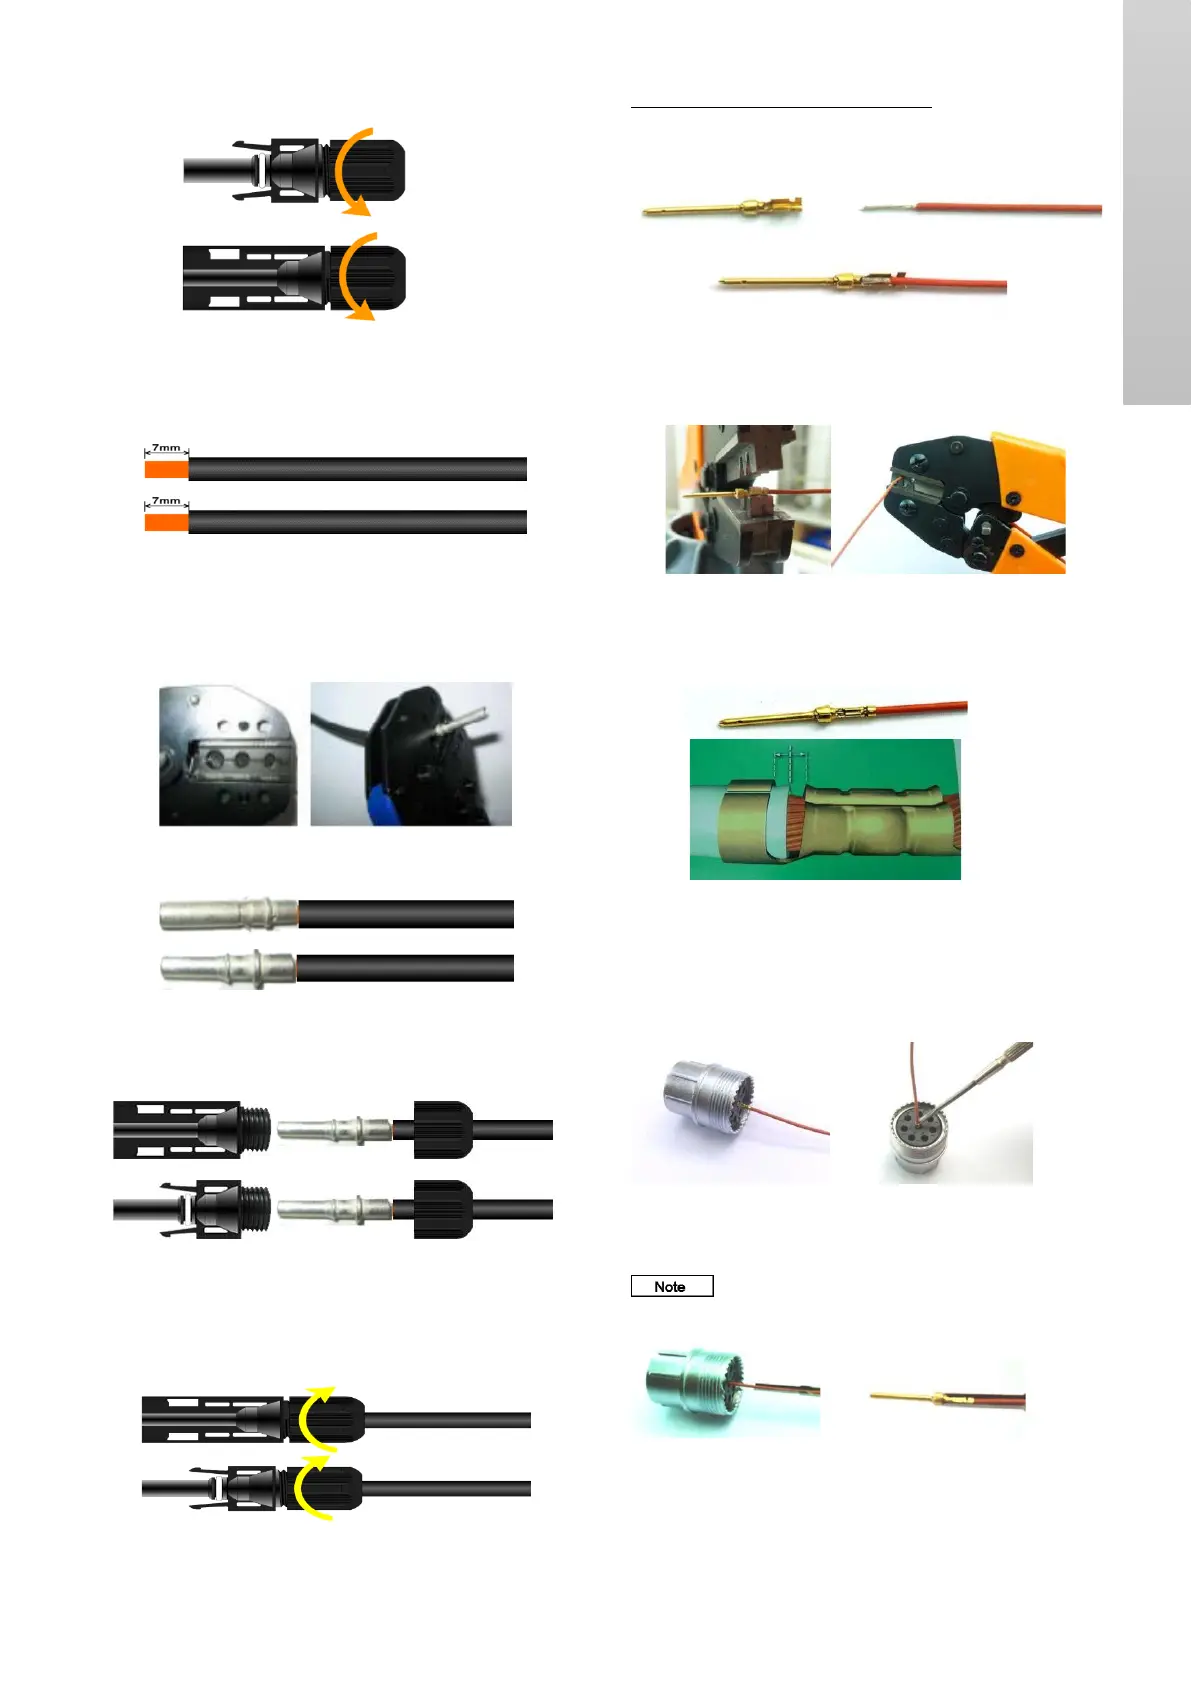
Follow the below steps for the connecting DC cable
• Unscrew the fastening nuts from the connector.
Fig. 18 Connector disassembly
• Strip off the insulation from the DC cable, the length of
stripped insulation is approximate 7mm.
Fig. 19 DC cable stripping
• Crimp the exposed core part to the connector tube core with
crimping pliers.
Fig. 20 DC cable crimping
Fig. 21 Crimped DC cable
• Plug cable with tube core part through the fastening nut.
Fig. 22 DC cable assembly
• Plug the tube core into the wiring trough until a sound
indicating inserted in place is heard. Tighten the nut in a
opposite direction.
Fig. 23 Connector assembly
Communication cable connections
Follow the below steps for the connecting communication cable.
• Plug the cable into the pin and the stripping length is 5.5 mm.
Fig. 24 Connector disassembly
• Select the corresponding position and note the position of the
jaw and thimble
Fig. 25 Cable crimping
• Crimp the thimble as shown in the fig. 26.
Fig. 26 Crimped cable
• Push the thimble directly in to the connector with the help of
the tools as shown in the fig. 27
Fig. 27 Inserting the crimped cable in the connector
To remove the crimped cable thimbles from the
connector, press the notch with the thumb and pull out.
Fig. 28 Removing the Inserted crimped cable from the
connector.
 Loading...