English (GB)
7
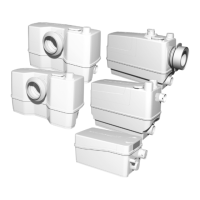
6. C-3, D-2
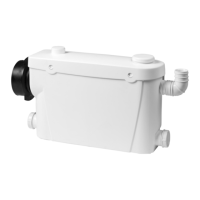
6.1 Removing the cover
1. Remove screw (pos. 400c).
2. Lift the cover free in one end and remove it.
6.2 Fitting the cover
1. Fit the cover. The locking pins must engage with tank top
(pos. 402).
2. Fasten the cover.
6.3 Replacing the supply cable
1. Remove the cover. See section 6.1 Removing the cover.
2. Remove the cable clamp.
3. Separate the connector and push out the supply cable lead
using a screwdriver with straight slot.
4. Separate the earth lead connector between the motor and
supply cable.
5. Disconnect the neutral lead from pressure switch (pos. 482).
6. Fasten the new supply cable in the cable clamp.
7. Connect the earth lead, neutral lead and phase lead.
See section 9. Exploded views.
8. Fit the connector on motor flange (pos. 156).
9. Fit the cover. See section 6.2 Fitting the cover.
6.4 Replacing the capacitor
1. Remove the cover. See section 6.1 Removing the cover.
2. Separate the connector and push out the two capacitor leads
using a screwdriver with straight slot.
3. Remove the wire between the capacitor and pressure switch
(pos. 482).
4. Carefully pull back the plastic lock and lift out the capacitor.
5. Fit the new capacitor.
6. Connect the two capacitor leads and the wire between the
capacitor and pressure switch. See section 8. Wiring
diagrams.
7. Fit the cover. See section 6.2 Fitting the cover.
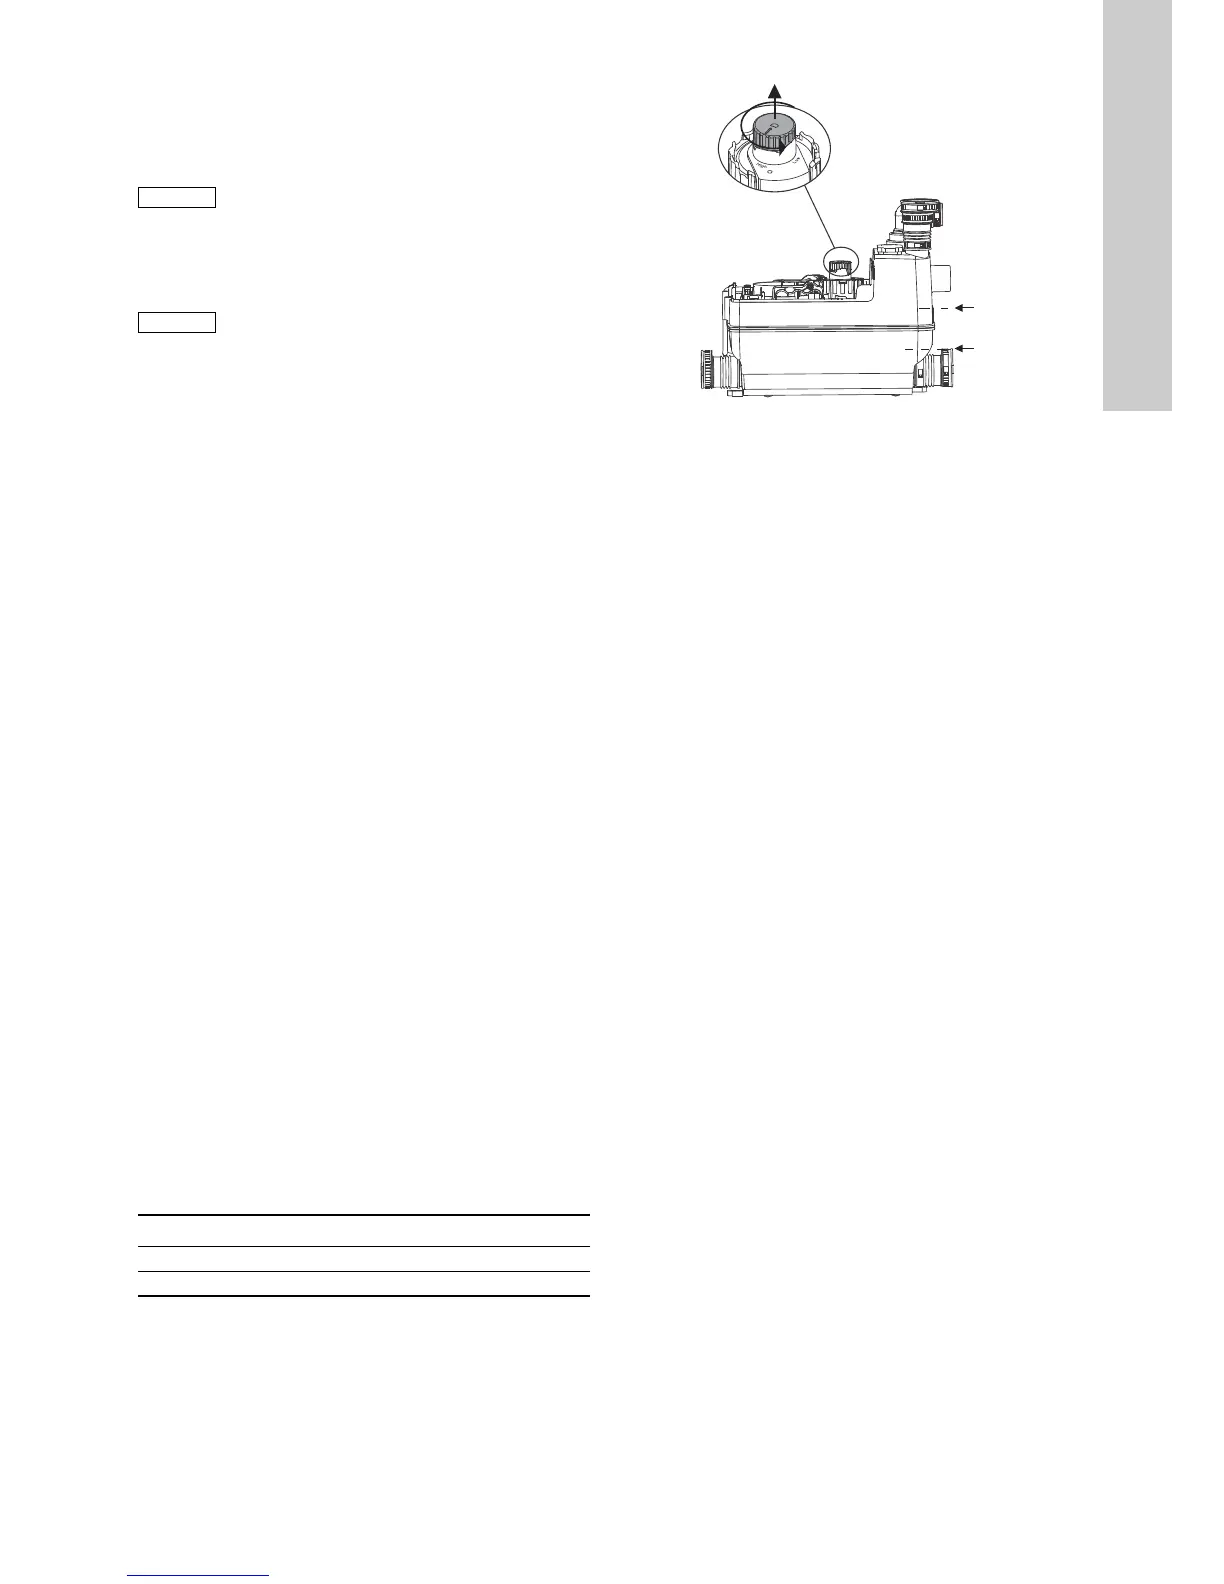
6.5 Replacing the pressure switch
1. Remove the cover. See section 6.1 Removing the cover.
2. Disconnect the two pressure switch leads.
3. Turn the pressure switch 30 to 45 ° clockwise to loosen it from
motor flange (pos. 156), and remove it.
4. Clean the sealing face of the motor flange.
5. Lubricate the O-ring on the pressure switch and the sealing
face of the motor flange with Rocol Sapphire Aqua-Sil.
6. Fit the pressure switch in the motor flange and turn it 30 to
45 ° counter-clockwise to lock it.
7. C-3: Set the start level by means of the selector switch. See
fig. 1.
8. Connect the two leads to the pressure switch. See section
9. Exploded views.
9. Click the protective cover on the pressure switch.
10. Fit the cover. See section 6.2 Fitting the cover.
Fig. 1 Setting the start level
6.6 Replacing the motor
1. Remove the cover. See section 6.1 Removing the cover.
2. Separate the connector between the capacitor and motor.
3. Separate the earth lead connector between the motor and
supply cable.
4. Remove motor flange (pos. 156) from tank top (pos. 402).
5. Remove screws (pos. 308b) of pump housing (pos. 2) and
remove it from the motor flange.
6. Press the motor down and out of the motor flange.
7. Clean the inner recess of the motor flange using a soft cloth.
8. Lubricate the O-ring and the inner recess with Rocol Sapphire
Aqua-Sil.
9. Fit the motor in the motor flange. The motor leads must point
in the opposite direction as the cable clamp of the supply
cable.
10. Fit the pump housing with the discharge pointing away from
the pressure switch and tighten the screws.
11. Check that the grinder head does not touch the grinder ring.
12. Clean the sealing face of the tank top and the outer sealing
face of the motor flange using a soft cloth.
13. Lubricate the O-ring on the motor flange and the sealing face
of the tank top with Rocol Sapphire Aqua-Sil.
14. Fit the motor flange in the tank top and cross-tighten the
screws.
15. Connect the earth lead to the connector. Fit the connector in
the motor flange.
16. Fit the cover. See section 6.2 Fitting the cover.