STR 6000 Allgemeiner Teil / General Section
GRUNDIG Service 1 - 9
Connection via the modulator output
If your TV set or video recorder is not provided with a EURO-AV socket,
these sets are supplied via the TV/VCR socket with the SAT signals. In this
case, it will be necessary to adjust the sets to each other. At the factory, the
modulator of the satellite receiver has been preset to channel 43.
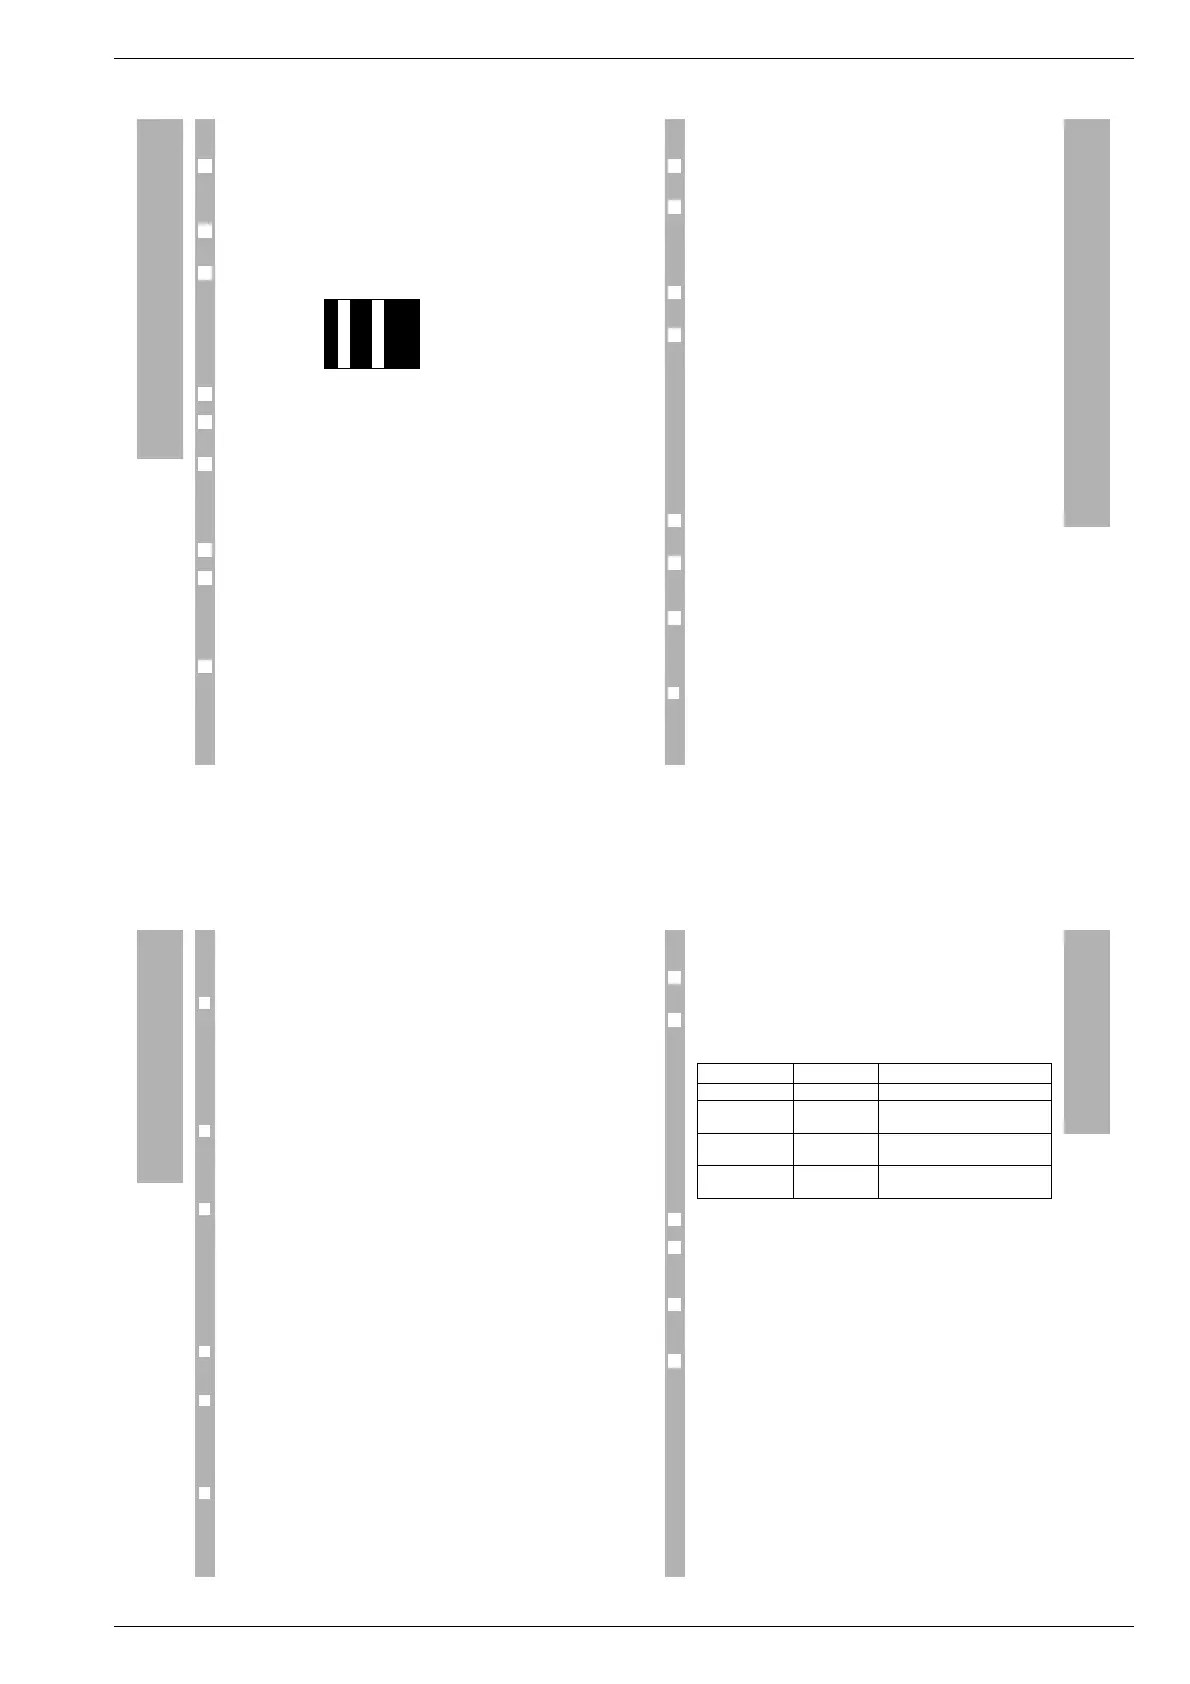
Set the test signal generator (TSG) switch located on the rear panel to its
”ON” position (slide it up).
Tune your television set (manually or with the help of the automatic channel
search) until the test grid appears on the screen.
Fine tune the TV set until the test grid is clearly displayed.
Allocate the channel on which the test grid is received to a free programme
position of the TV set.
If reception of a terrestrial broadcast channel should be disturbed, tune the
TV set to a free channel between 30 and 45. Then turn the channel adjust-
ment screw ”CH. ADJ.” on the rear panel of the satellite receiver until the
test grid is visible and optimize reception (clear picture) by fine-tuning the
TV set.
Swich off the test signal generator by sliding the TSG switch down.
If your video recorder has also no EURO-AV input, repeat this procedure
referring to the operating instructions of the video recorder.
How to connect your stereo system
You get the optimum sound quality if you play satellite programmes
through your hifi stereo system. For this, connect the AUDIO OUT L (left)
and R (right) sockets on the rear panel of the satellite receiver via a Cinch
cable with your hifi system.
1
7
6
5
4
3
2
1
6
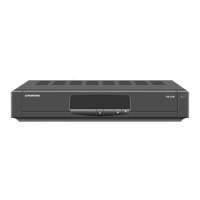
Connections and Installation
Putting the receiver into operation
Your satellite receiver has 299 programme positions. The channels of many
satellites are already factory pre-programmed (see programme list).
For channel pre-programming, an LNB with an oscillator frequency of
9.75 GHz has been assumed. If the LNB of your satellite aerial operates with
a different frequency, you must adjust the frequency to your LNB in the on-
screen VIDEO menu (see ”Frequency” section in the ”Video Menu” chap-
ter).
If the receiver is connected to a collective aerial system, follow the proce-
dure described in the “LNB voltage” section in the “SYSTEM Menu” chapter.
When the receiver is connected via a EURO-AV cable, select the AV pro-
gramme position on the TV set. Press the “8 key on the remote control
unit of the satellite receiver to switch this on and select the programme
position of a satellite to which the aerial is directed (see programme list
enclosed).
When the receiver is connected via the modulator output, select the pro-
gramme position on the TV set which has been tuned to the test pattern
generated by the satellite receiver. Press the “8 key on the remote control
unit of the satellite receiver to switch this on and select the programme
position of a satellite to which the aerial is directed (see programme list
enclosed).
If a decoder is connected to the receiver, please check the “DECODER”
menu item in the SYSTEM menu and in the VIDEO menu.
Before making video recordings, you should familiarize yourself with the
TIMER menu. For reasons explained in the ”Timer menu” chapter, you
should always use the built-in timer for programming video recordings.
So that the TIMER menu can be called up, it is absolutely necessary to first
set the time (see the “Timer” section in the “System Menu” chapter).
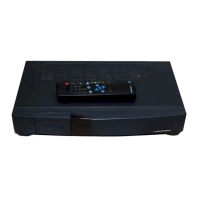
Using the receiver
❒
Choosing a satellite programme
You can enter the desired programme position number directly using
the remote control unit's numerical keypad (multi-digit numbers must be
entered within 3 seconds).
5
6
4
3
2
1
6
Putting the Receiver into Operation
Using the Receiver
Use the
M
“
N
“
keys on the remote control unit or the wqkeys on the
receiver to step through the programme positions (when pressing a key a
longer time, the programme positions scroll at high speed).
❒
Stand-by
Use the “8 key on the remote control unit or the 8 key on the front panel
of the receiver to switch the receiver to stand-by.
Use the same keys to switch the receiver on from stand-by with the last
selected programme (last station memory). Using the remote control unit's
numeric keypad, you can also directly select the desired programme posi-
tion from stand-by.
❒
Locking a satellite programme
With the “PROGRAMM SPERREN” (Lock Programme) function in the
VIDEO menu, you can lock the access to any satellite programme (refer to
the description of the VIDEO menu in the ”On-screen Menus ” chapter).
❒
Favourite programmes
In normal operating mode, the
M
“
N
“
keys are used to select the next
higher or lower programme position. In the favourite mode, you will use the
M
“
N
“
keys to browse through your favourite satellite programmes choo-
sen before. Programmes not choosen are skipped.
Use the “FAV key to toggle between ”normal” and ”favourite” mode. In the
VIDEO menu, you can mark programme positions as ”favourite” program-
mes (see the ”Video Menu” chapter).
❒
Mute/restore sound
Use the “a key on the remote control unit to mute/restore the sound.
❒
TV/SAT key
If your TV set is connected via a EURO-AV cable to the satellite receiver
and switches automatically in the AV mode, the “TV/SAT key on the remote
control unit allows you to toggle between satellite reception (AV mode) and
terrestrial reception.
❒
On-screen time display
Press the “´ key to display the current clock time on-screen. The display
lasts a few seconds.
General
The following table lists the individual menus available. To call up a menu,
press the corresponding key.
If the TV (video) image in the background should disturb you, each menu
can also be viewed against a blue background by pressing the “$ key.
Pressing the “$ key again recalls the video image as background.
Use the
M
“
N
“
keys to move through the various items in a menu.
The option which can be changed is highlighted by the cursor. Use the
T
“
Z
“ keys to change the selected option. Numeric values can be scrolled at
fast speed by pressing and holding down the
T
“
Z
“ keys.
The indication »SPEICHERN NEIN« (STORE NO) is visible in the bottom line
of every menu. If you wish to store the changes made in the menu, you
must select »SPEICHERN JA« (STORE YES) using the
T
“
Z
“ keys.
To exit from a menu, press the same menu key again (e.g. “SYSTEM for the
SYSTEM menu).
If you press another menu key, the current menu is also closed and the
other menu automatically opened.
w
!
If »SPEICHERN JA« is selected, the changes made in the menu will be
stored when closing the menu. If you selected »SPEICHERN NEIN«, any
changes will be lost when the menu is exited.
6
5
4
3
2
1
On-Screen Menus
Menu Menu key Function
SYSTEM menu “SYSTEM System settings (e.g. time)
VIDEO menu “VIDEO Programme position settings
(e.g. frequency)
AUDIO menu “AUDIO Audio settings for programme
positions (e.g. audio frequency)
TIMER menu “´ 24-hours timer for video
recordings
 Loading...