23
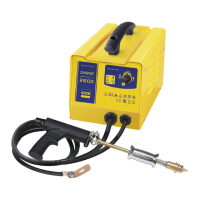
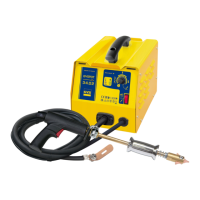
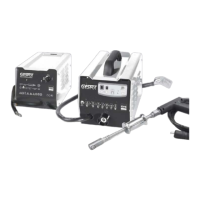
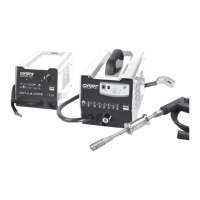
GYSPOT ARCPULL 350
EN
DRAWN ARC WELDING WITH THE ARCPULL 350
• Clean and remove grease from the welding zone.
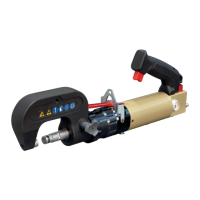
• Mount the appropriate tool on the gun (ring holder, threaded stud holder, etc.)..
If necessary, mount the pad and its protective cap at the end of the rods, as well
as the barrel and its nozzle.
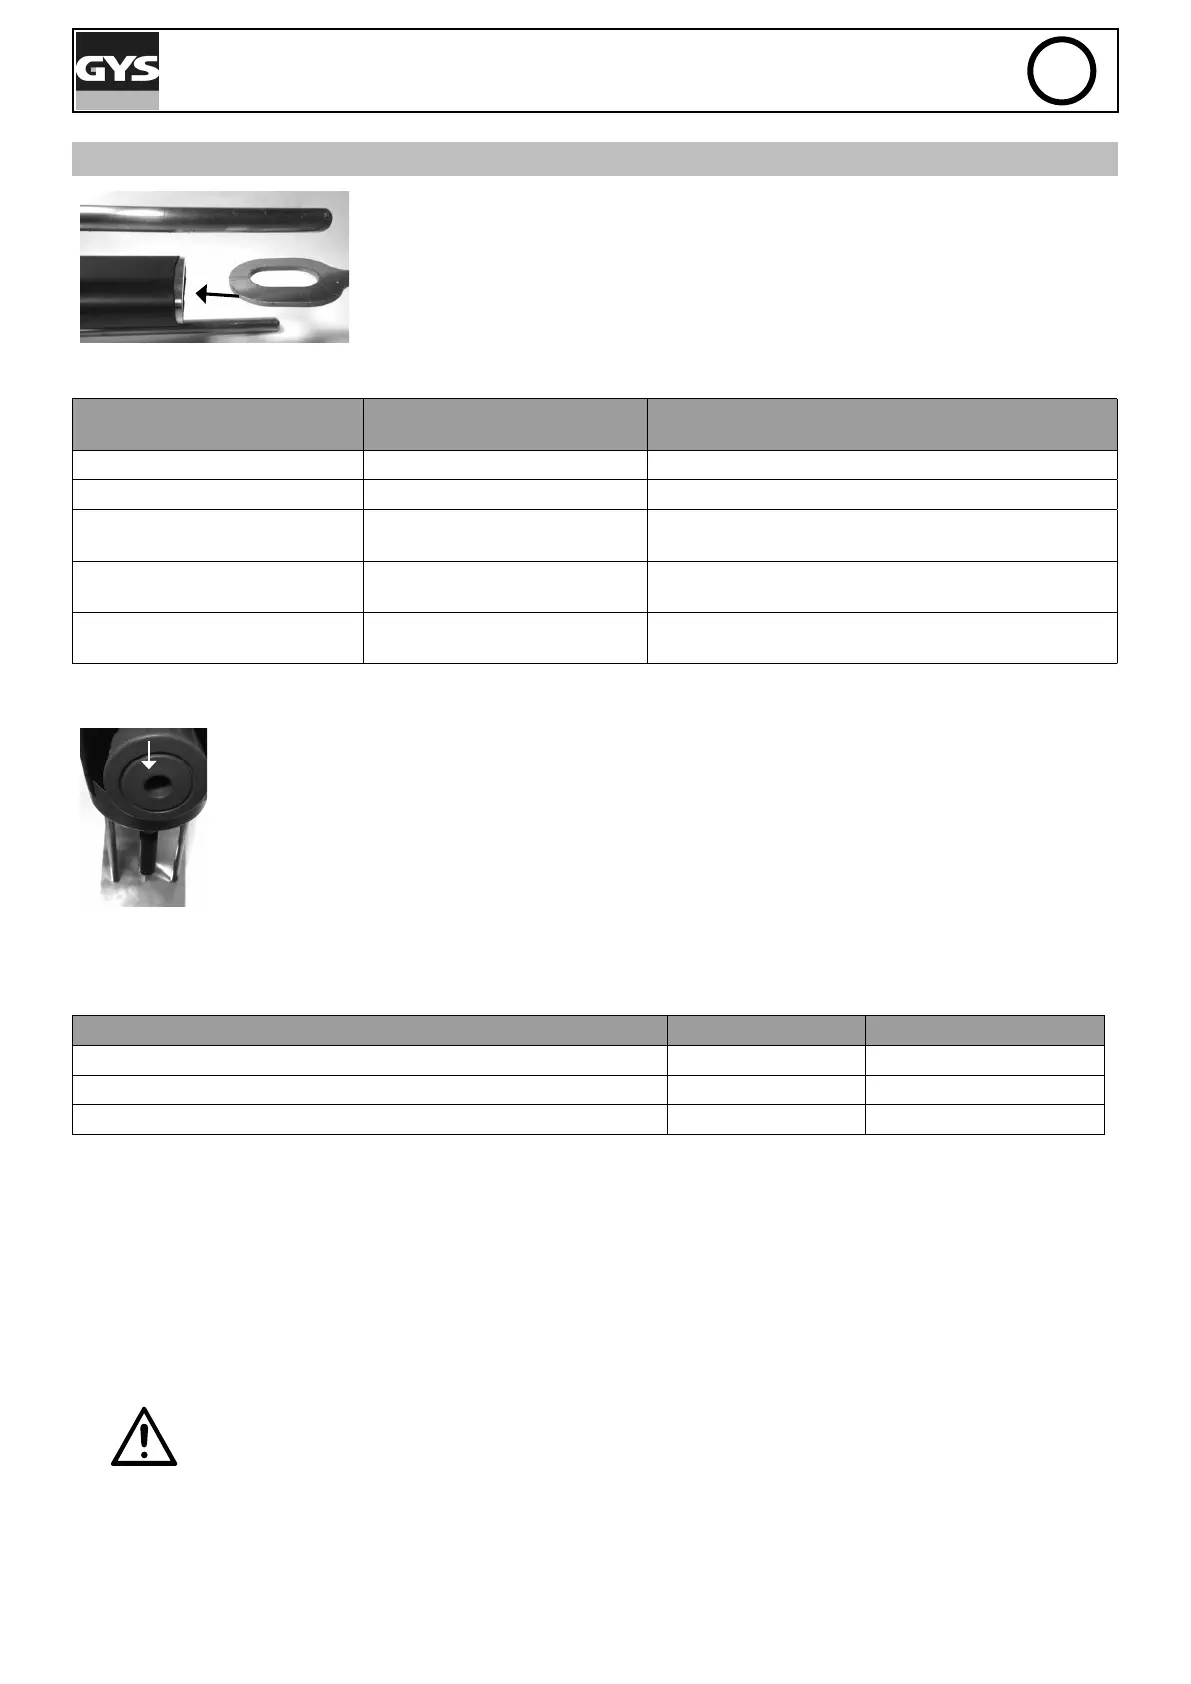
• Place an insert (pulling ring, threaded studs, etc.) in the gun tool.
Check the polarity of the gun dinse cables:
Insert to be welded
Connection of the positive cable
(red)
Negative dinse cable
Alu pulling ring Negative dinse connector (-) Positive dinse connector (+)
Steel pulling ring Positive dinse connector (+) Negative dinse connector (-)
Pulling rivet rods Negative dinse connector (-)
Using the earth clamp - Connected to the positive dinse
connector (+)
Stud, threaded insert stud, steel
insulation nail, etc.
Positive dinse connector (+) Negative dinse connector (-)
Threaded stud, threaded insert
stud, alu insulation nail, etc.
Positive dinse connector (+) Negative dinse connector (-)
Locking scrollwheel for earth
rods:
• Modify the welding settings if necessary (synergic mode or manual mode)
• Unlock the earth rods using the scrollwheel.
• Place the gun on the sheet.
• Create a contact between the insert and the sheet metal. As soon as the gun creates a «beep»
or that the LED contact (blue) is switched on, lock the earth rods using the scrollwheel.
• Press the trigger.
• Once the welding is complete, raise the gun to release the electrode (ring or threaded stud).
At the end of the welding process, the product goes into the standby. During this phase, the gun’s ready LED (green)
ashes and the trigger is no longer active. The duration of this phase depends on the duration of the previous weld.
Example Rest time Welding rate
1.5mm pulling ring on 1mm sheet metal 3 s 19 pieces /min
Ø6mm steel threaded stud on 3mm sheet metal 7 s 8 pieces /min
Ø8mm steel threaded stud on 10mm sheet metal 14 s 4 pieces/min
Note 1: It is imperative that the ring weld be carried out with new rings.
Note 2: To ensure the correct positioning of the weld, draw a perpendicular cross on the support sheet metal and make
it coincide with the external markings of the pad.
Note 3: The welding of inserts with a diameter greater than 6 mm must be done horizontally.
Note 4: It is imperative that the pulling rivet rod welding be carried out on a sanded and dust-free rivet. It is recom-
mended to use the earth clamp in order to not prematurely degrade the stainless steel barrel.
Do not over-tighten the gun studs locking scrollwheel of the gun.
 Loading...