3-12
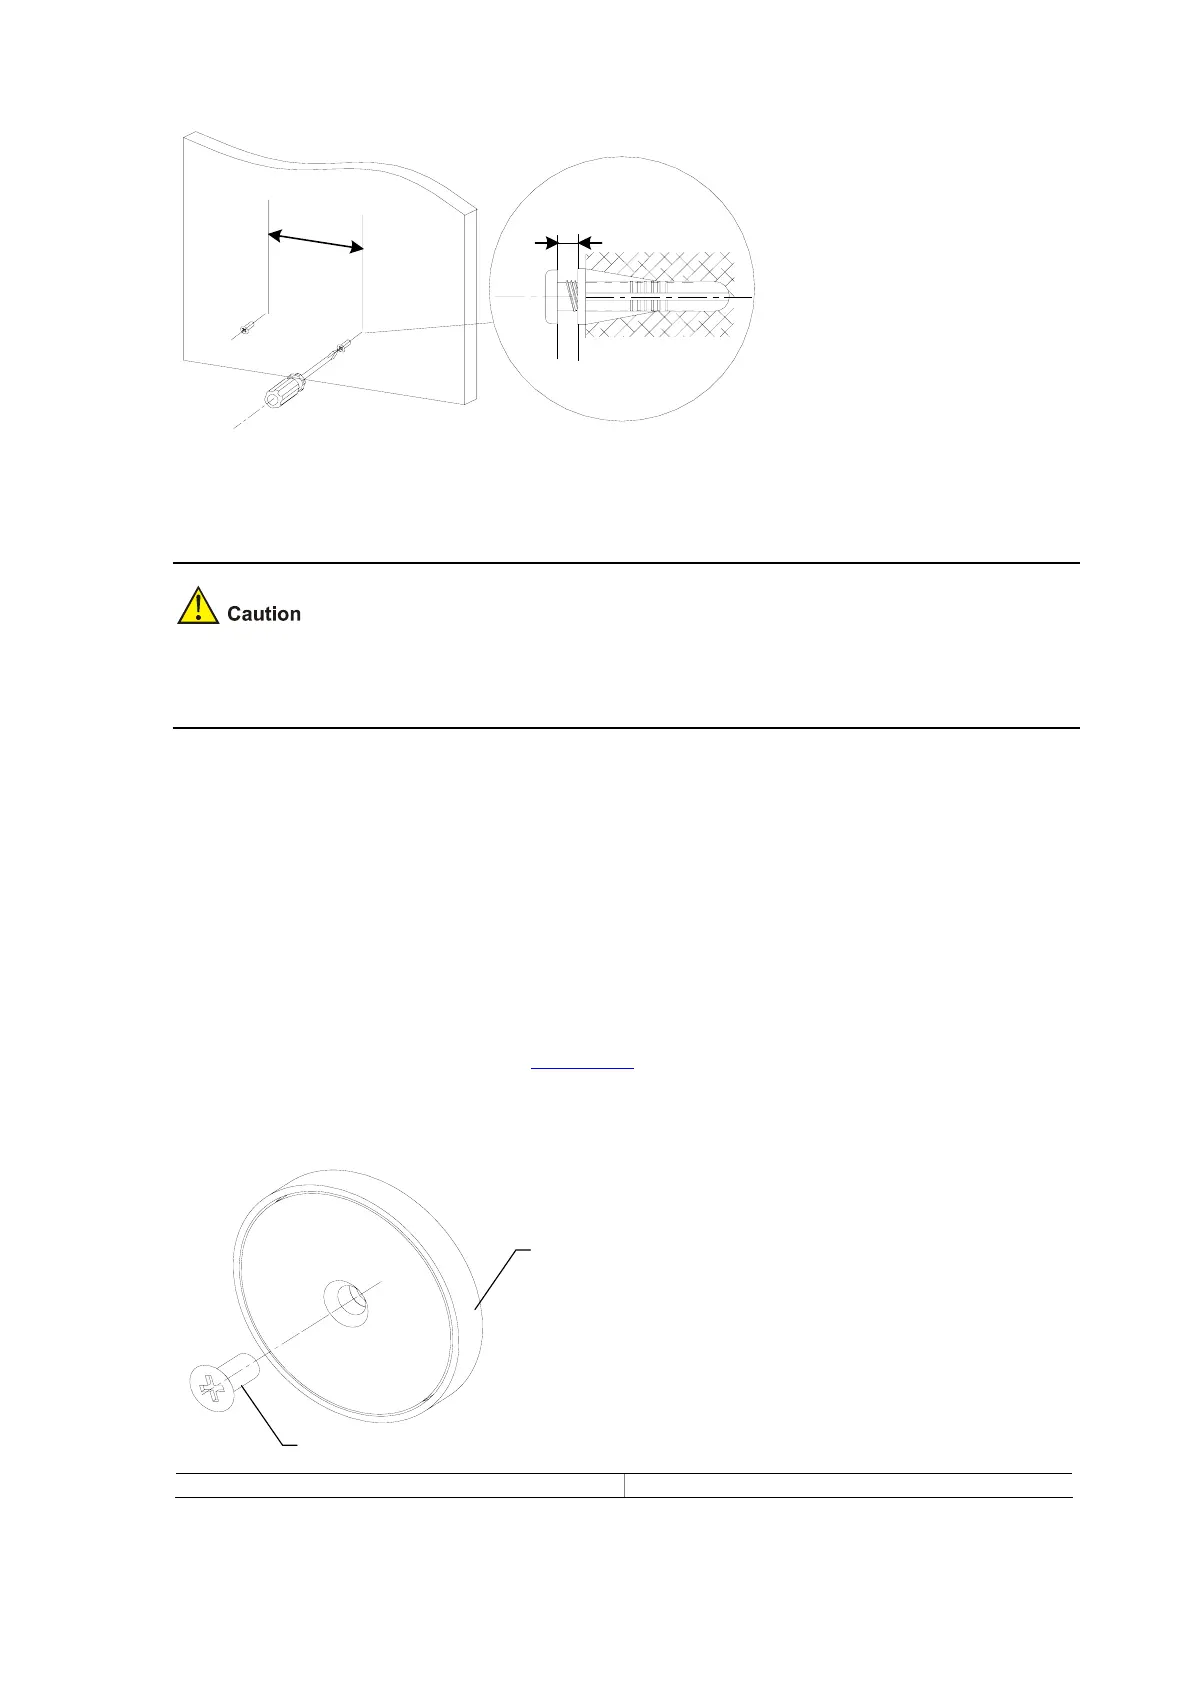
Figure 3-16 Wall mounting
1.5 mm(Min)
X mm
4) Align the two installation holes at the bottom of the switch with these two screws to hang the switch.
When mounting the switch, keep the Ethernet ports of the switch facing downwards and the two sides
with ventilation holes vertical to the ground.
Magnet Mounting
The following two models support magnet mounting:
z S3100-8TP-PWR-EI
z S3100-16TP-PWR-EI
Introduction to magnetic mounting accessories
A set of magnetic mounting accessories consists of one permanent magnets and one M3*6
countersunk head screws, as shown in
Figure 3-17. Four sets of magnetic mounting accessories are
needed for each S3100 switch.
Figure 3-17 Magnet and countersunk head screw
(1)
(2)
(1) Permanent magnet (2) M3*6 countersunk head screw

 Loading...


