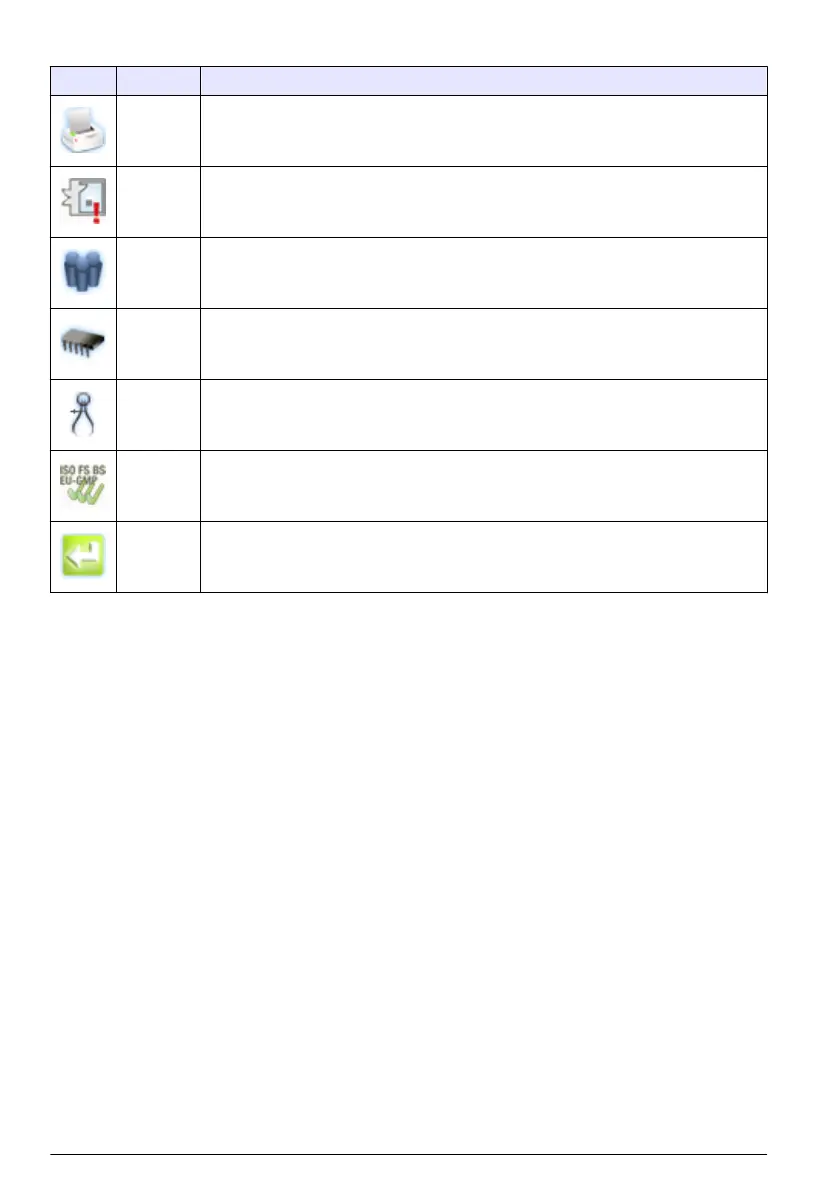
Table 2 Screen icon descriptions (continued)
Icon Function Description
Printer Print sample data as hard-copy. Refer to How to use the Print Center on page 15.
Locations Add/edit/remove areas; copy location settings, edit locations settings; edit alarms for
specific locations. Refer to the CD for information.
Group Load/add/edit a group; delete a group. Refer to the CD for information.
System Time/Date; Sleep time/backlight timeout; set logon requirements; set sounds for alarms;
manage users; set the units for flow rates; manage the data buffer. Refer to the CD for
more information. Refer to the CD for information.
Sizes Add/edit/delete a size (optional). Refer to the CD for information.
Test wizard Test and report wizard for ISO, EU-GMP, FS or BS classification compliance. Refer to
the CD for information.
Return Return to the previous screen or menu.
Operation
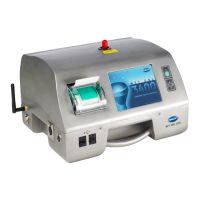
Log on to the particle counter
Prerequisites
• Start the system.
1. Activate the backlight with a finger or stylus if needed.
2. Push the LOCK icon to log out a previous user. Push LOCK again to see the logon screen.
3. Enter the user name and password. Confirm.
Note: Push the ALT key to access special characters.
Measure particle counts
After a complete particle count measurement, the number of particles measured will show on the
screen and be stored as data. Other configured parameters, such as relative humidity, temperature
and air velocity will be shown and stored in data.
1. Remove the protective cap from the inlet tube on the counter.
2. On the Counter Navigation screen, push SAMPLE.
3. To start the particle count, push the RUN button. The RUN button will change to a STOP button
while the count is measured.
Note: Push STOP to end the test before the count is complete. Incomplete particle count data will not be stored
or printed.
4. When the count measurement is complete, the test will stop automatically.
14
English
 Loading...