16 31-5000564 Rev. 1
ENGLISH
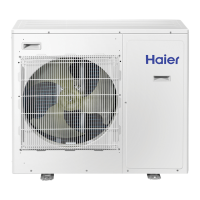
Step 3 - Installation of the Outdoor Unit
A. Prepare the Outdoor Unit for Installation
• Remove all packaging.
• Place supplied vibration pads onto outdoor unit’s feet.
• Use team lift to place the unit on a solid foundation, 8” above the average snowfall.
INSTALLATION INSTRUCTIONS
Correct
Installation
Drainage
D
H
Correct
Installation
Minimum height(H) should be higher than the highest
snowfall depth(D)(H=D+8”)
D
H
Incorrect
Installation
Unit may become covered in snow if the stand height is insufficient.
Drainage
Drainage
Incorrect
Installation
Stand top is
covered
clearance is too
small, causing
inadequate
drainage.
Wall Brackets (cont)
Capacity (BTUh) Bracket Style Part Number Factory Reference Number
07K/09K/12K 35N/35T/40N WJ65X23038/WJ65X23240/WJ65X23038 10101275/10103071/10101275
15K/18K 50N/50T/70N WJ65X23251/WJ65X23251/WJ65X23056 10102598/10102598/10102740
24K 70N/70T WJ65X23056/WJ65X23056 10102740/10102740
30K/36K 100N WJ65X22785 10103059
09K/12K/18K 35F/50F WJ65X27875/WJ65X25594 10103620B/10104861
18K/24K 70F WJ65X26113 10104864
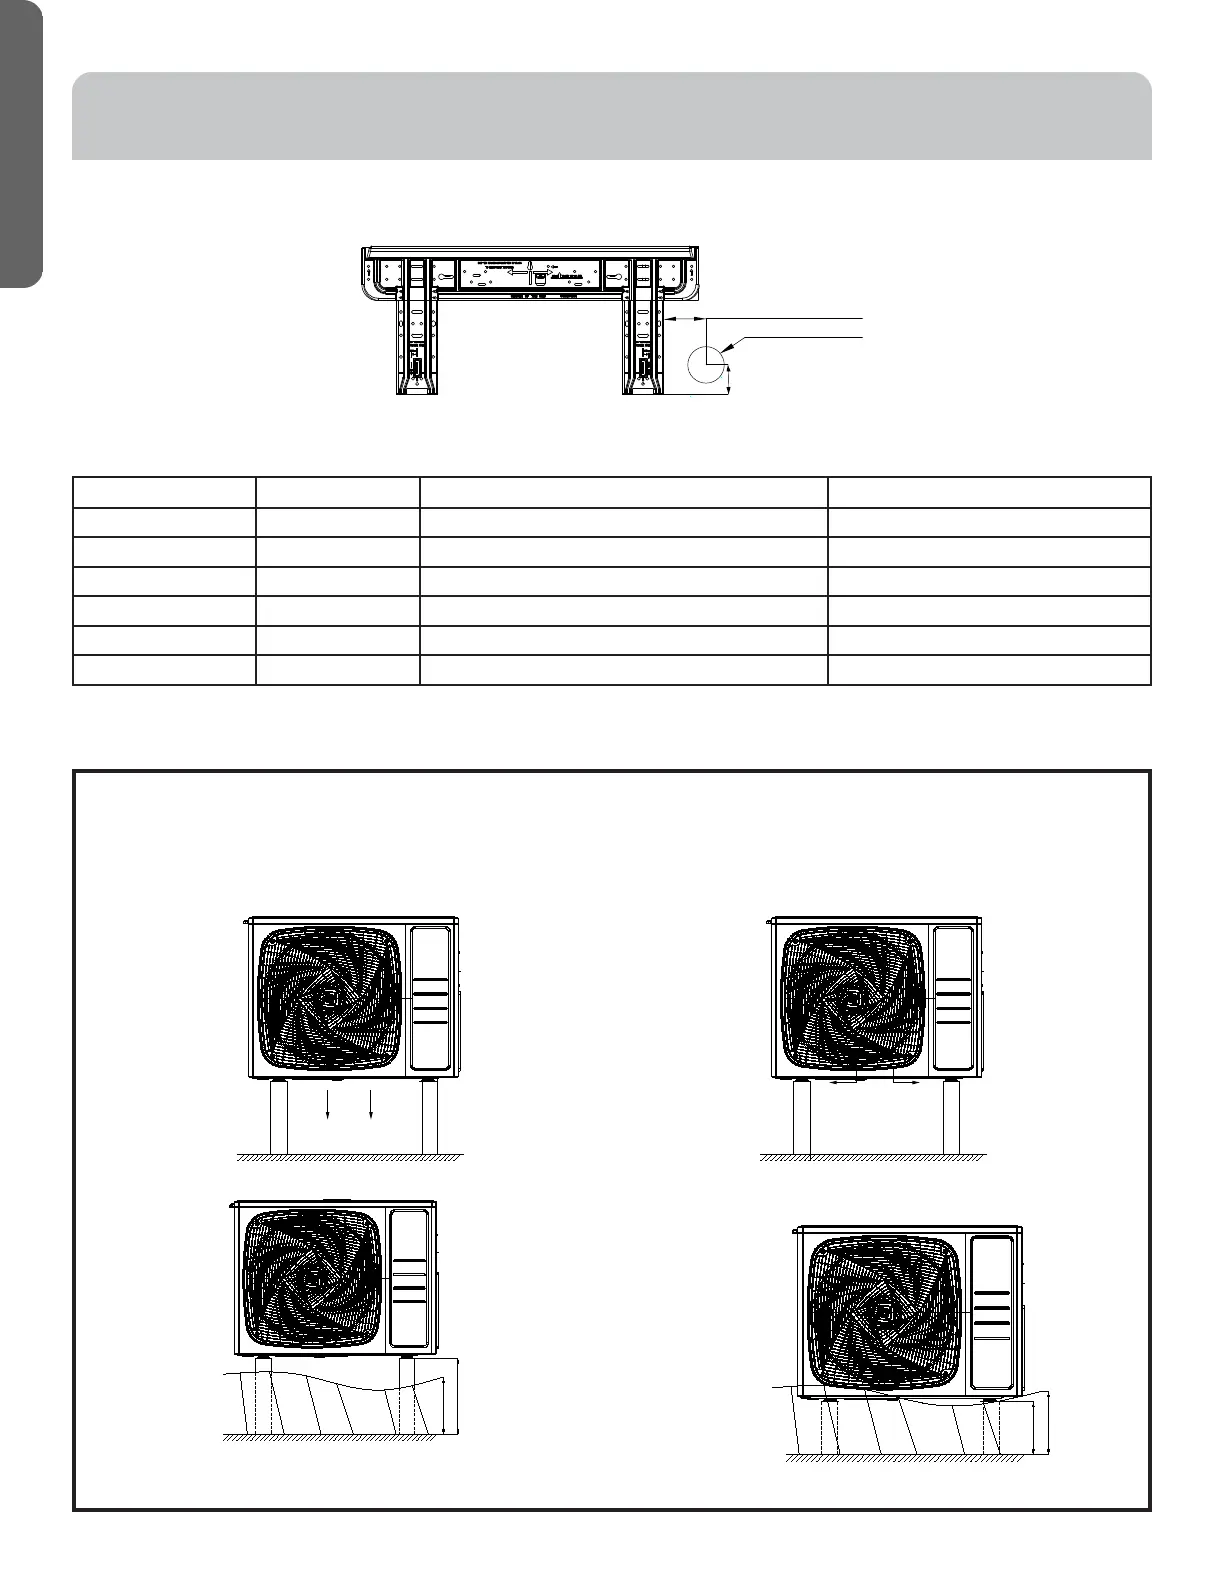
4.88 in (124mm)
2 5/32 in (55mm)
Ø 2 3/8 in (60mm)
50 F