ENGLISH
7
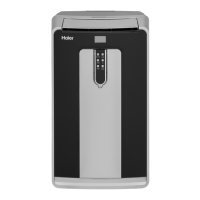
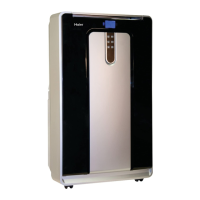
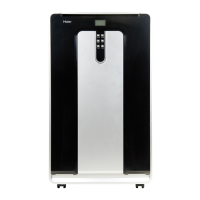
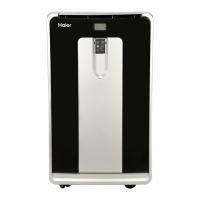
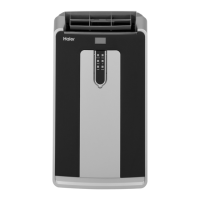
CONTROL PANEL
A B
C
D
E
F
BUTTONS
ÊÙòúèõØñ¦Øģ
B. Mode
Press the mode button for desired setting.
Cool: sign appears in LCD display when in cooling.
ÍèëøðìçìĤæä÷ìòñ sign appears in LCD display when in
çèëøðìçìĤæä÷ìòñðòçè
Fan: sign appears in LCD display when in the fan mode.
Heat: sign appears in LCD display when in the heat
mode. (HPND14XHT Only).
C. Fan Speed
There are 3 adjustable speeds in the cool and fan mode:
ÕòúÖèçìøðäñçÑìêëÒñçèëøðìçìĤæä÷ìòñðòçèäñç
room temperature is greater than 77° F, fan speed can be
äçíøö÷èçò÷ëèõúìöèéäñöóèèçìöĤûèç÷òēïòúĔ
ÍØñ¦ØģÝìðèõ
To set the timer for a 1- 24-hour delay until the air
æòñçì÷ìòñèõ÷øõñöòģ
1. When you use the timer setting button while the unit is
òóèõä÷ìñêüòøæäñóõèöè÷ä÷ìðèéòõ÷ëèøñì÷÷ò÷øõñòģ
2. When you use the timer setting button while the unit is
on standby, you can preset a time for the unit to turn on.
3. If you press the “ON/OFF” button, the preset timer
function will be canceled.
4. Timer setting range is 1-24 hours.
To clear Timer Delay program:
×ØÝÎÊìõæòñçì÷ìòñèõæäñåèèì÷ëèõòñòõòģ
1. Press the Timer Button.
2. Press and hold the minus button until the timer display
has cleared.
To change the remaining time (in hours):
1. Press the Timer Button.
2. Press the plus or minus button to change the delay time
from 1 to 24 hours.
E. Setting the Temperature
To set the temperature, press the + or - key to raise or
lower the temperature. The temperature can be raised
or lowered in the cool mode. The temperature cannot be
äçíøö÷èçìñéäñòõçèëøðìçìĤæä÷ìòñðòçèÙõèööäñç¡
simultaneously to switch between °F and °C.
NOTE: The temperature can be set between 61° F to 89°
F (Cool mode) and 61° F to 80° F (Heat Mode).
F. LCD Display
When STOP indicator light turns on, the internal water tank
ëäöĤïïèçúì÷ëæòñçèñöä÷èúä÷èõäñç÷ëèäìõæòñçì÷ìòñèõúìïï
÷øõñòģäø÷òðä÷ìæäïïüÜèèēÙòõ÷äåïèÊìõÌòñçì÷ìòñèõÌäõèĔ
for directions on draining the air conditioner.
 Loading...