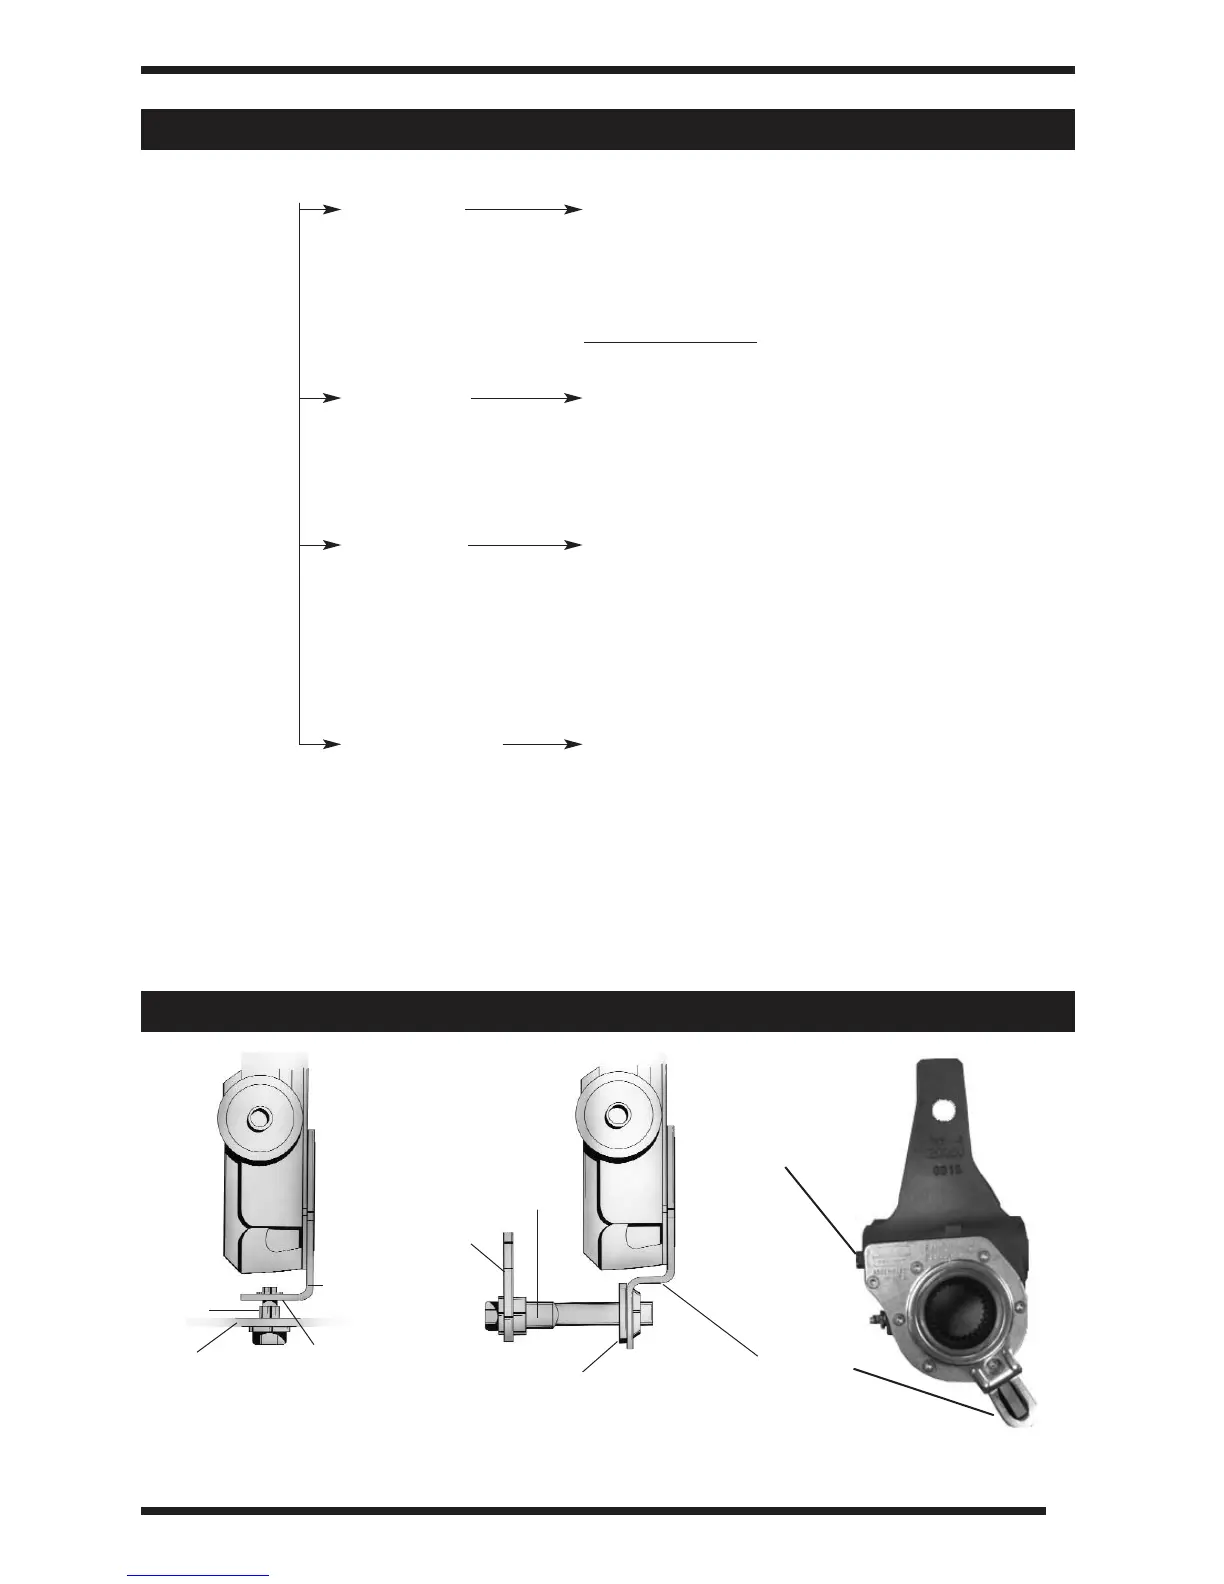
Anchor
Stud Pin
Anchor
Bracket
Control Arm
(Single Bend)
Wear
Anchor
Bracket
Anchor
Stud Pin
Wear
Adjustment
Hex Nut
Control Arm
Component Cause Action
Adjuster not
functioning
properly
Low clutch Place adjuster arm in vise. Rotate the 7/16”
torque adjustment hex counterclockwise one full turn to
check de-adjustment torque. After control arm
stops rotating, a minimum of 13 ft. lbs. will be
required and a ratcheting sound will occur.
Replace brake adjuster if the torque is
less than 13 ft. lbs. or no de-adjustment racheting
sound is present.
Control Arm Place adjuster arm in vise. Rotate the control arm
slippage clockwise and counterclockwise while observing
the internal sleeve. If slippage between the
control arm and the internal sleeve is observed,
replace the brake adjuster.
Unknown If torque is above 13 ft. lbs., scribe a line on the
adjustment hex. Manually pull the brake
adjuster control arm clockwise then push back
counter-clockwise. The hex will move in a
clockwise direction when the control arm of the
brake adjuster is pushed back counterclockwise.
Replace adjuster if hex does not move.
Worn/missing Remove and replace pin and bushings. If
control arm wear adjuster has passed the above checks, re-install
bushing, and on vehicle, with new hardware.
anchor stud pin,
if applicable
Bushing
Bushing
10
Off Vehicle Inspection
Typical Parts Identification and Location
 Loading...