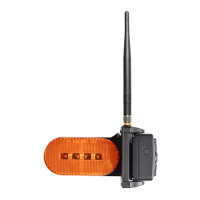
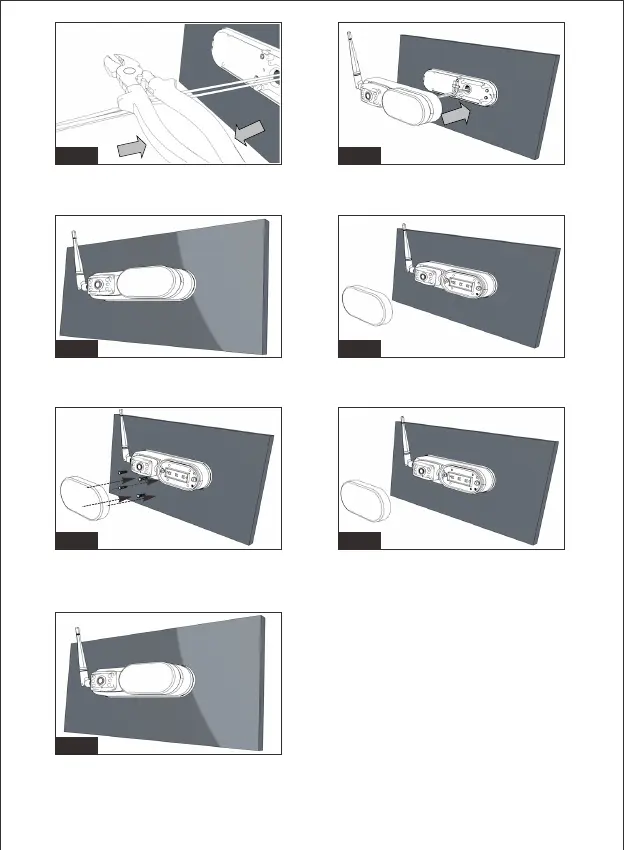
Figure17/Figure18/Figure19: Clamp the terminal tightly to make sure
they are sealed and waterproof.
Figure20/Figure21: Put the wires and terminals into hole and fasten
the rear light camera into base.
Figure22/23: Remove the cover of rear light camera and secure the
base with four provided screws.
Figure24/Figure25: Replace the cover. Installation done.
Fig.19 Fig.20
Fig.25
Fig.23 Fig.24
Fig.21 Fig.22
-7-