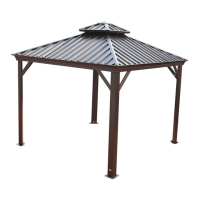
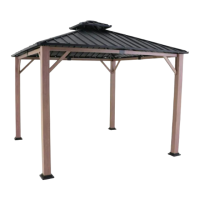
Do you have a question about the HAMPTON BAY GGHL00019 and is the answer not in the manual?
Details warranty coverage for frame and fabric against manufacturing defects for one year.
Excludes commercial use, acts of nature, fire, freezing, abusive use, and purchased parts.
Keep all flame and heat sources away; fabric is flame-resistant, not fireproof.
Intended for sunshade only, not as a toy, shelter, or support; avoid shaking or climbing.
Children under 10 must be supervised by a competent adult when near the gazebo.
Read all instructions before assembly and use a soft surface to prevent damage.
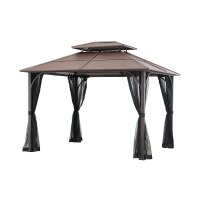
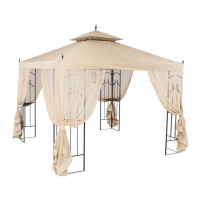
Lists all bolts, nuts, and ground spikes required for assembly with their quantities.
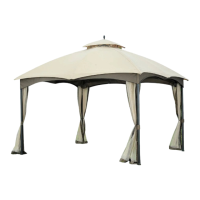
Details all panels, beams, spokes, frames, netting, and other components included in the package.
Connect panels (A and B) using M6x35 bolts (BB) and secure corner connectors (I) with M6x18 bolts (AA).
Attach beams (C) to side tubes of panels (A and B) using M6x28 bolts and nuts (EE).
Insert canopy spokes (D) and frames (E) into the lower canopy hub (H), ensuring push pins are in place.
Loosely place the large fabric cover (L) on top of the assembled frame.
Assemble small canopy spokes (G) and fabric cover (K) onto the upper canopy hub (J) and attach top arrow (P).
Attach short canopy spokes (G) to regular canopy spokes (D) using connecting pieces and ensure push pins are secure.
Place canopy structure on panel structure, insert spokes (D) into connectors (I), secure frames (E) to beams (C).
Connect track tubes (F) to corner connectors (I) and canopy frames (E) using M6x10 bolts (DD).
Put netting (M) onto track tubes (F) using plastic rings (N) and hang fabric buckles on corner connectors (I).
Pull large fabric cover (L) onto corner connectors (I), attach velcro, and screw corner arrows (Q) onto connectors.
Secure gazebo by inserting corkscrew ground spikes (R) and ground spikes (FF) through panel bottom holes.
Clean frame and fabric with a damp cloth; avoid abrasive materials, bleach, or solvents.
Store in a dry, sheltered place; keep away from fire, extreme heat, freezing, and inclement weather.
| Frame Material | Steel |
|---|---|
| Light Included | No |
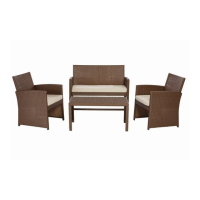
| Cushion Color Family | Beige |
| Product Type | Swing |
| Mounting Type | Unknown |
| Wet/Damp Rating | Unknown |