Do you have a question about the HAMPTON BAY Glendale and is the answer not in the manual?
Do not bend blade arms or insert foreign objects between rotating fan blades to prevent injury.
Mount fan only to outlet boxes marked for fan support, using provided screws for safety.
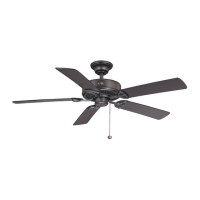
Lists necessary tools and explains mounting options for secure fan installation.
Safety instruction to mount fan only to approved outlet boxes using provided screws.
Warning about the critical importance of correctly installing the clevis pin for fan stability.
Warning regarding the secure tightening of screws for close-to-ceiling mounting to prevent fan loosening.
Connects the ground conductor from the supply to the fan's green ground lead.
Connects fan motor white wire to supply neutral and blue wire to household black wire.
Ensures all connections are tight, no bare wire visible, and warns against solid-state controls.
Steps to slide and secure the canopy, ensuring wires are safely placed.
Instructions for attaching the canopy and securing it to the hanger bracket.
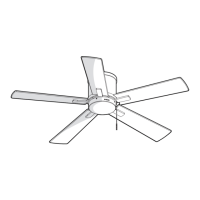
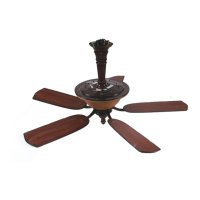
Attaches blades to blade arms using screws and fiber washers, then fastens assemblies to motor.
Caution against bending blade arms or inserting objects between rotating fan blades.
Steps to check and correct fan wobble by ensuring blade levelness and using the balancing kit.
Connects light kit wires and attaches the fitter to the switch housing securely.
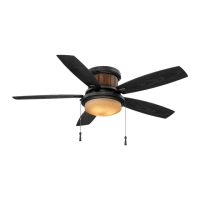
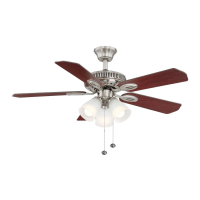
Mounts glass shades and installs light bulbs, noting CFL bulbs are not dimmable.
Explains how the pull chain controls fan speed (High, Medium, Low, Off).
Describes the slide switch for forward (down) and reverse (up) airflow directions.
Details fan operation for cooling (downward) and warming (upward) air.
Suggests checking connections and brackets twice a year for security.
Recommends using a soft brush or lint-free cloth; avoid water to prevent damage.
Suggests furniture polish for blades and notes the motor has permanently lubricated bearings.
Checks circuit breakers, wire connections, and switch housing for issues.
Addresses loose screws, wire nut contact, breaking-in period, and canopy clearance.
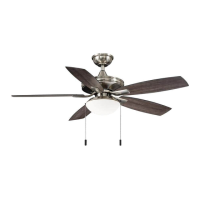
| Brand | Hampton Bay |
|---|---|
| Model | Glendale |
| Category | Fan |
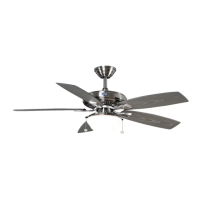
| Number of Blades | 5 |
| Light Kit | Yes |
| Mounting Type | Standard |
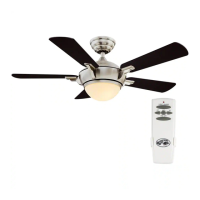
| Control Type | Remote Control |
| Bulb Type | LED |
| Dimmable | Yes |
| Glass Style | Frosted |
| Light Bulb Base Code | E26 |
| Light Type | Integrated LED |
| Remote Control | Yes |
| Light Kit Included | Yes |
| Reversible | Yes |
| Blade Span | 52 inches |
| Room Size | Large Room |
| Finish | Brushed Nickel |
| Warranty | Lifetime |
| Material | Metal |