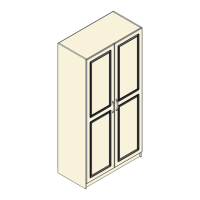
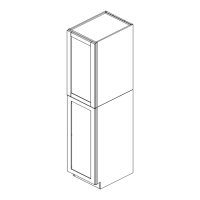
Cabinet Assembly (Continued)
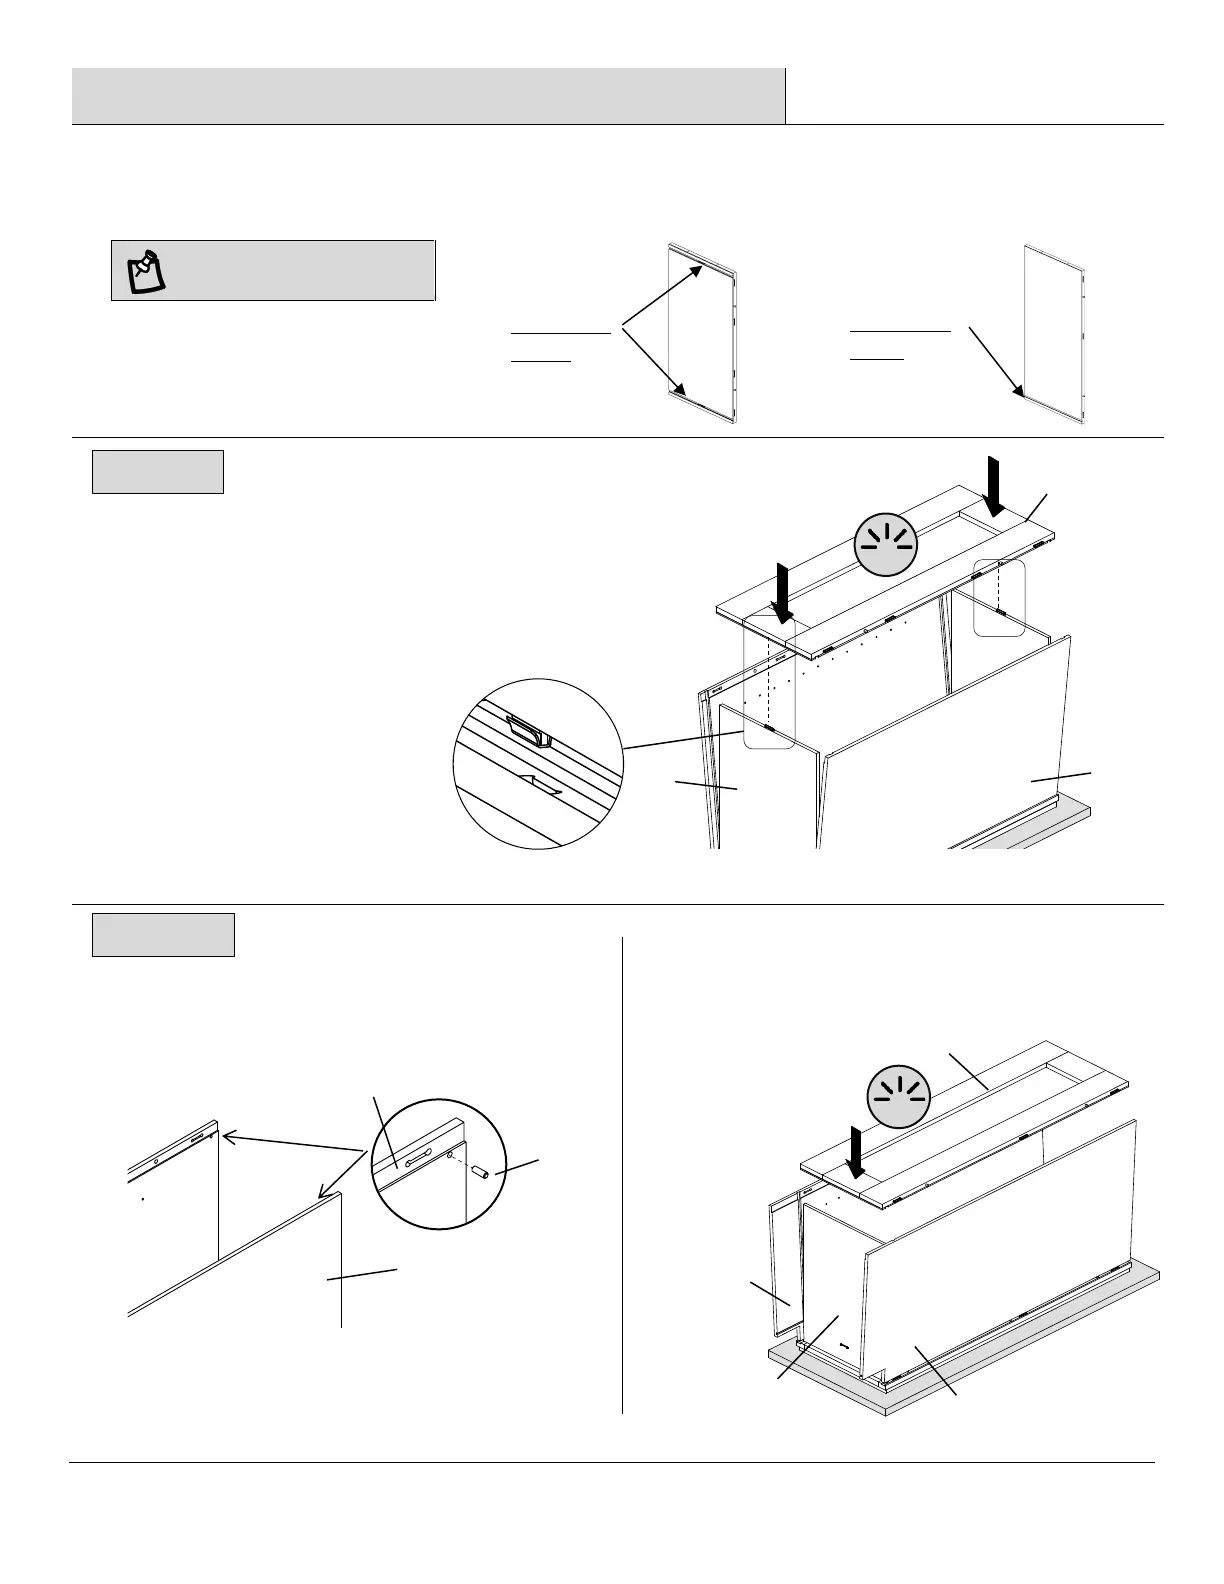
Attaching the back panel to the bottom/top panels
Flex outwards 2 side panels (B) slightly then place mating groove
on the back panel (C) to the top and bottom panel (E) as shown.
Aligning the female connectors on back panel (C) to the male
connectors on top/bottom panels (E).
Use both hands to firmly press the back panel (C) down at all
locations with connectors to ensure they lock together tightly.
Install the Wooden dowels (FF) into the pre-drilled hole in
side panels (G) as shown. It helps hold the other end on the
back panel. It can be removed after assembly is completed.
Flex outwards 2 side panels (G) slightly then place mating
groove on the back panel (H) to the bottom panel (I) as
shown
Back panel (C) of
TOP CABINET has
2 groove and
shorter.
Back panel (H) of
BASE CABINET has
1 groove and
longer.