82
8. The reset-to-zero calibration lasts for approximately two minutes. The message
Calibration Step Succeeded indicates success.
If the display shows Calibration Step Failed, check the input value, range, function, and
the input calibration value and repeat the Calibration Steps.
9. Choose the rear input terminal. Install the short circuit block on the rear panel input
terminal.
10. Repeat steps 4 to 9 for the rear input terminal.
11. Switch DCI, RES and FRES to complete DC zero calibration.
Note: Zero calibration for all ranges under the same function is completed in one time,
so there is no need for repeated calibration.
DC voltage gain calibration
Configuration: DC voltage
1. Configure each function and range in the order shown in the table below.
2. Apply the input signal shown in the Input column.
3. Input the input voltage range of the actual application.
The message Calibration
Step Succeeded indicates success.
If the display shows Calibration Step Failed,
check the input value, range, function, and the input Calibration value and repeat the
Calibration Step.
4. Repeat steps 1 through 3 for each gain calibration point shown in the table.
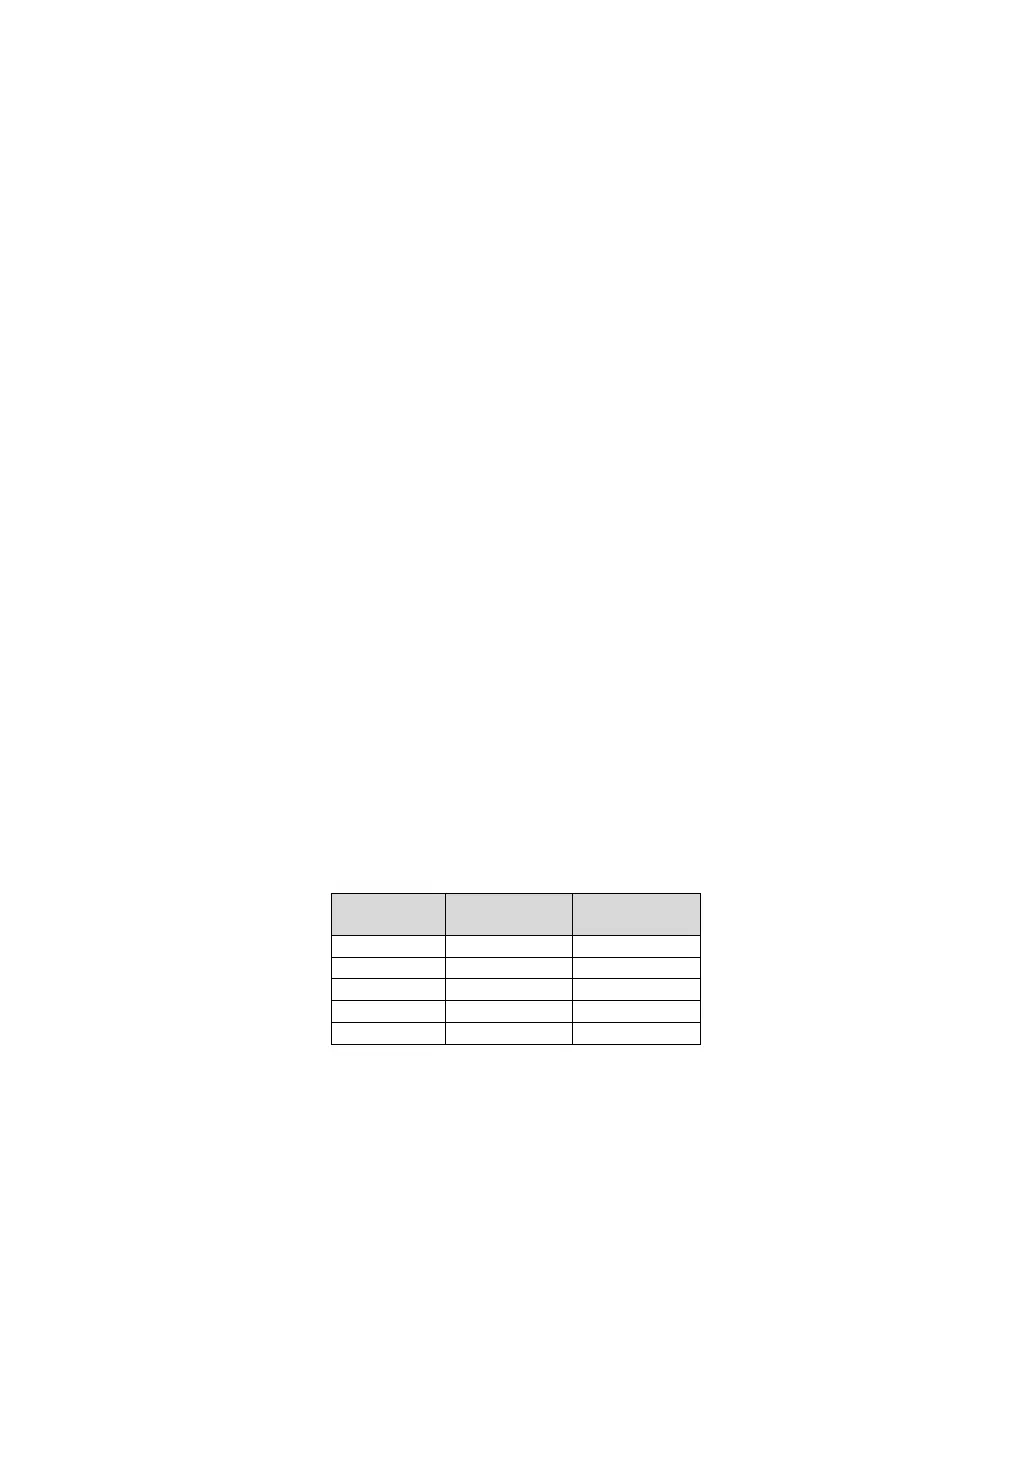
The calibration points of HDM3000 are as follows:
DC current gain calibration
Configuration: DC current
 Loading...