
J
James BaileyAug 2, 2025
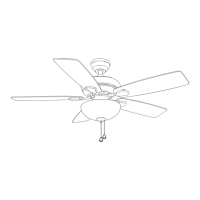
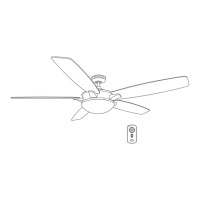
What to do if my Harbor Breeze CENTREVILLE 40117 does not move?
- HHeather MontesAug 2, 2025
If your Harbor Breeze Fan isn't moving, start by ensuring the reverse switch is firmly pushed to either the left or right. Also, make sure the wall switch is turned on, and that the power is on or the fuse (breaker) is not blown. Turn the power off and check all connections at the ceiling outlet box to ensure there is no faulty wire connection.