EasyManua.ls Logo

Harbor Breeze L1901 User Manual

Harbor Breeze L1901
16 pages
To Next Page IconTo Next Page
Page #1 background imageLoading...
Page #1 background image
ITEM #0807420
MODEL #L1901
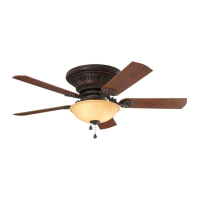
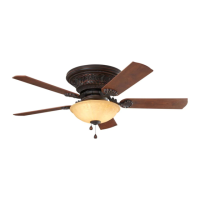
LYNSTEAD CEILING FAN
Harbor Breeze
®
is a registered trademark
of LF, LLC. All Rights Reserved.
1
Español p. 17
Questions, problems, missing parts?
Before returning to your retailer, call our customer
service department at 1-800-643-0067, 8 a.m. - 6 p.m., EST, Monday - Thursday,
p.m., EST, Friday.
ATTACH YOUR RECEIPT HERE
Serial Number
Purchase Date
PH19238
8 a.m. - 5

Questions and Answers:

Harbor Breeze L1901 Specifications

General IconGeneral
Fan TypeCeiling Fan
Blade Span52 inches
Number of Blades5
ModelL1901
Reversible MotorYes
Motor TypeAC Motor
Motor Speed3-speed

Summary

Package Contents

Hardware Contents

Safety Information

Preparation

Initial Installation Instructions

Power Disconnection

Ensure electricity is turned off at the main fuse box or circuit breaker before installation.

Fan Mounting Options

Details required ceiling clearance and blade-to-wall distance for safe fan operation.

Outlet Box Check

Verify outlet box is securely fastened and can support fan weight for safe installation.

Mounting Bracket Attachment

Hang the motor body onto the mounting bracket using hex nuts and washers for hands-free wiring.

Wiring Instructions

Final Installation Instructions

Motor Body Mounting

Attach motor body to mounting bracket using grommets, washers, and hex nuts.

Motor Housing Alignment

Align motor housing dot labels with mounting bracket and rotate clockwise to secure.

Blade Assembly Attachment

Secure blade iron to blade using three blade screws, tightening sequentially.

Blade Assembly Securement

Install blade assemblies to motor using motor screws, tightening securely.

Switch Housing Installation

Attach switch housing to mounting plate using keyslots and mounting screws.

Light Kit Attachment

Connect light kit to motor body and attach to switch housing using screws.

Bulb Installation

Insert the provided bulbs into their respective sockets.

Light Kit Hardware Preparation

Retain silicone washer, metal washer, and manual nut from light kit threaded rod.

Glass Bowl and Finial Assembly

Attach glass bowl, guide chains, and secure with washers, nut, finial cap, and finial.

Operation Instructions

Motor Speed Control

Use fan fob to control motor speed: High, Medium, Low, and Off.

Light Control

Use lamp fob to turn the light On or Off.

Fan Direction Control

Flip fan reversal switch to change direction between clockwise and counterclockwise rotation.

Airflow Direction Explanation

Explains fan rotation for cooling (counterclockwise) and heating (clockwise) airflow.

Care and Maintenance

Troubleshooting

Limited Lifetime Warranty

Replacement Part List

Related product manuals