#43149 Page 4
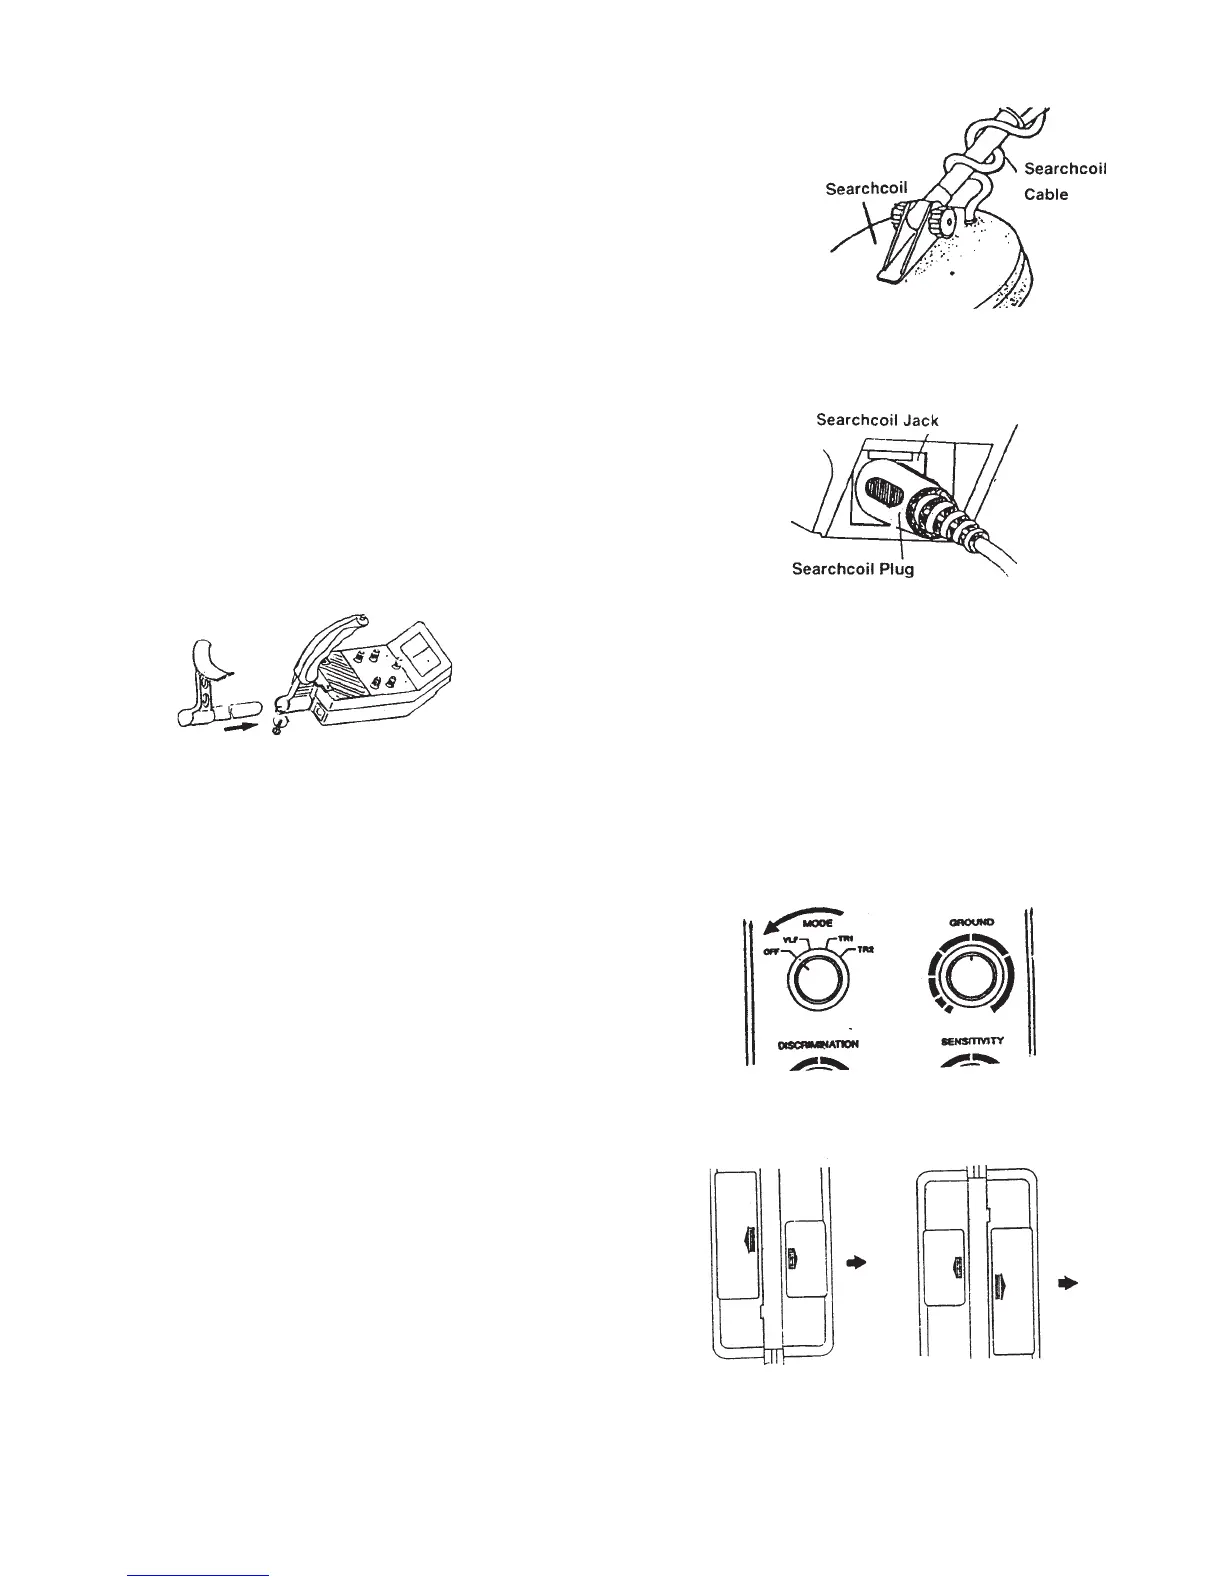
5. Wind the search coil cable around the stem. Make sure you leave
enough slack in the cable to allow for adjustment when you are using
the Metal Detector on uneven ground (see Figure 3).
6. Plug in the search coil’s plug into the search coil jack on the
Metal Detector’s control panel. Make sure that the pins on the
plug align with the holes in the jack (see Figure 4).
Note: The search coil’s plug fits into the connector only one way.
Never force the plug; the plug could become damaged.
To disconnect the plug, never pull on the cable; always take hold
of the plug and pull it out of the connector.
7. Loosen the knob at the search coil’s end, then adjust the
search coil’s end, then adjust the search coil to the desired angle.
The search coil should be parallel with the ground. Tighten the
knob enough to keep the search coil from rotating or wobbling.
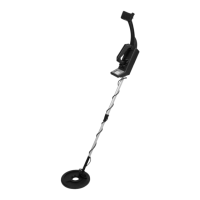
8. To insert the arm support (see Figure 5), loosen the knob at
the base of the handle. Insert the arm support and tighten the
knob to hold the arm support in place.
Figure 3
Figure 4
Figure 5
To Install Batteries:
The Metal Detector is powered by a quantity of three, 9 Volt batteries. Battery installation is described
below:
1. If the Metal Detector is on, turn MODE to OFF
(see Figure 6).
2. Press the right battery compartment cover’s tab and slide
the cover in the direction of the arrow (see Figure 7).
3. Place one 9 Volt battery into the battery compartment
on top of the ribbon. Make sure the battery is placed so
that it matches the polarity symbols (+ and -) that are
marked inside the compartment.
4. Replace the right battery compartment cover.
5. Press the left battery compartment cover’s tab
and slide the cover off in the direction of the arrow
(see Figure 8).
6. Place two 9 Volt batteries into the battery compartment
on top of the ribbons, matching the polarity symbols
(+ and -) marked. Replace the left battery compartment cover.
Figure 6
Figure 7
Figure 8