#43149 Page 7
Tuning the Metal Detector (continued)
As you use the Metal Detector to search for items, you can fine tune by using the other control (see Fine
Tuning the Metal Detector on page 8).
Note: To return the pointer to the center of the viewmeter at any time, simply press the red button on the
handle.
Testing and Using the Metal Detector:
You must first test the detector to find out how it reacts to different metals. It can be tested indoors or
outdoors.
Indoor Testing
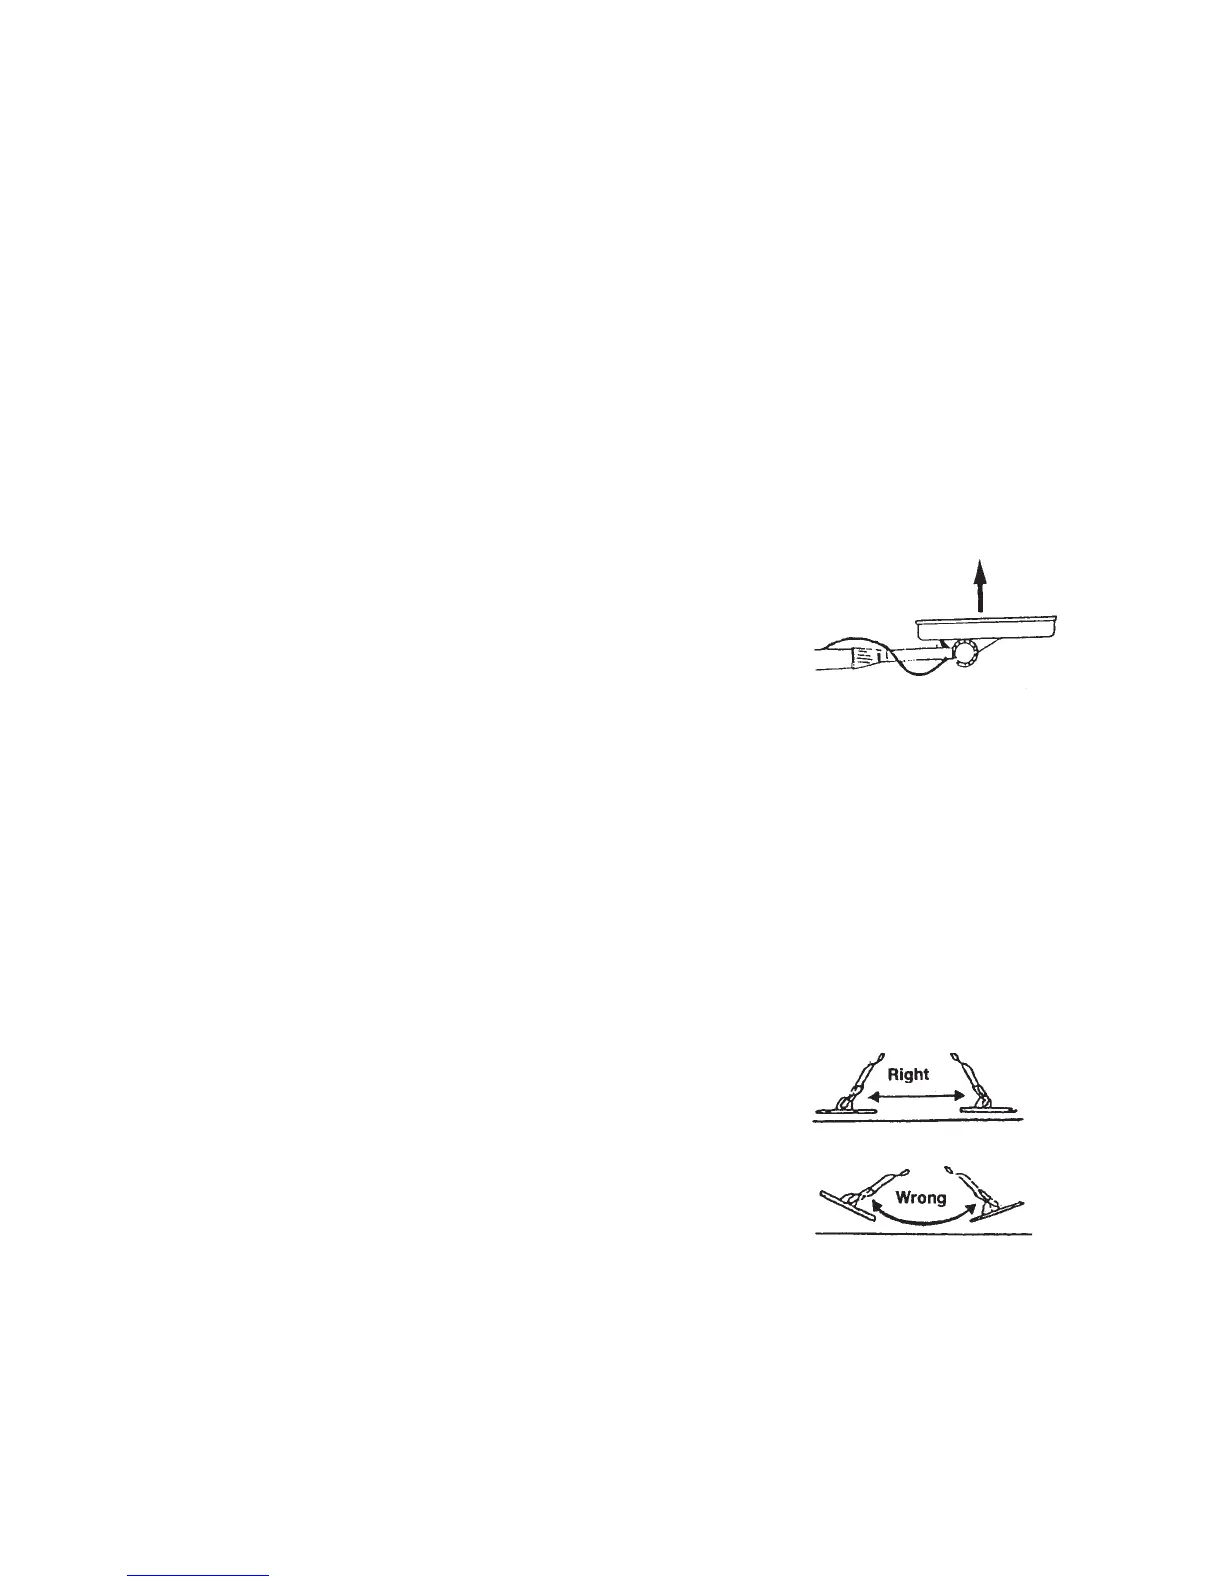
1. After removing watches, rings or any other metal jewelry, place the detector on a wooden or plastic
table. Adjust the search coil’s angle so that the flat part faces upward (see Figure 17).
Note: Never test on a floor inside a building, as it may have a type of metal present.
2. Set MODE to TR1. Move a sample of the material being tested
(example: coin or gold ring) about 2 inches above the search coil.
Note: the Metal Detector will not detect without motion. You must
move the object since you are not sweeping the Metal Detector.
3. If the Metal Detector detects the material, the NON-FERROUS and FERROUS indicators flash and
the pointer moves to FERROUS or NON-FERROUS while the detector determines the type of metal it
is detecting. If it detects non-ferrous metal, it also sounds a tone.
4. If the Metal Detector does not detect the material, check the battery power and verify that the search
coil is properly connected. Also, you might need to fine tune the detector (see next page).
Outdoor Testing
1. Locate an area outdoors where there is no metal present. Place a sample of the material to be tested
(coin or gold ring) on the ground.
2. Set MODE to TR1.
Figure 17
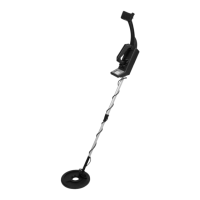
3. With the search coil being held approximately 1 to 2
inches above the ground, slowly move the search coil over
the area where you placed the sample. Sweep in a side to
side motion as follows:
Sweep slowly to avoid missing targets. Never raise the sweep
coil while sweeping; sweep back and forth as if it was a
pendulum (see Figure 18).
If the Metal Detector detects the item, it sounds a tone and the pointer moves to the type of metal it
found. After detecting metal, switch MODE TR1 to TR2 to determine the quality of the metal.
Figure 18
If nothing was detected, try again (make sure the search coil is being moved properly).