2-6 2005 PDI: Touring Models
RADIO ANTENNA MAST
INSTALLATION
Open the Tour-Pak lid.
FLHTC models are equipped with one antenna mast. Thread
the mast securely over the antenna mounting stud and
tighten the set screw.
FLHTCU models are equipped with two antenna masts —
one with loading coil for CB radio for right side mounting, the
other for AM/FM radio for left side.
On Ultra models only, use soapy water as a lubricant to install
a protective rubber boot (provided with vehicle) over tip of
AM/FM antenna mast; slide boot down mast and over spring-
loaded base. Repeat for CB antenna, but, loosen upper set-
screw in base, slide mast from base and slide boot onto mast
below loading coil. Reassemble mast to base and adjust dis-
tance between bottom of loading coil to top of base to 1 in.
Thread each mast securely over its antenna mounting stud.
Tighten the two (3 on CB) set screws (one for antenna mast,
the other for antenna mounting stud) located in the spring-
loaded base of each antenna and one at top of loading coil.
NOTE
Standing Wave Ratio (SWR) will be checked later in these
procedures.
REAR SPEAKER HARNESSES
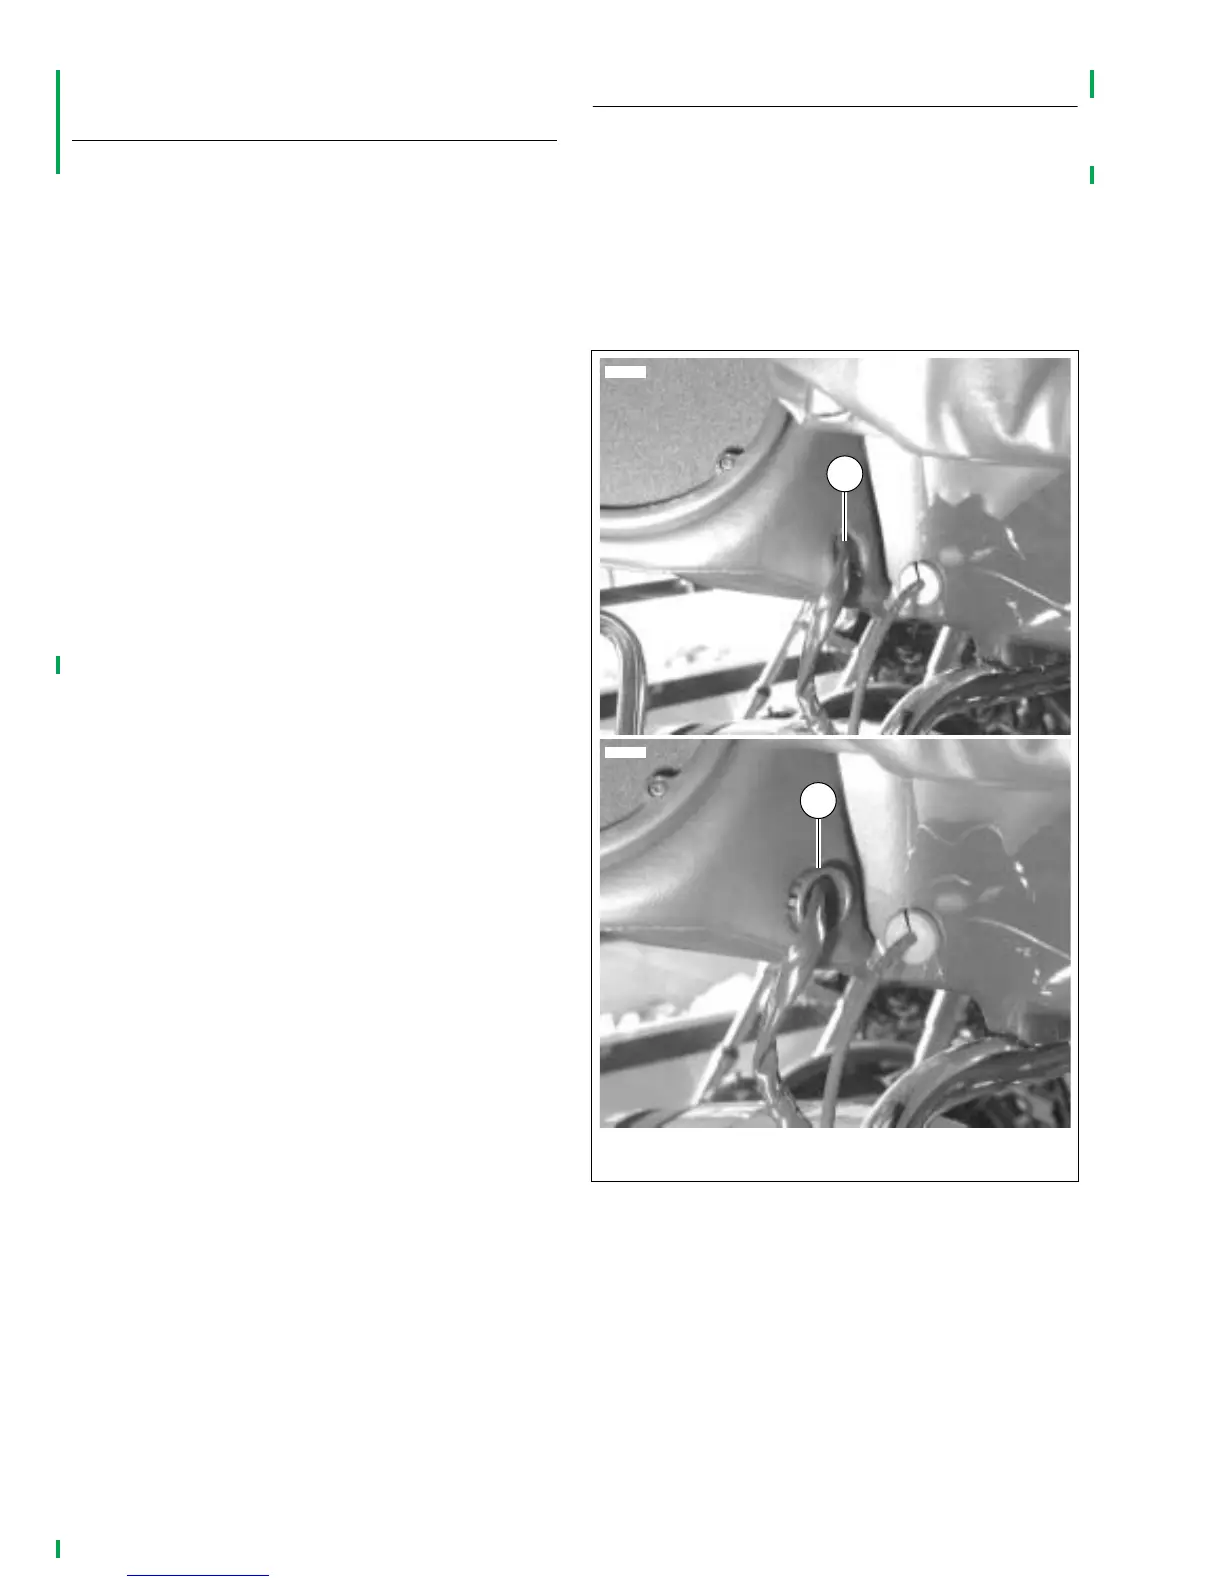
1. See Figure 2-6. Cut cable straps securing rear speaker
harnesses to passenger handrail (both right and left
sides). Locate plastic grommets packed in Tour-Pak.
2. Press down on seat cushion, slide harness and connec-
tor into speaker box.
3. Install split plastic grommet on harness and push grom-
met into hole in speaker box.
4. Repeat steps 2 and 3 for left side.
Figure 2-6. Rear Speaker Harness Grommets
(Seat removed for clarity)
1
2
1. Right speaker harness
2. Plastic grommet (shown partially installed)
6712
6711