2.28REAR FENDER
GENERAL
This topic is split by vehicle type. However, the following steps
are common to all models.
Removal
1. Remove seat.
To prevent accidental vehicle start-up, which could cause
death or serious injury, disconnect negative (-) battery
cable before proceeding. (00048a)
2. Disconnect negative battery cable.
3. Detach rear electrical harness.
a. Follow the tail light and rear turn signal wire harness
to the eight pin connector under the seat.
b. Separate the eight pin connector.
c. Remove the six wires and the attached socket ter-
minals from the connector. See the electrical dia-
gnostic manual and B.2 WIRING DIAGRAMS for more
information.
4. Cut cable strap securing harness to frame. Pull harness
through fender opening.
5. Continue with the steps for your specific vehicle.
Tail Lamp/Turn Signal Harness Routing
NOTE
If you are replacing the existing conduit, it may be necessary
to remove remaining adhesive.Do NOT use solvents or harsh
chemicals to remove adhesive as damage to painted sur-
faces may occur.
1. Thoroughly clean inside surface of fender with soap and
water until it is free of dirt, oil, or other debris.
NOTE
For typical wiring harness/conduit placement, see Figure 2-108.
2. Dry the surface, then wipe the area where conduit will be
placed with Isopropyl Alcohol. Allow to dry completely.
3. Slide tail lamp wiring harness through conduit and plug
connectors into appropriate sockets. See the electrical
diagnostic manual and B.2 WIRING DIAGRAMS for more
information.
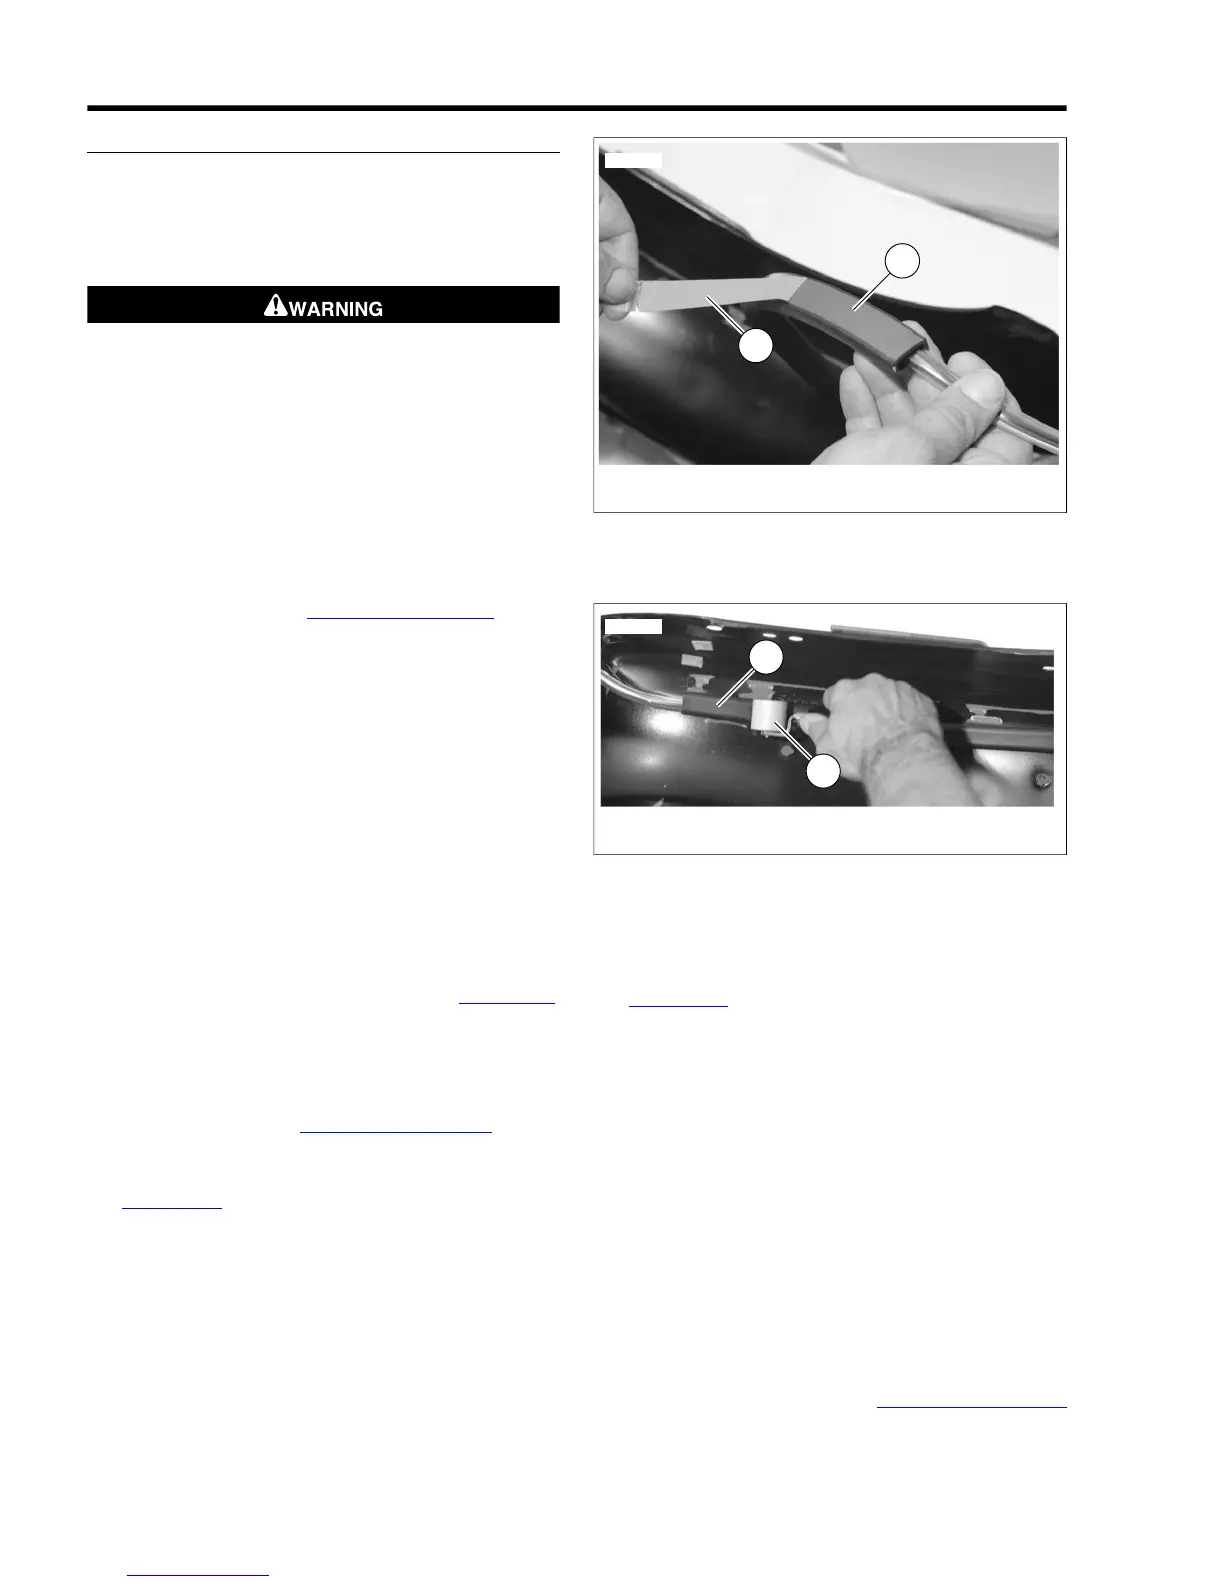
4. Remove protective strip covering adhesive on conduit (see
Figure 2-107.) and lightly position the conduit in place.
1. Conduit
2. Wallpaper corner roller
Figure 2-108. Purging Air Between Adhesive and Fender
5. Using a wallpaper corner roller (available at most home
improvement stores), roll along conduit to purge the air
from between the adhesive and the fender. See
Figure 2-108.
NOTES
• Do NOT rub the conduit to make it adhere to the fender.
This will not do an adequate job of purging the air from
between the adhesive and fender.
• Once the adhesive is in place, it requires 72 hours to fully
cure. Do NOT pull or try to reposition the conduit during
this period.
6. Continue with the installation steps for your specific
vehicle.
Installation
After attaching fender, perform the following steps on all
models.
1. Route harness through opening in fender.
2. Install socket terminals back into connector. See the
electrical diagnostic manual and B.2 WIRING DIAGRAMS
for more information.
2-76 2008 Dyna Service: Chassis