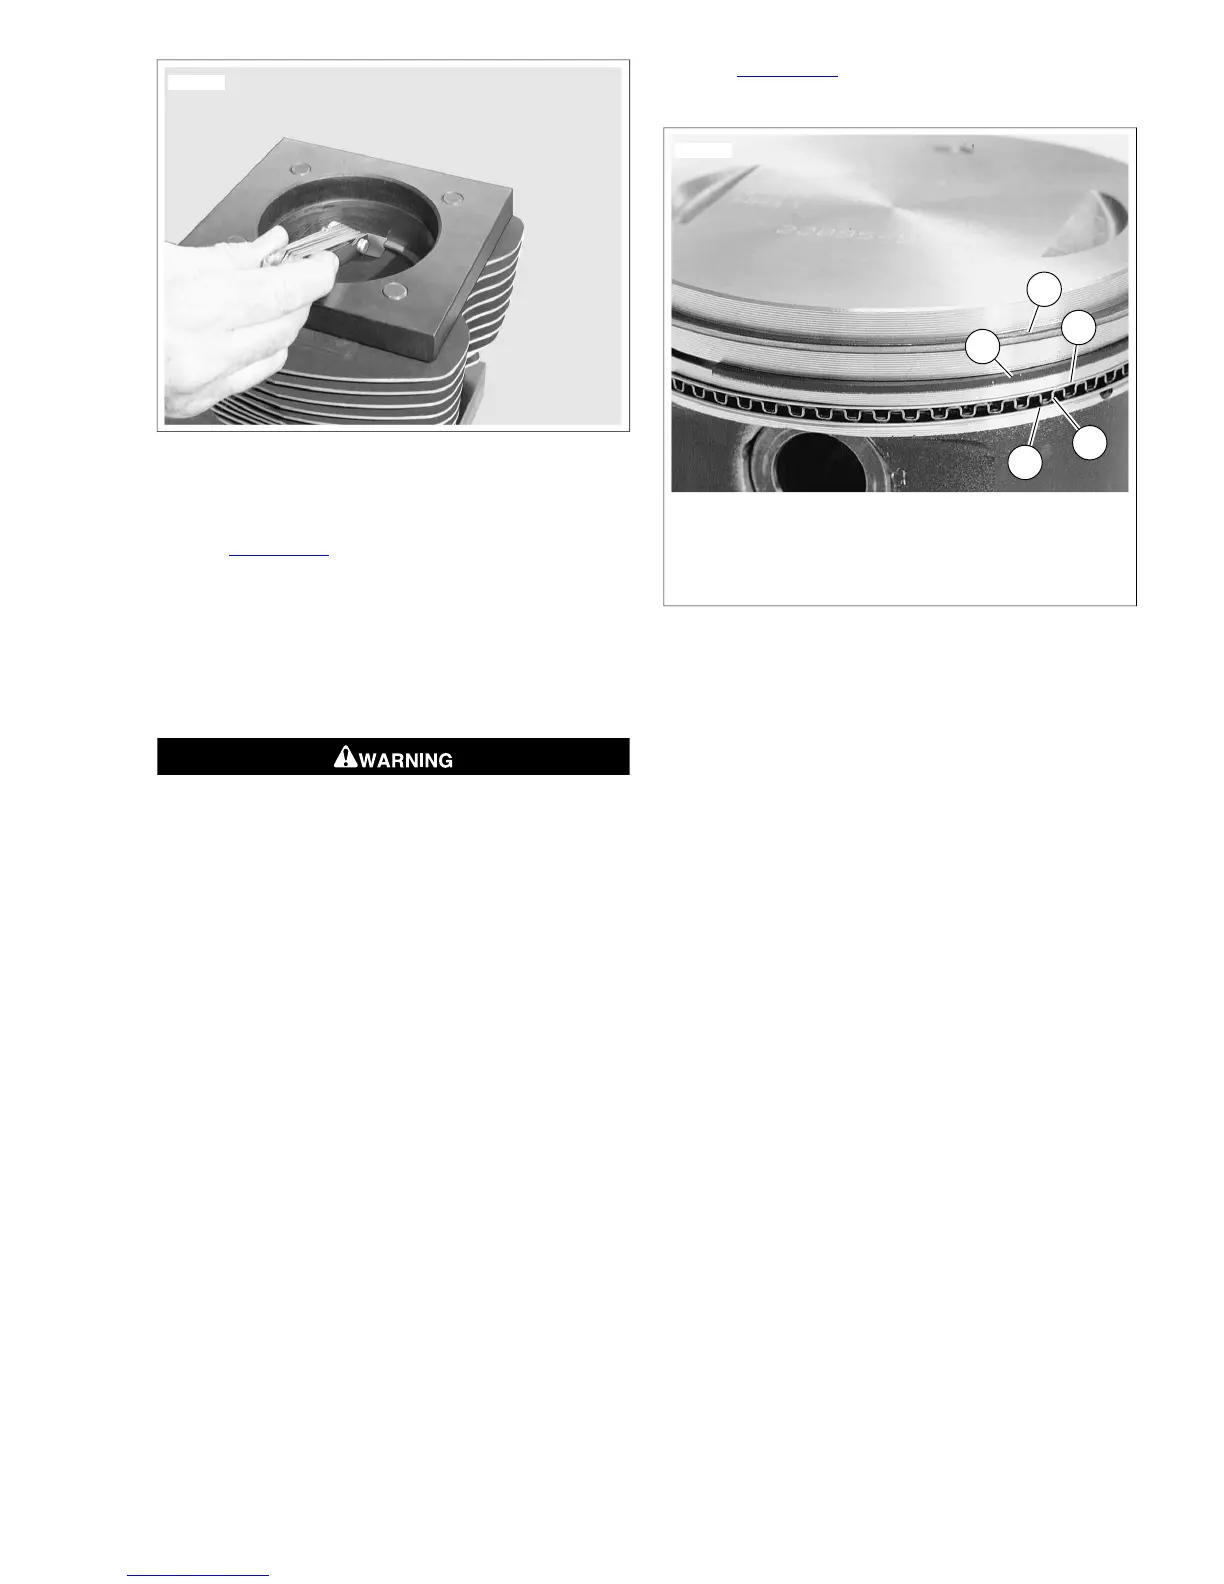
Figure 3-109. Measuring Ring Gap
Installing Piston Rings
1. See Figure 3-110. Apply clean H-D 20W50 engine oil to
three piston ring grooves.
2. Install expansion ring (4) into third ring groove.
3. Spiral bottom oil rail (5) into space below expansion ring
(4). Position gap 90° from the gap in the expansion ring.
4. Spiral upper oil rail (3) into space above expansion ring
(4). Position gap 180° from the gap in the bottom oil rail.
Wear safety glasses or goggles when removing or
installing compression rings. Compression rings can slip
from the pliers and could be propelled with enough force
to cause serious eye injury. (00469c)
NOTES
• Use the proper piston ring spreader to prevent excessive
ring twist and expansion. Over expansion may cause the
ring to crack opposite the ring gap. Damaged or distorted
rings result in blow-by of exhaust gases, increased oil
consumption and lower service life on valves and other
components.
• Installing the second compression ring upside down will
cause oil to be scraped up into the combustion chamber
resulting in excessive oil consumption and low service life
on valves and other components.
5. Using the proper piston ring expander (Snap-on PRS8),
carefully install the second compression ring. Make sure
the dot (punch mark) near the ring gap faces the piston
crown. Rotate the ring so the gap is 180° from the gap in
the expansion ring.
6. Using the proper piston ring expander (Snap-on PRS8),
carefully install the top compression ring. Make sure the
dot (punch mark) near the ring gap faces the piston crown.
Rotate the ring so the gap is 180° from the gap in the
second compression ring.
7. Rotate the three piston rings using the palms of both
hands.The rings must rotate freely without sticking.
8. See Figure 3-111. Verify the ring gaps are still properly
staggered.



 To Next Page