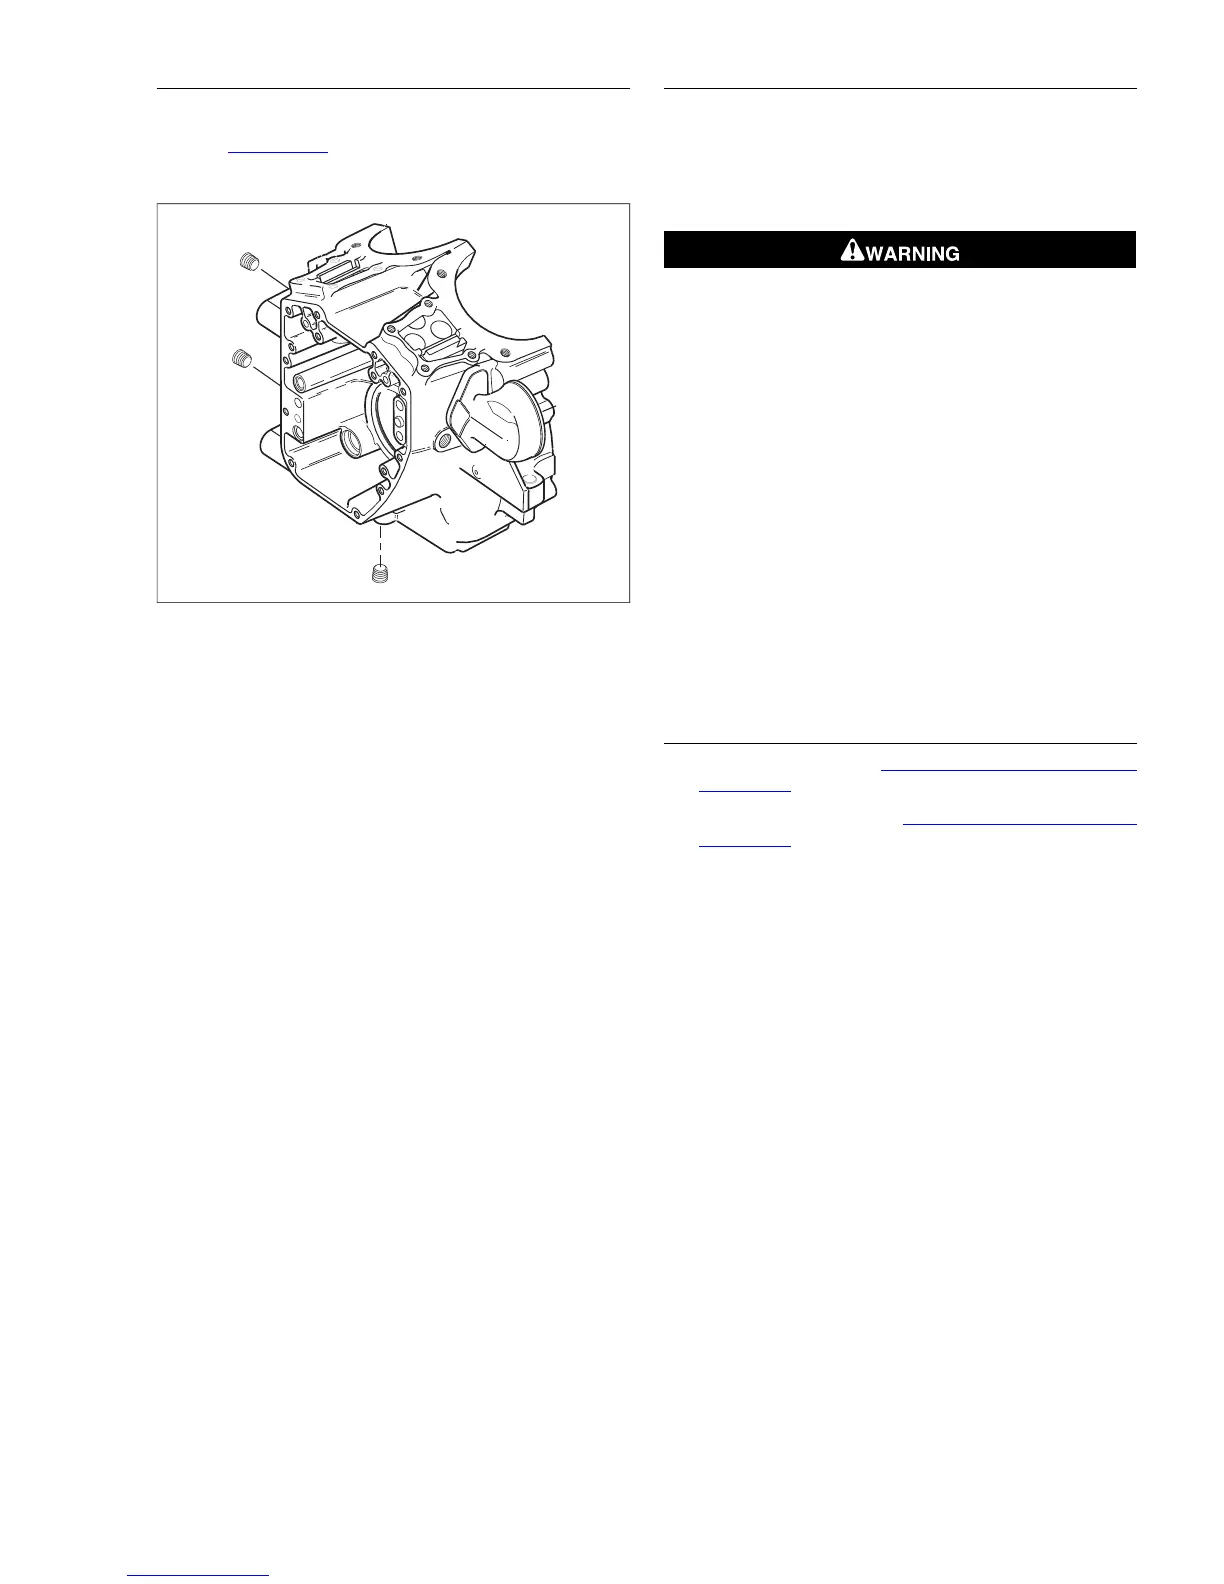
Figure 3-144. Pipe Plugs
Installation
1. Apply LOCTITE PIPE SEALANT 565 to threads.
2. Install pipe plugs. Tighten pipe plugs to 120-144 in-
lbs (13.6-16.3 Nm).
CLEANING AND INSPECTION
1. Scrape old gasket material from the crankcase flanges.
Old gasket material left on mating surfaces will cause
leaks.
2. Clean all parts in a non-volatile cleaning solution or
solvent.
Compressed air can pierce the skin and flying debris from
compressed air could cause serious eye injury. Wear
safety glasses when working with compressed air. Never
use your hand to check for air leaks or to determine air
flow rates. (00061a)
3. Blow parts dry with low pressure compressed air.
4. Verify that all oil holes and passageways are clean and
open.
5. Check ring dowels for looseness, wear or damage.
Replace as necessary.
6. Use a file to carefully remove any nicks or burrs from
machined surfaces.
7. Clean out tapped holes and clean up damaged threads.
8. Check the top of the crankcase for flatness with a
straightedge and feeler gauge. Replace if warped.
9. Spray all machined surfaces with clean engine oil.
INSTALLATION OVERVIEW
1. Perform all steps under 3.18 BOTTOM END OVERHAUL:
ASSEMBLY.
2. Perform all steps under 3.16 TOP END OVERHAUL:
ASSEMBLY.
2008 Dyna Service: Engine 3-97



 To Next Page