1.6BRAKES
FLUID INSPECTION
Direct contact of D.O.T. 4 brake fluid with eyes can cause
irritation. Avoid eye contact. In case of eye contact flush
with large amounts of water and get medical attention.
Swallowing large amounts of D.O.T. 4 brake fluid can cause
digestive discomfort. If swallowed, obtain medical atten-
tion. Use in well ventilated area. KEEP OUT OF REACH OF
CHILDREN. (00240a)
D.O.T. 4 brake fluid will damage painted and body panel
surfaces it comes in contact with. Always use caution and
protect surfaces from spills whenever brake work is per-
formed. Failure to comply can result in cosmetic damage.
(00239b)
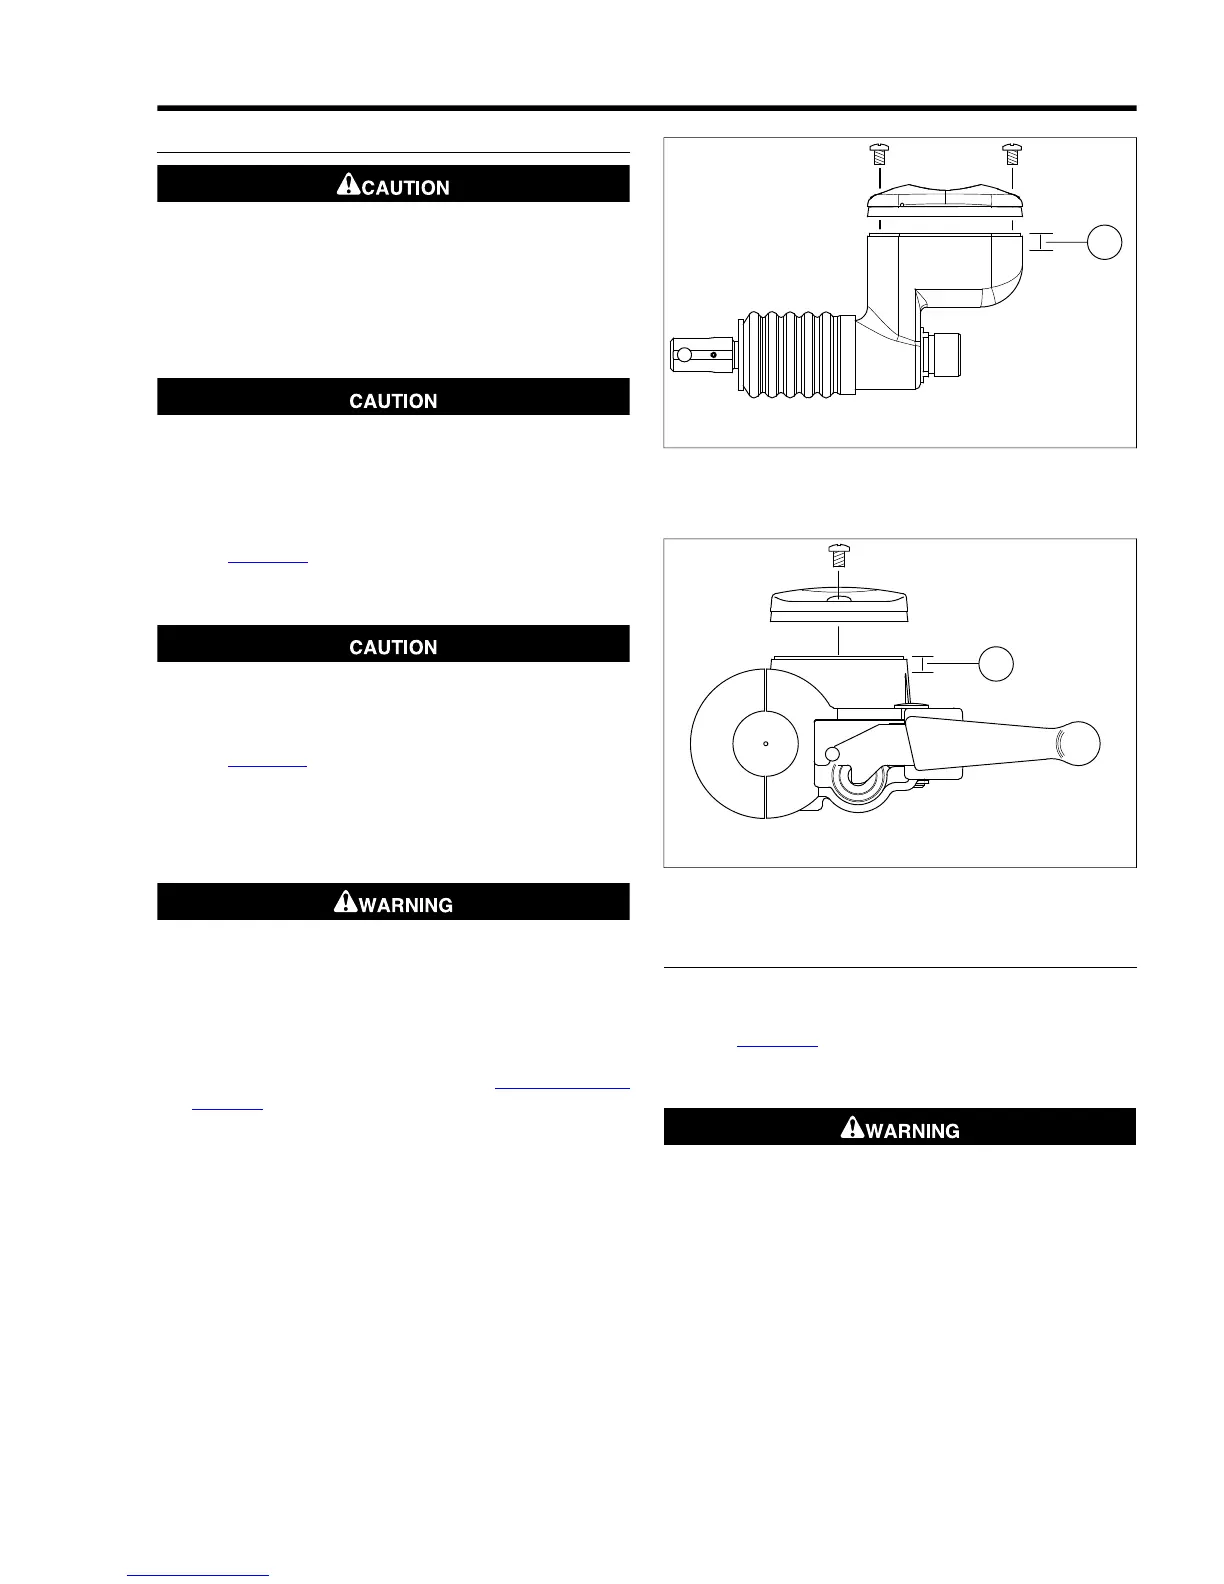
1. See Figure 1-6. Check level in rear brake master cylinder
reservoir. Level should be 1/4 ± 1/8 in. (6.35 ± 3.18 mm)
below the gasket surface.
Do not allow dirt or debris to enter the master cylinder
reservoir. Dirt or debris in the reservoir can cause improper
operation and equipment damage. (00205c)
2. See Figure 1-7. Check level in front brake master cylinder
reservoir. Level should be 1/4 ± 1/8 in. (6.35 ± 3.18 mm)
below the gasket surface.
3. Install gaskets and covers.Tighten reservoir cover screws
to 6-8 in-lbs (0.7-0.9 Nm).
After repairing the brake system, test brakes at low speed.
If brakes are not operating properly, testing at high speeds
can cause loss of control, which could result in death or
serious injury. (00289a)
4. Front brake hand lever and rear brake foot pedal must
have a firm feel when applied. If not, bleed system using
only D.O.T. 4 BRAKE FLUID. See 1.15 BLEEDING
BRAKES.
1. Fluid level should be 1/8-1/4 in. (3.2-6.4 mm)
below gasket surface
Figure 1-7. Front Brake Master Cylinder Reservoir
REAR PEDAL HEIGHT
The rear brake pedal should not require adjustment. If minor
pedal height adjustment is desired:
1. See Figure 1-8. Brake rod (5) is threaded into push rod
(3) in rear brake master cylinder (1), and locked in place
with jam nut (4). Loosen jam nut.
When adjusting brake control rod, never allow more than
nine threads to be exposed between control rod and jam
nut. If more than nine threads are exposed, brake rod can
come apart resulting in loss of rear brake, which could
cause death or serious injury. (00306c)
2. Using an open-end wrench on the push rod flats, turn the
push rod in the direction which will correct pedal height.
When correct pedal height is obtained, tighten jam nut.
3. Verify that water drain hole in rubber boot (2), which covers
rear brake push rod, is positioned to bottom.
2008 Dyna Service: Maintenance 1-13