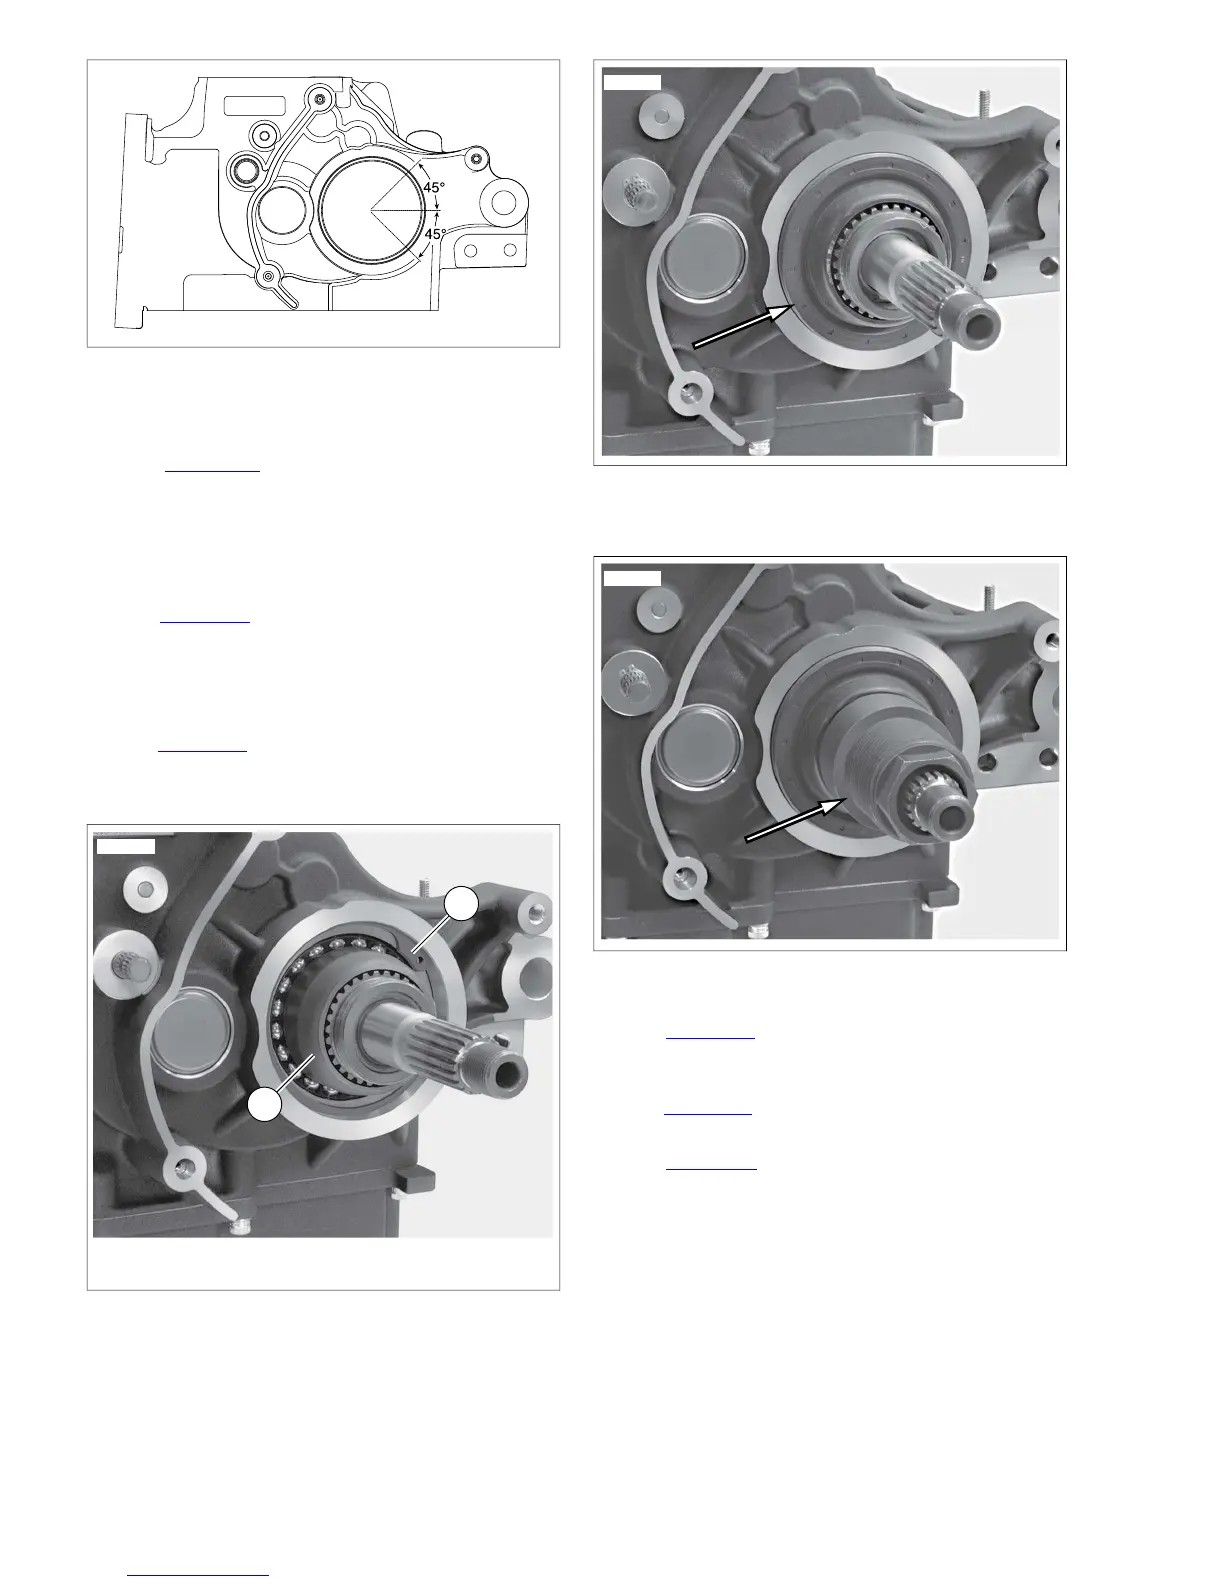
Figure 7-46. Retaining Ring Opening
Installing Main Drive Gear Seal
1. See Figure 7-47. From outside of crankcase, install
PILOT (Part No. HD-47856-2) over end of main drive gear
bearing inner race.
2. Coat lips of new main drive gear seal with FORMULA+
TRANSMISSION AND PRIMARY CHAINCASE LUB-
RICANT (Part No. 99851-05, qt).
3. See Figure 7-48. Place seal over pilot and position seal
squarely in end of crankcase bore.
NOTE
ADAPTER (Part No. HD-47856-3) and main drive gear have
right-hand threads.
4. See Figure 7-49.Thread ADAPTER (Part No. HD-47856-
3) onto end of main drive gear until it bottoms on main
drive gear.
Figure 7-49. Install Adapter (Part No. HD-47856-3)
5. See Figure 7-50. Slide INSTALLER (Part No. HD-47856-
1) over adapter until cupped end of installer is flat against
seal.
6. See Figure 7-51.Thread NUT (Part No. HD-47856-6) onto
end of adapter, until it tightens against installer.
7. See Figure 7-52. Place CROW'S FOOT WRENCH (Part
No. HD-47856-7) (1) with 1/2 inch drive breaker bar (2)
on large nut. Place an adjustable wrench (3) on flats of
hex head cast into end of adapter.
8. Holding adjustable wrench, tighten large nut with crow's
foot wrench until outer face of seal is flush with outer edge
of transmission bore.
NOTE
It is acceptable to recess seal to about 0.030 in. (0.762 mm)
below outer edge of bore. Seal depth will be controlled by tool.
9. Remove nut, installer, adapter and pilot.
7-24 2008 Dyna Service: Transmission



 To Next Page