8.24REAR STOPLIGHT SWITCH
GENERAL
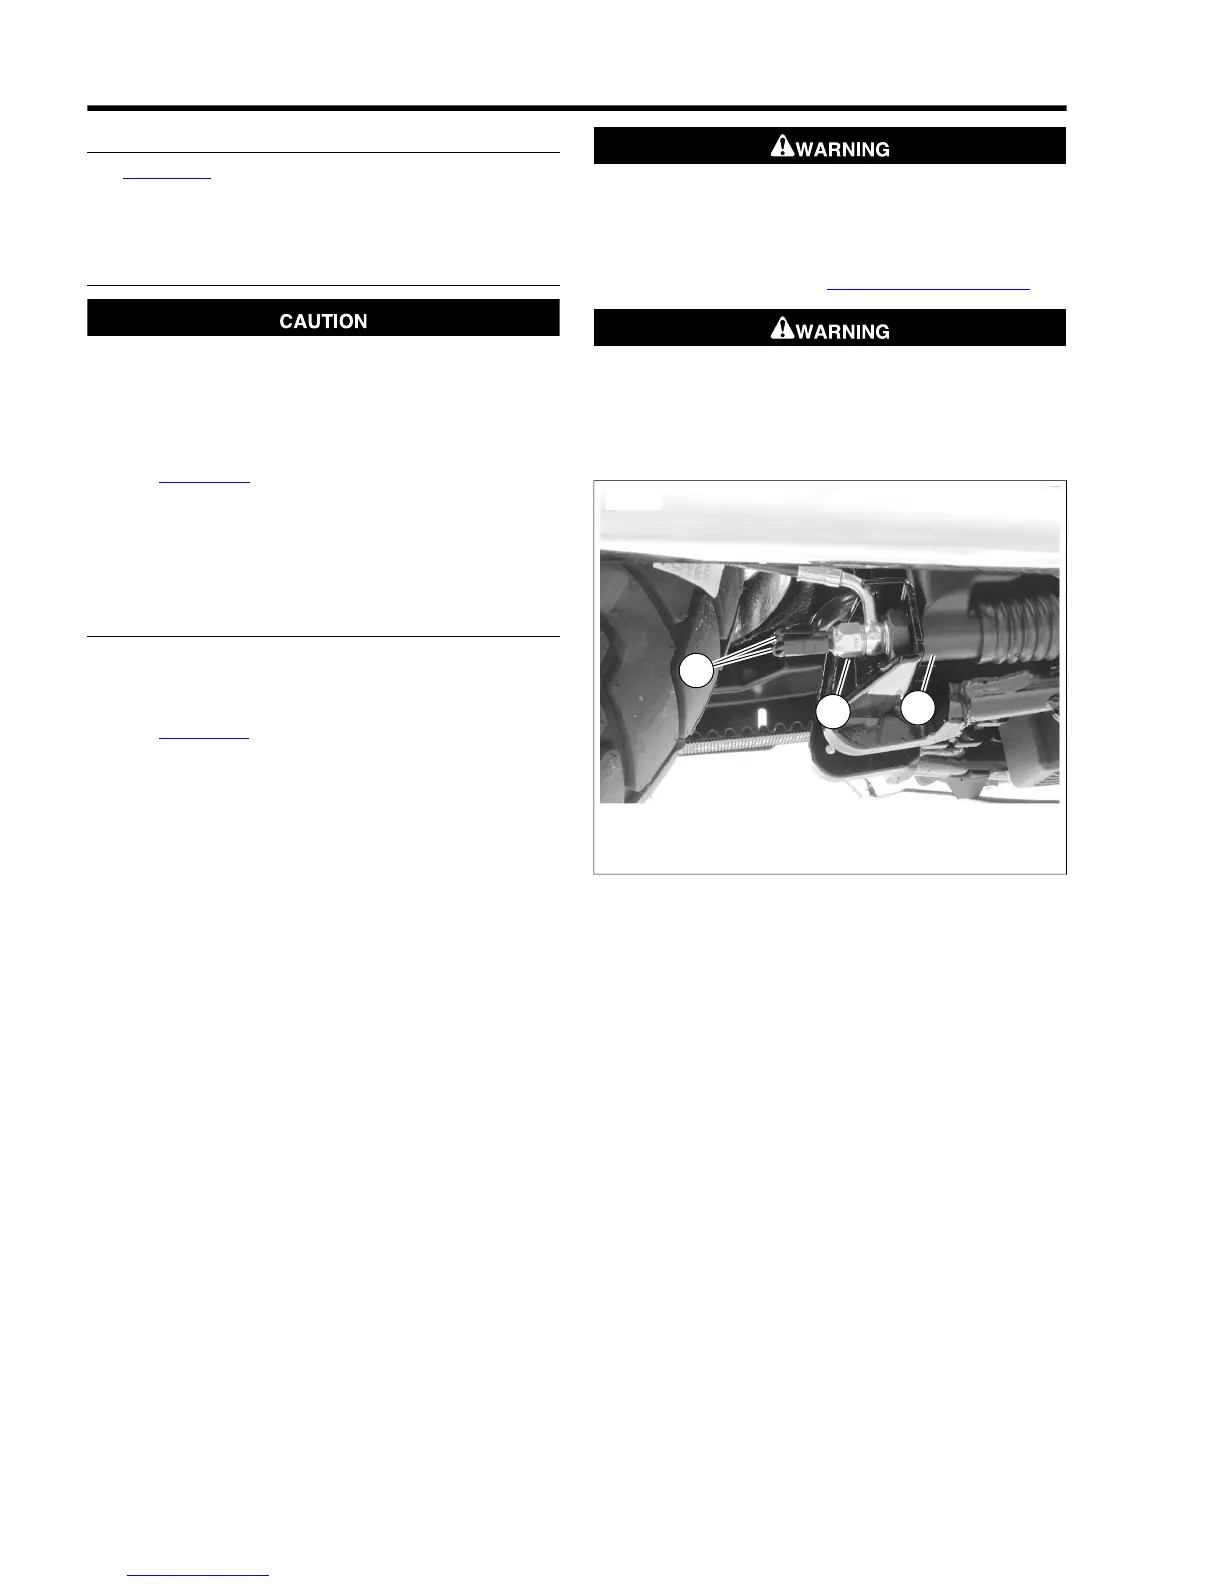
See Figure 8-64.The rear stoplight switch monitors brake fluid
pressure in the rear brake line. When pressure in the line
reaches a preset level, the rear stoplight switch is tripped and
illuminates the tail light/stoplight.
REMOVAL
D.O.T. 4 brake fluid will damage painted and body panel
surfaces it comes in contact with. Always use caution and
protect surfaces from spills whenever brake work is per-
formed. Failure to comply can result in cosmetic damage.
(00239b)
1. See Figure 8-64. Remove both connectors (2) from rear
stoplight switch (1).
2. Place a clean container under the rear stoplight switch
and brake line to catch escaping fluid.
3. Remove rear stoplight switch.
INSTALLATION
1. Coat threads of stop light switch with LOCTITE 565 (thread
sealant) perpendicular to the threads. Do not allow thread
sealant to make contact with end of switch.
2. See Figure 8-64. Install rear stoplight switch (1). Tighten
switch to 12-15 ft-lbs (16.3-20.3 Nm).
3. Install switch connectors (2).
After repairing the brake system, test brakes at low speed.
If brakes are not operating properly, testing at high speeds
can cause loss of control, which could result in death or
serious injury. (00289a)
4. Bleed brake system. See 1.15 BLEEDING BRAKES.
Be sure that all lights and switches operate properly before
operating motorcycle. Low visibility of rider can result in
death or serious injury. (00316a)
5. Check stop light for proper operation.
 Loading...