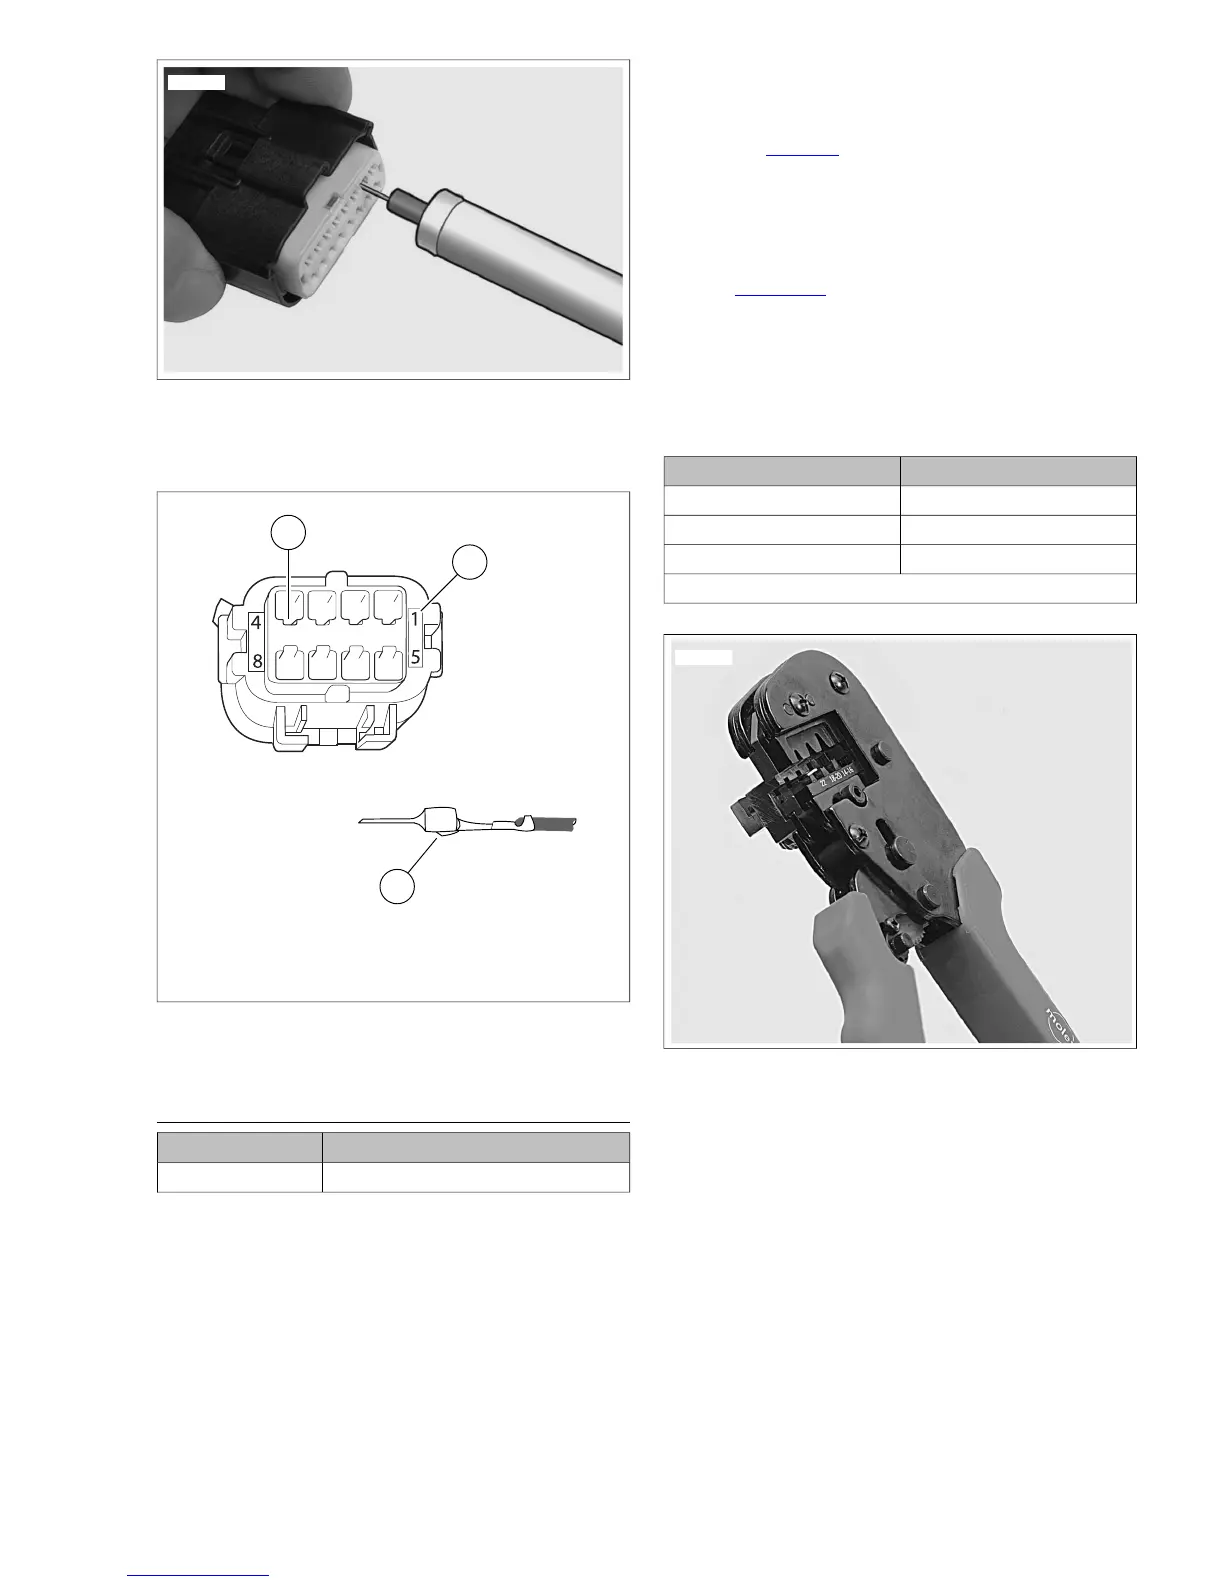
1. Cavity number
2. Tang
3. Cavity slot
Figure A-31. Molex Connector: Pin Cavities and Wire
Terminal
CRIMP TERMINAL TO LEAD
TOOL NAMEPART NUMBER
ELECTRICAL CRIMP TOOLHD-48119
Prepare Lead
1. Cut the damaged terminal close to the back of the terminal
to leave as much wire length as possible.
2. Strip approximately 3/16 in. (4.70-5.60 mm) of insulation
from the end of the wire lead.
NOTE
The strip length is the same for both pin and socket terminals
and for wire gauges from 22 to 14.
Prepare Tool
1. Identify the punch/die in the jaws of the ELECTRICAL
CRIMP TOOL (Part No. HD-48119) for the wire gauge.
Refer to Table A-4.
2. Squeeze and release the handles to open the tool.
NOTE
The crimp tool automatically opens when the handles are
released.
3. See Figure A-32. Hold fully open tool at approximately 45
degrees.
NOTE
Do NOT tighten the locknut holding the locator bars.The bars
must float to accommodate the different terminal gauges.
Table A-4. Crimp Tool Wire Gauge Punch/Die
PUNCH/DIEAWG (WIRE GAUGE)
Left22
Middle18-20
Right14-16*
* Crimp 16 AWG pin terminals in the 18-20 middle die.
Figure A-32. Open Electrical Crimp Tool (HD-48119) at 45
Degrees
2008 Dyna Service: Appendix A Connector Repair A-21
 Loading...