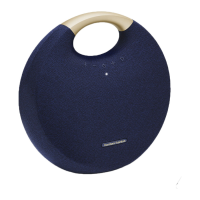
Harman Kardon Onyx Studio
Assembly procedure
注意:Front Radiator 不可壓到藍牙天線
Assemble the Front Radiator to the front cover.
Note: Do not press the BT Antenna Assy shown
as in the figure.
Tightens 4 screws by using the T10 screwdriver.
3. 放置 Woofer 在前殼對應位置
注意:Mid Woofer“接頭”朝面框外側位置
Place the Woofer fix on the front cover.
Note: Let the connector of Mid Woofer outward
shown as in the figure.
3.1 使用螺絲起子,依次鎖付 Mid Woofer 4PCs
螺絲(3*14.2MM)
Tightens 4 screws by using the T10 screwdriver.
3.2 注意: Mid woofer 正面鼓膜不可觸碰、撞
傷
Note: Do not damage and touch the Mid woofer
4. 放置 Mid Woofer 在前殼對應位置
注意:Mid Woofer“接頭”朝面框外側位置
Place the Woofer fix on the front cover.
Note: Let the connector of Mid Woofer outward
shown as the figure
Mid Woofer
膠圈

 Loading...