3
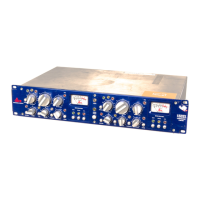
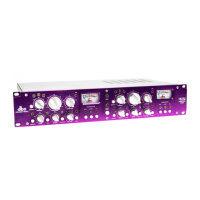
Connecting the 1066 to your system
To connect the 1066 to your system, refer to the following steps:
s4URNOFFALLEQUIPMENTBEFOREMAKINGANYCONNECTIONS
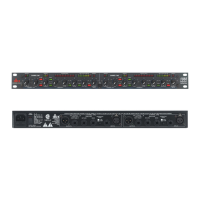
s-OUNTTHEINARACK
Install the 1066 in a rack with the rack screws provided. It can be mounted above or below anything
THATDOESNOTGENERATEEXCESSIVEHEAT!MBIENTTEMPERATURESSHOULDNOTEXCEED&#WHEN
equipment is in use. Although the unit is shielded against radio frequency and electromagnetic inter-
FERENCEEXTREMELYHIGHFIELDSOF2&AND%-)SHOULDBEAVOIDED
s-AKEAUDIOCONNECTIONSVIA8,2v423ORv43PLUGS
Both types of connectors for the inputs and outputs can be used for balanced or unbalanced connec-
tions. The use of more than one connector at a time for the input/output pair could unbalance bal-
anced lines, cause phase cancellations, short a conductor to ground, or cause damage to other equip-
ment connected to the 1066.
s!PPLYPOWERTOTHE
#ONNECTTHE!#POWERCORDTOTHE!#POWERRECEPTACLEONTHEBACKOFTHEUNIT2OUTETHE!#POWER
cord to a convenient power outlet away from audio lines. The unit may be turned on and off via the
1066 power switch or from a master equipment power switch.
Connecting the 1066 to your system
 Loading...