4.3: INPUT CHANNEL > DYNAMICS
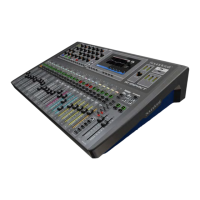
Vi3000 USER MANUAL
4.3 INPUT CHANNEL > De Esser
Vi3000 USER MANUAL
18.1.1 18.1.1: VM ² > DEVICE LIST
18.1.1: VM ² > DEVICE LIST
console to know on which channel strip to display the VM² monitoring information, it is necessary to associate each of
the microphone devices with a physical connector, which will correspond to the connector that the microphone’s audio
output is connected to.
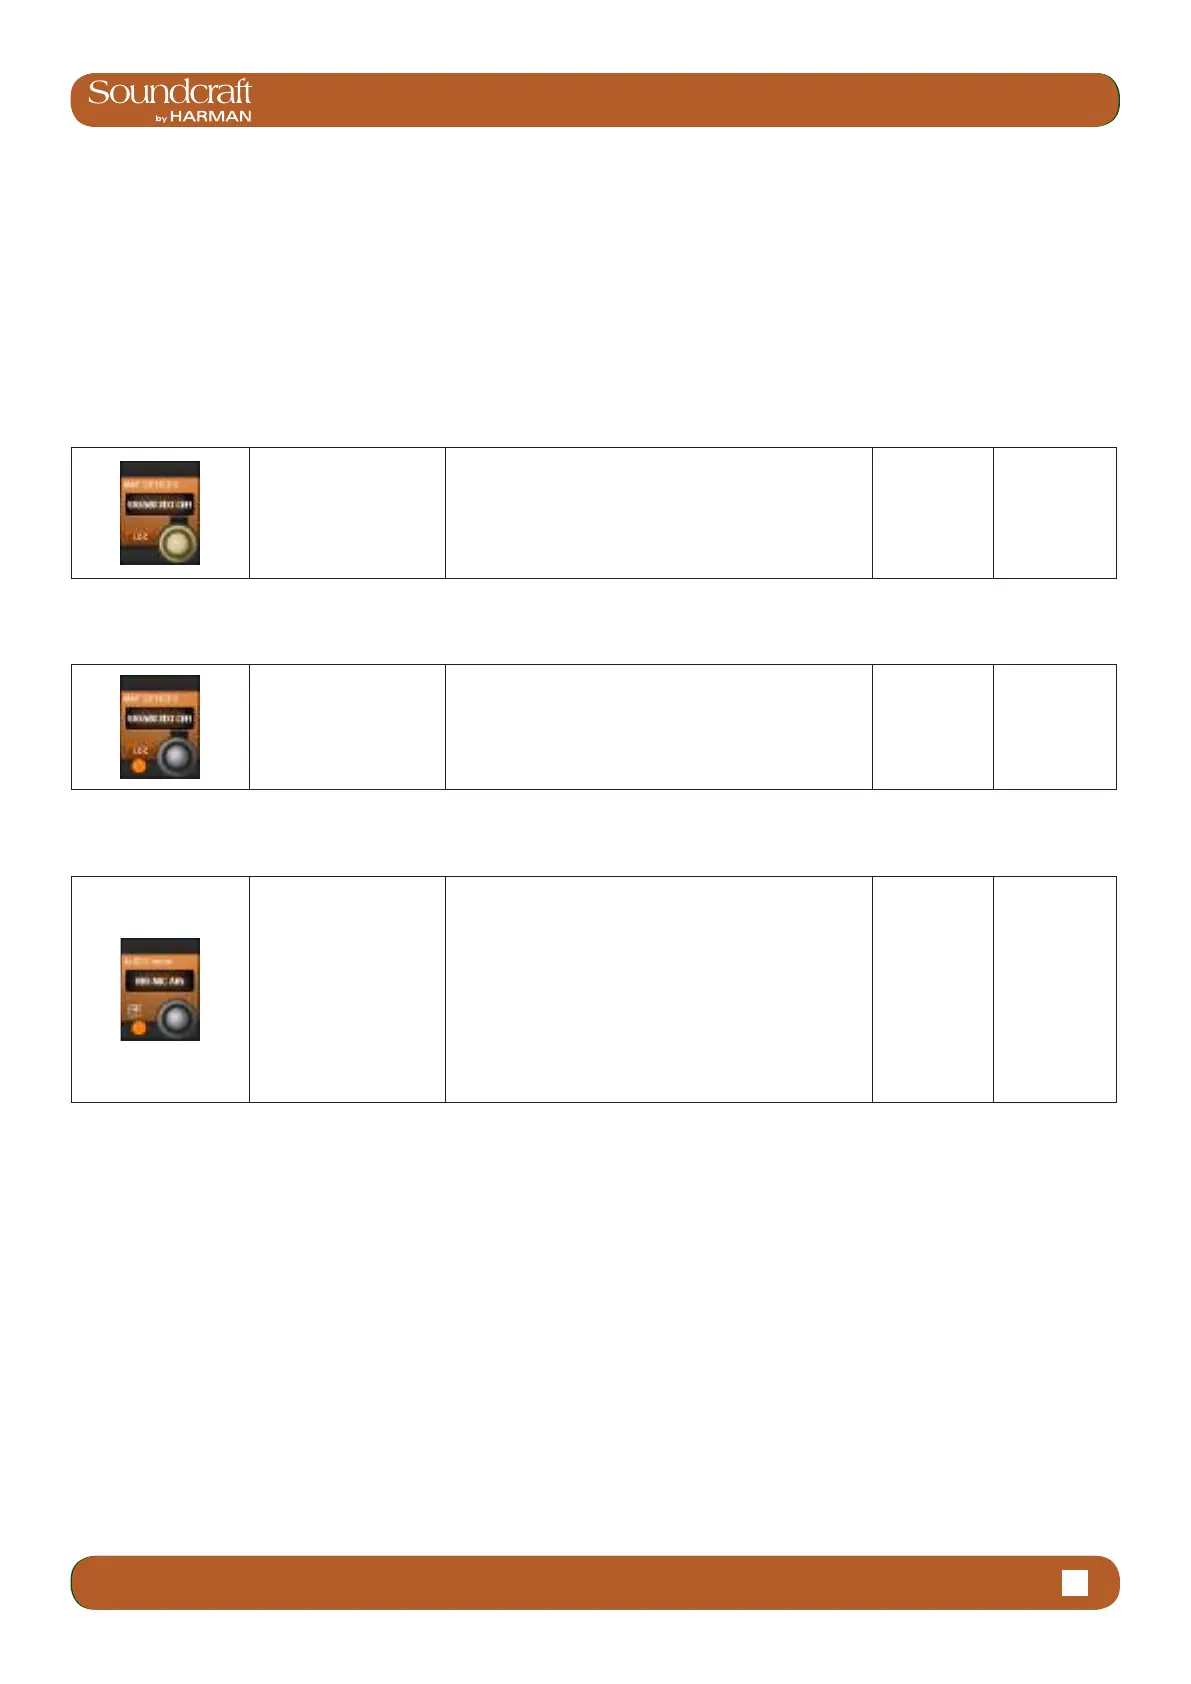
The LOC button activates the Locate function on the selected AKG receiver. Pressing this will cause the front panel
display of the chosen receiver to ash, allowing it to be more easily identied among a rack of others.
MAP Devices
(Scroll List)
Scroll through the list of
available VM² devices.
Hint: To avoid opening and closing the Audio Patch page,
the MAP DEVICES encoder can still be used to scroll
through the Device List even whilst the Audio Patch page
is still open. The name (truncated) of the currently se-
lected Device can be seen in above the MAP DEVICES
Vistonics scroll encoder.
Locate Devices
Activate the Locate
function on the selected
AKG receiver.
Pressing (LOC) will cause the front panel display of the
chosen receiver to ash, allowing it to be more easily
identied among a rack of others.
Patch Devices Active
Activate the VM² micro-
phone patching screen.
The patching matrix allows all of the physical input
connectors available within the Vi system to be seen and
the relevant connector to be chosen to correspond to
where the currently selected microphone is connected.
The chosen connector is shown in bright blue highlight,
whereas connectors that are already associated with
other AKG devices are shown as greyed-out. A greyed-
out connector can still be chosen as an assignment for
the currently selected microphone, but a dialogue box
will appear in this case to ask if you wish to reassign this
connector.
Patching
Screen Active
 Loading...