11
PREPARATION
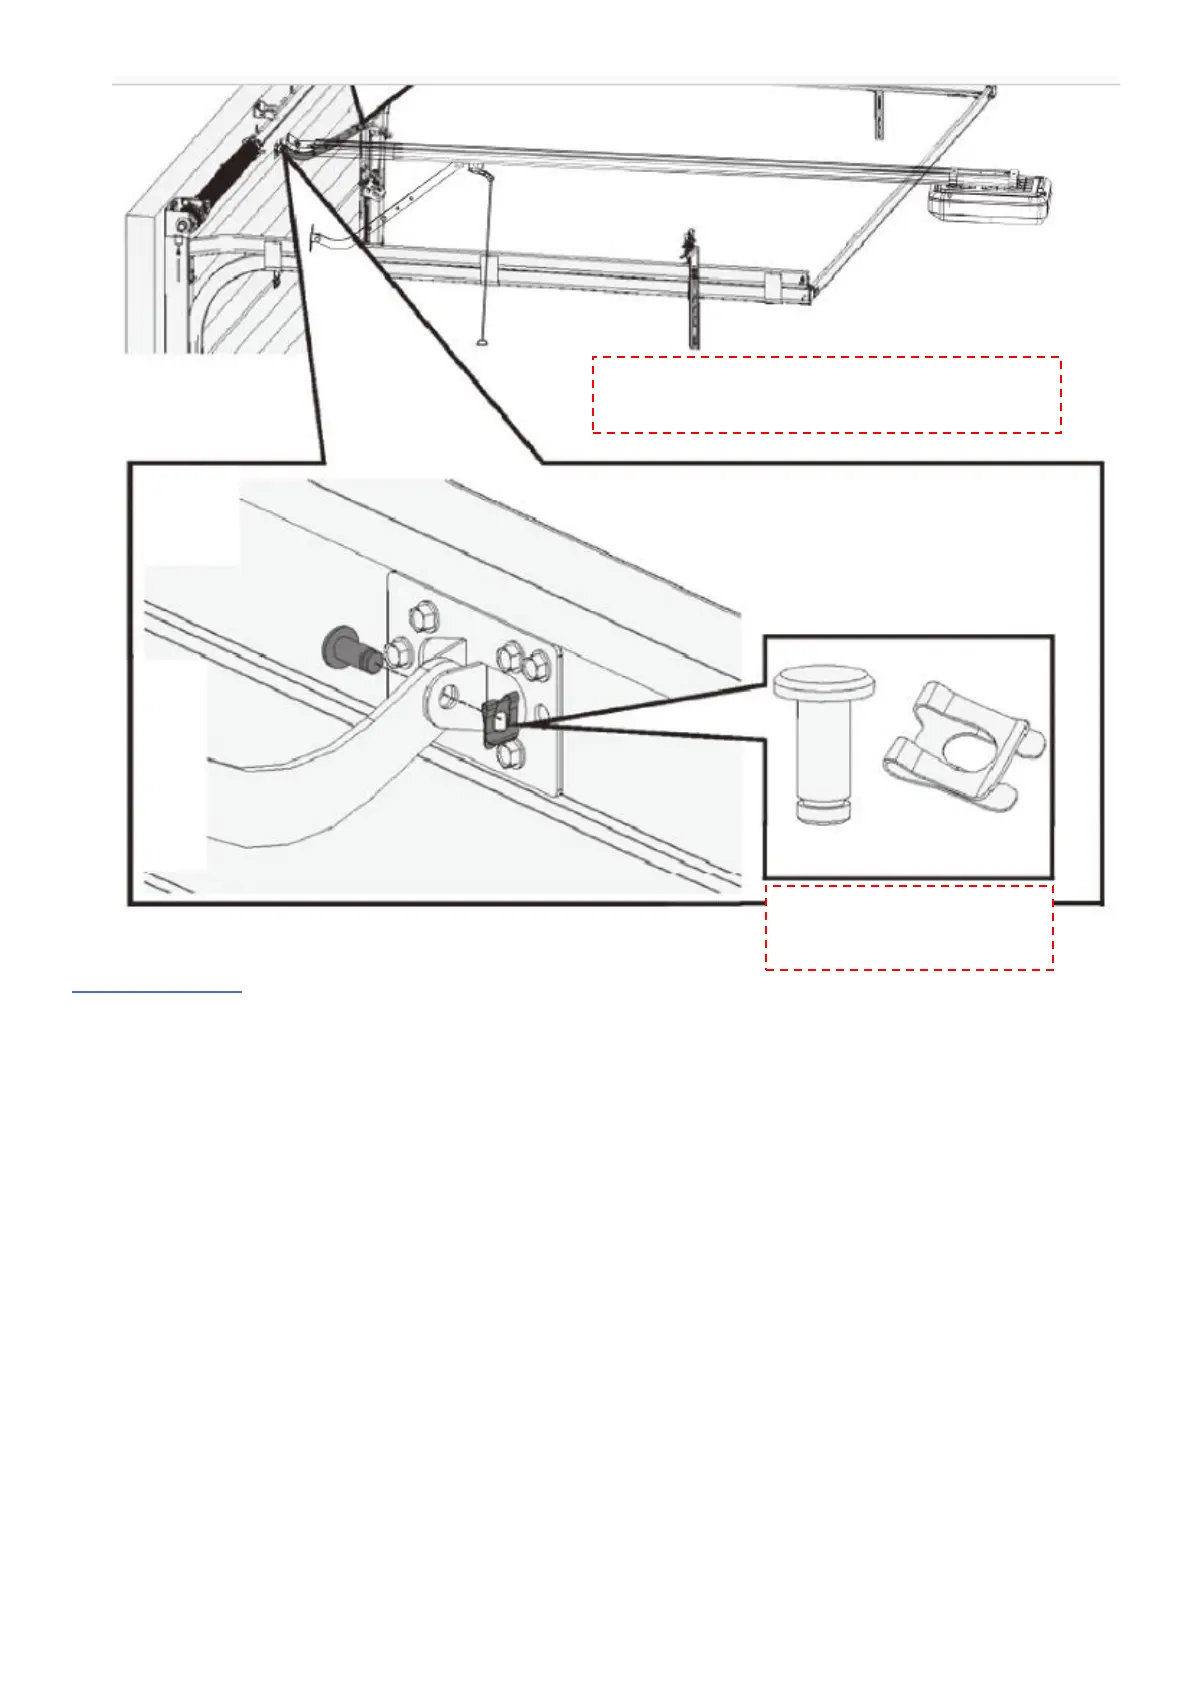
1. Bracket No. 1020d should be screwed to the engine, it is used to fix the engine to the ceiling. This bracket
is not included in the kit.
2. Check that the release (trolley) is blocking the gate, manually pull the gate up and down to make sure that
the gate is engaged.
3. The garage door must be lifted and closed by hand without any great effort. A well-balanced and
positioned door is crucial for proper installation.
4. The garage door opener cannot compensate for a badly fitted garage door and should not be used as a
solution for difficult-to-open doors.
5. If the unit is installed over an existing door, make sure any existing interlocking devices are removed or
the warranty will be void.
6. The power socket must be installed close to where the drive is installed.
7. There should be a minimum distance of 30mm between the bottom of the guide and the top of the garage
door.
8. Turn on the power, the warning light will be on for a few seconds, at the same time the LED display will
count down from 99 to 11. Then the drive will go into the standby state.
9. Finally the display will show “- -“.
Important note: As far as additional safety rules are concerned, we strongly recommend the installation of garage
door photocells in all installations.