Do you have a question about the Hayward TriStar and is the answer not in the manual?
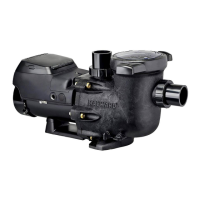
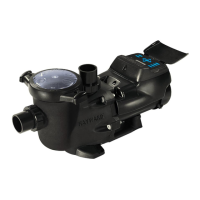
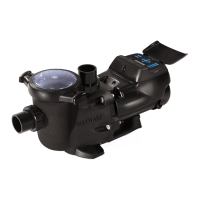
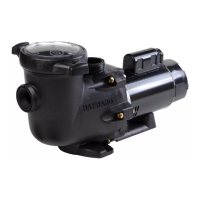
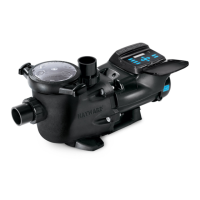
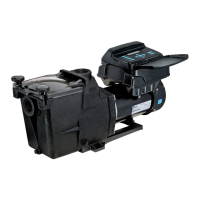
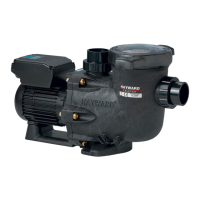
Introduces the Hayward TriStar Pump, highlighting its engineering, performance, and key features for efficient pool operation.
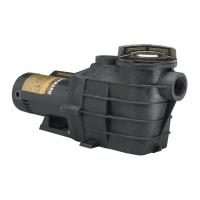
Provides guidance on replacing existing pumps with TriStar models, noting compatibility and plumbing requirements.
Explains safety symbols like WARNING, CAUTION, and NOTICE, detailing their meanings for user protection and hazard awareness.
Covers essential safety measures including electrical safety, professional installation, wiring codes, and proper product usage.
Details risks associated with electrical connections, emphasizing GFCI, proper wiring, and avoiding shock hazards.
Specifies requirements for grounding the motor and bonding to pool structures to prevent electrical hazards.
Lists potential entrapment scenarios such as hair, limb, body, evisceration, and mechanical entrapment.
Provides guidelines on safe suction outlet installation, spacing, and avoiding dual blockage.
Warns about dangers from system pressure, improper component assembly, and potential violent separation.
Addresses risks from motor heat, flammable materials, and hazards associated with incorrect installation procedures.
Introduces the manual's scope and highlights the TriStar pump's performance advantages and efficient operation.
Details the physical dimensions, horsepower ratings, and pipe connection sizes of the TriStar pump.
Guides on selecting an optimal location and properly mounting the pump for ventilation and stability.
Provides a chart for selecting appropriate pipe sizes based on recommended system flow rates for efficiency.
Covers best practices for sealing connections, using Teflon tape, and selecting appropriate fittings to prevent leaks.
Emphasizes adherence to electrical codes, correct voltage matching, and using copper conductors for safety.
Elaborates on connecting to the electrical service ground and bonding to the pool structure for enhanced safety.
Lists detailed motor horsepower, voltage, amperage, and necessary wire/breaker sizing for proper operation.
Outlines essential steps before initial pump operation, including pressure testing and ensuring system integrity.
Instructions for filling the strainer housing with water and ensuring the O-ring is properly seated and lubricated.
Detailed procedure for priming the pump, including safe starting steps and ensuring proper water flow.
Emphasizes avoiding dry running, improper chemical addition, and safe strainer cover handling.
Covers regular cleaning of the strainer basket and inspection of the strainer cover gasket for wear.
Provides guidance on draining the pump, using antifreeze, and protecting it during off-season storage.
Introduces safety precautions and general steps required for replacing the shaft seal assembly.
Step-by-step guide to remove the motor assembly, impeller, and ceramic seat for seal replacement.
Instructions for fitting the new shaft seal and reassembling the motor, diffuser, and housing components.
Presents a visual diagram of pump components and a detailed listing of part numbers and descriptions.
Lists specific impeller part numbers for different models and provides a breakdown of pump SKU details.
Diagnoses and offers solutions for motors that fail to start, shut off unexpectedly, or hum without starting.
Addresses common causes for the pump failing to prime, such as air leaks, clogged baskets, or suction blockages.
Explains reasons for reduced water flow, including undersized piping and impeller issues, and provides corrective actions.
Identifies sources of pump noise like air leaks, vibration, or bearing issues and suggests remedies.
Provides fields for recording installation date, pressure readings, and pump/filter model information.
Details the terms, duration, and coverage of the Hayward limited warranty for the pump.
Guides users on how to fill out and submit the product warranty registration card for record-keeping.
| Pump Type | Centrifugal |
|---|---|
| Voltage | 115/230 V |
| Speed | Variable |
| Port Size | 2 inches |
| Max Flow Rate | Varies by model |
| Wet End Material | Thermoplastic |
| Horsepower | 3 HP |