J
John OwensJul 31, 2025
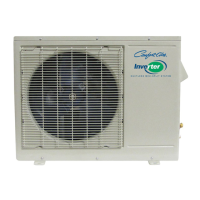
What causes refrigerant leakage in a Heat Controller Energy Knight B/A-HMC30AS?
- MMichelle BooneJul 31, 2025
Refrigerant leakage in your Heat Controller Heat Pump can be caused by a clog in the refrigeration cycle or a defective compressor. It is recommended to check the refrigeration cycle to solve this problem.